
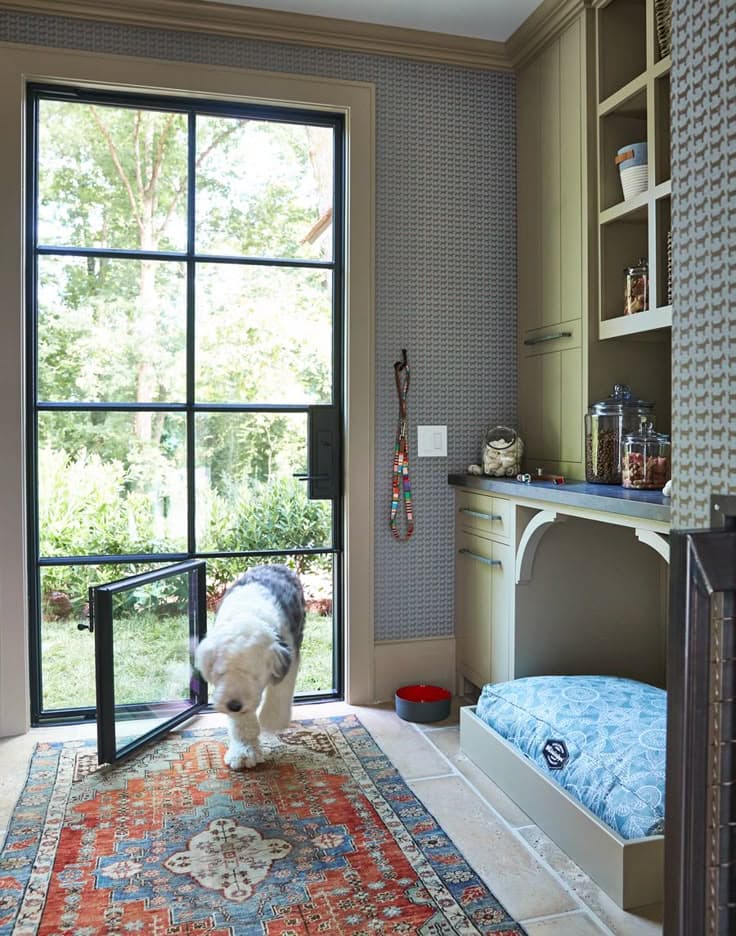
Better measurements. Cleaner installs. Happier pets.
Start with the sizing guide, verify the technical opening, follow the model-specific manual and introduce the new door at the pet's pace.
Move from the pet to the product in four verified steps.
Each step answers a different question. Keep the outputs together so an installer, glass professional or future service person can follow the same record.
Measure the pet
Record shoulder height, body width and a comfortable step-over for every animal using the opening. Breed and weight ranges are a shortlist, not the final dimension.
Choose the model family
Door, wall, screen, in-glass, kennel and pass-through products are built for different surfaces. Select that family before finish or accessories.
Verify the building opening
Compare flap opening, rough opening and outer frame. Add wall depth, door construction, screen support or professional glass fabrication information.
Save the exact configuration
Record the final SKU, named size, finish, flap package, orientation and installation documents. That information is the key to future replacement parts.
Use the guide for the decision in front of you.
How to Choose the Right Dog Door Size
Measure shoulder height and body width, set a comfortable step-over, and choose from 11 standard flap sizes.
Read guide Breed sizingDog Door Sizes by Breed
Use breed ranges as a starting point, then confirm the individual pet’s measurements before ordering.
Read guide Technical specsPet Door Technical Specifications
Review frame dimensions, rough-opening relationships, materials and configuration details.
Read guide Installation manualsPet Door Installation Manuals
Find model-specific instructions for doors, walls, screens, glass and replacement components.
Read guide Training guideHow to Train a Pet to Use a Pet Door
Introduce the opening gradually with a training flap, rewards and a calm, pressure-free routine.
Read guide MaintenancePet Door Maintenance and Care
Keep flaps, magnets, weather strip, tracks and covers clean, aligned and serviceable.
Read guide FAQPet Door Frequently Asked Questions
Answers to the most common questions about sizing, models, installations, flaps and custom orders.
Read guide WarrantyPet Door Warranty Guide
Understand frame and flap warranty coverage, conditions, exclusions and how to document a claim.
Read guide ShippingMade-to-Order Shipping Guide
What to expect when a configured pet door is built to order and prepared for shipment.
Read guide ReturnsReturns and Exchanges
Review made-to-order return conditions before choosing a configuration.
Read guide Flap orderingReplacement Flap Ordering Guide
Identify the correct flap size, count and kit before replacing worn components.
Read guide Product qualityWhy Serviceable Pet Doors Are Built to Last
Learn how serviceable construction, broad sizing and purpose-built installation models differ from generic pet doors.
Read guide Door installationHow to Install a Dog Door in a Hinged Door
Plan and verify a dog-door opening in a compatible wood, metal or composite hinged door.
Read guide Wall installationHow to Install a Dog Door in a Wall
Plan framing, utilities, tunnel depth, flashing and seals for a through-wall dog-door installation.
Read guide Screen installationHow to Install a Dog Door in a Screen Door
Match the screen frame, mesh location and stabilizer arrangement before installing a screen pet door.
Read guide Glass installationHow to Install a Dog Door in Glass
Prepare an in-glass project with a qualified glass professional and a newly fabricated compatible panel.
Read guide WeatherproofingDog Door Weatherproofing Guide
Coordinate flap count, frame alignment, perimeter seals, flashing and seasonal maintenance.
Read guide Automatic doorsAutomatic Dog Door Buying Guide
Compare activation, access modes, obstruction response, power, fit, installation and service before choosing an automatic dog door.
Read guideStart with the material you are cutting.
Each surface has different checks for structure, thickness, weather sealing and final fit.
Get a dog door installation quote
Submit the ZIP code, surface and project details. We will find a local installer and follow up with a quote within 24 hours.
Find an installer Hinged doorsInstall a dog door in a door
Plan the cutout, keep the frame square and protect compatible wood, metal or composite door construction.
Read the door guide WallsInstall a dog door in a wall
Check framing, utilities, complete wall depth, tunnel support and exterior water management.
Read the wall guide ScreensInstall a dog door in a screen
Match the screen-frame construction and use the right corner, mesh or stabilizer arrangement.
Read the screen guide Glass panelsInstall a dog door in glass
Understand replacement-panel fabrication, panel selection and the role of a qualified glass professional.
Read the glass guide WeatherWeatherproof a dog-door opening
Coordinate flap count, frame alignment, perimeter seals, flashing, rain exposure and routine inspection.
Read the weather guide Installation hubComplete installation guide
Compare every installation surface and follow the pre-cut and final testing checklists.
Open the installation hubPut the verified guide information to work.
Choose the closest buying path, then open the exact product manual again before installation.
Find the right answer before you order or cut.
Use these answers to choose the right guide for sizing, installation, service parts or support.
Which guide should I read first?+
Start with the sizing guide, then open the installation guide for the surface you are cutting. Product-specific instructions should be checked again before installation.
Are the sizing guide and breed guide the same thing?+
No. Breed guidance helps shortlist likely sizes, but the sizing guide explains how to measure the individual pet and compare the actual flap opening.
Where do I find door, wall, glass and screen installation details?+
Use the surface-specific installation guides. Door, wall, glass and screen projects each have different pre-cut checks and risk points.
Do replacement flaps need a guide?+
Yes. Replacement flaps should match the installed model, named size, flap count and hardware relationship rather than only the visible opening.
Should I use guides before contacting support?+
The guides help collect better measurements and photos. If the opening is unusual, support can use that information to give a clearer recommendation.
Do these guides replace installer judgment?+
No. They help prepare the project, but hidden utilities, structural issues, glass requirements and local site conditions still need qualified review.