
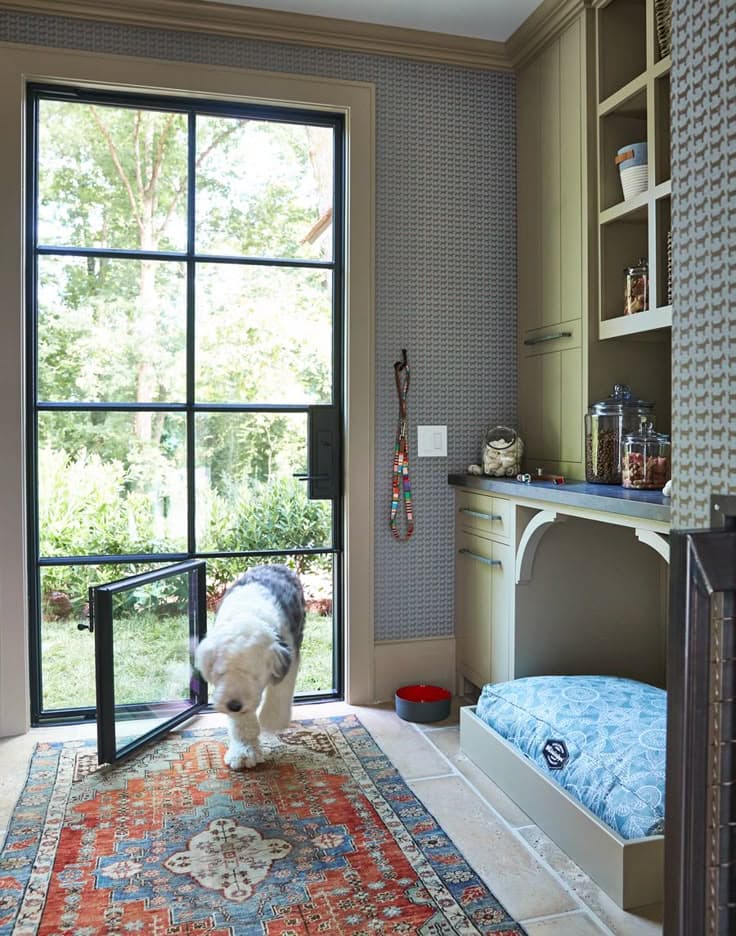
Install the dog door the surface actually needs.
The pet chooses the clear opening. The building chooses the model, rough opening, support and weather details. Keep those two decisions separate until both agree.
Four surfaces, four different preparation paths.
Read the exact surface guide before approving a product, requesting labor or making a permanent opening.
Hinged doors
Check door skins, core, rails, stiles, panels, glass and hardware before laying out the complete frame.
Read the complete guideWalls
Verify framing, utilities, finished wall depth, tunnel support, flashing, drainage and exterior finish.
Read the complete guideScreen doors
Match the screen-frame width, mesh placement, spline and stabilizer arrangement to the selected model.
Read the complete guideGlass panels
Use a qualified glass professional and a newly fabricated compatible panel with the exact in-glass cutout.
Read the complete guideComplete the product-and-opening preflight
Measure every pet at the widest body point and from the floor to the shoulders. Set a manageable step-over for the shortest or least mobile animal. Compare the actual flap opening instead of relying on a small, medium or large label. Then open the exact product specifications and distinguish the clear flap opening, prepared rough opening and complete outer frame.
Photograph both sides of the proposed location. Tape the entire outside frame, not only the hole. Check structure, utilities, hardware, trim, glass edges, screen members, wall depth and traffic flow. For custom work, write the dimensional basis beside every width and height. If the submitted numbers describe an existing hole, do not label them as the desired flap opening.
Confirm who is responsible for cutting, framing, glass fabrication, flashing, sealant, trim, paint, cleanup and disposal. Product purchase and local labor are separate. A complete scope makes installer quotes comparable and prevents a suitable pet door from being paired with an unverified opening.
Know what can change the installation before work begins
On a hinged door, the largest risk is assuming the lower panel is a flat, empty slab. Raised panels can keep the frame from sitting evenly, while metal skins, foam cores, internal reinforcement, glass and lock hardware can affect the cut. Check the door from both faces, confirm the remaining material can support the frame and keep the rough opening away from edges or structural members as required by the construction. Rated, security and specialty doors need approval from the people responsible for those assemblies.
On a wall, surface thickness is only the beginning. The opening can cross studs, wiring, plumbing, vents, sheathing, insulation, masonry, siding and interior trim. A framed opening must remain structurally sound, and an exterior opening needs water management integrated with the existing wall. Measure the complete finished depth, choose the correct tunnel family and identify flashing, drainage and finish repair before the product is ordered. Deep masonry, brick veneer and stucco-over-frame construction are not the same project.
On a screen, the mesh cannot support repeated pet traffic by itself. Inspect the screen frame, spline, corners, crossbars and track. Choose the standard corner model or universal support arrangement that matches the panel. A middle-of-mesh installation normally needs its intended stabilizer. Reinstall the panel and test rollers, tracks, handles and locks. Screen pet doors provide access through a ventilating panel; they are not substitutes for a security door or a weather-sealed wall.
On glass, the professional fabrication drawing controls the opening. Existing tempered and insulated panels generally cannot be field-cut. Select the panel, check the remaining walk-through width and provide the exact in-glass cutout to a qualified glass professional. Confirm panel thickness, safety requirements, coatings, spacer details and edge clearances before fabrication. Inspect the completed replacement panel before it is installed and keep the drawing with the dog-door order.
Do not begin until all five checks agree.
One missing measurement can turn a made-to-order product into the wrong opening.
- PetPet fits the flap
- ModelSurface matches the model
- FrameFull frame has clearance
- SiteStructure and utilities are clear
- FinishWeather details are approved
Ask what the labor quote includes and excludes
Give every installer the same verified product and opening information before comparing prices. The scope should name the model, rough opening, outer frame, mounting height, surface material and finished thickness. Ask whether the price includes cutting, protection of nearby finishes, internal blocking or framing, tunnel preparation, glass fabrication, screen rebuild, flashing, perimeter sealant, trim, paint, debris removal and disposal. A low number that omits required finish or water-management work is not the same installation.
Identify conditions that can change the price after work begins. Concealed utilities, damaged wall materials, unexpected reinforcement, incompatible glass, uneven panels and previous repairs may not be visible from photographs. A useful proposal explains how those discoveries will be documented and approved. It should also distinguish product warranty from installation workmanship and the surrounding building materials.
Before the installer leaves, review the host door, wall finish, screen operation or glass panel as well as the pet-door frame. Confirm both approaches are safe for the animal, the exterior landing drains and the security cover is present and operable. Record any care instructions for sealant, paint or glazing. This final walkthrough gives the customer and future service person a clear baseline instead of relying on memory after the opening has been used for months.
Match the installer to the surface and the consequences of a mistake
A straightforward cut in an unrated, flat wood door can be a reasonable project for an experienced homeowner with the correct tools, a verified template and enough material around the complete frame. Stop if the door contains glass, hidden reinforcement, a complex panel profile or a construction detail you cannot identify. Replacing a door is often more expensive than hiring someone to verify it before the first cut.
Wall work deserves a higher level of caution because the opening passes through the building enclosure. Use qualified help when framing must be altered, utilities may be present, the exterior is masonry or stucco, or flashing must connect to an existing water-resistive barrier. The installer should understand both finish carpentry and exterior water management. A neat bead of sealant cannot correct a tunnel that slopes inward or flashing that sends water behind the wall.
Glass fabrication belongs with a qualified glass professional. Screen work may be suitable for a careful DIY installer when the panel can be removed safely and the model is designed for its frame, but a bent frame or loose spline can prevent the entire screen from operating correctly. Whatever the surface, pause when the field condition differs from the approved measurements. Rechecking the product, rough opening and support plan costs less than trying to make a custom product fit an improvised opening.
Test the host opening, pet door and service parts
Operate the host door, screen or sliding panel through its full travel. Check hinges, locks, latches, rollers, tracks, sweeps and adjacent panels. Cycle every pet-door flap from both directions and watch whether magnets meet their strikes without forcing the frame. Install and remove the security cover several times. Review the exterior perimeter and any wall flashing or tunnel surfaces.
Introduce the pet with short, calm sessions. Hold the flap open at first, reward movement in both directions and add flap resistance gradually. Never force an animal through. Small, senior or hesitant pets may need more time, especially with a double-flap exterior configuration.
Save the model, named size, SKU, flap count, frame finish, mounting height and final photographs. Add wall depth, glass order information or screen stabilizer details when they apply. Inspect the opening after the first severe weather event and include flaps, magnets, weather strip, cover tracks and exterior seals in normal seasonal maintenance.
Answers for door, wall, glass, screen and kennel projects.
The right model depends on the surface before it depends on finish or accessories.
Can the same dog door be installed in a door and a wall?+
No. Door models and wall models solve different installation problems. A wall installation needs a tunnel through the full wall depth, while a hinged-door model clamps through a thinner panel.
Who should install an in-glass pet door?+
A qualified glass professional should fabricate and install the compatible replacement glass panel. Existing tempered or insulated glass generally should not be field-cut.
Do screen pet doors work like exterior wall doors?+
No. Screen pet doors are designed for screen panels and supported mesh. They are not a security door or a weather-sealed exterior wall assembly.
What should I check before cutting a hinged door?+
Check both faces of the door, including panels, glass, rails, stiles, hardware, core material and whether the assembly is rated or specialty construction.
What makes wall installation more complicated?+
Wall openings can involve framing, utilities, insulation, sheathing, siding, masonry, wall depth, tunnel support, flashing and exterior drainage.
Do kennel doors use a different installation process?+
Kennel doors still need the pet to fit the opening, but the host panel, traffic pattern and attachment details differ from a home door, wall, glass or screen installation.