
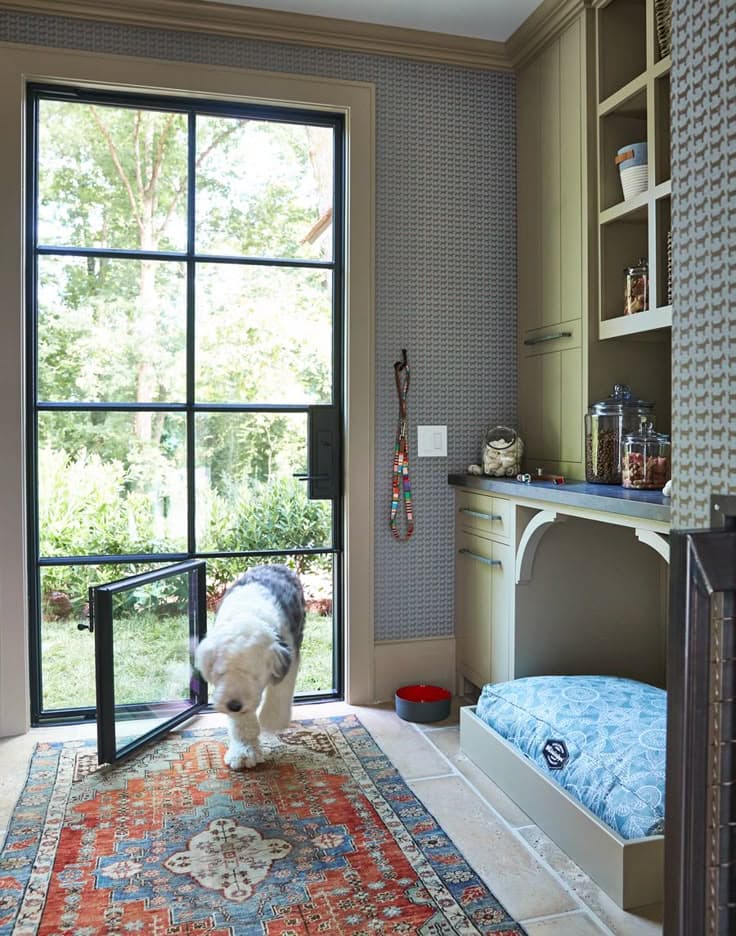
A wall installation creates a dedicated pet route, but it also crosses structure, finishes and the weather boundary of the building. Begin with a non-destructive inspection of both sides. Identify framing direction, studs, electrical wiring, plumbing, vents, masonry, exterior cladding, baseboards and trim. Use appropriate detection methods and have a qualified trade verify anything uncertain. Do not assume a clear-looking interior surface means the cavity is empty.
Measure the complete finished wall depth from the interior finish to the exterior finish at the intended opening. Choose the wall-model family whose tunnel range covers that depth. Size the clear flap opening for every pet and set a manageable step-over, then map both the rough opening and the entire outside frame. A framed-wall opening should fit between suitable structural members unless a qualified person designs the required framing change. Brick, block, stucco and other masonry assemblies require tools, dust control, structural judgment and finish repair appropriate to that material.
After the location is approved, create small controlled reference openings and confirm the cavity before completing the cut. Prepare a square, supported rough opening. Assemble or trim the tunnel only as directed for the selected model and wall depth. Interior tunnel surfaces should not expose insulation, raw wall cavities or sharp edges to the pet. Fasten the inner and outer frames evenly so the tunnel remains aligned and the flexible flaps can return freely.
Water management is part of the installation, not a cosmetic step. Use compatible flashing, slope, rain protection and perimeter sealant for the specific exterior assembly and exposure. Do not block intended drainage paths. The pet-door frame cannot correct a leaking wall or replace the building's weather-resistive system. A highly exposed wall may need additional planning from a qualified installer.
Finish by cycling the flaps and security cover, checking magnet alignment and reviewing the exterior seal. Photograph both sides and record the wall depth, model, size, flap count and any flashing or tunnel pieces used. Inspect the perimeter after the first hard rain and include the opening in normal seasonal building maintenance.