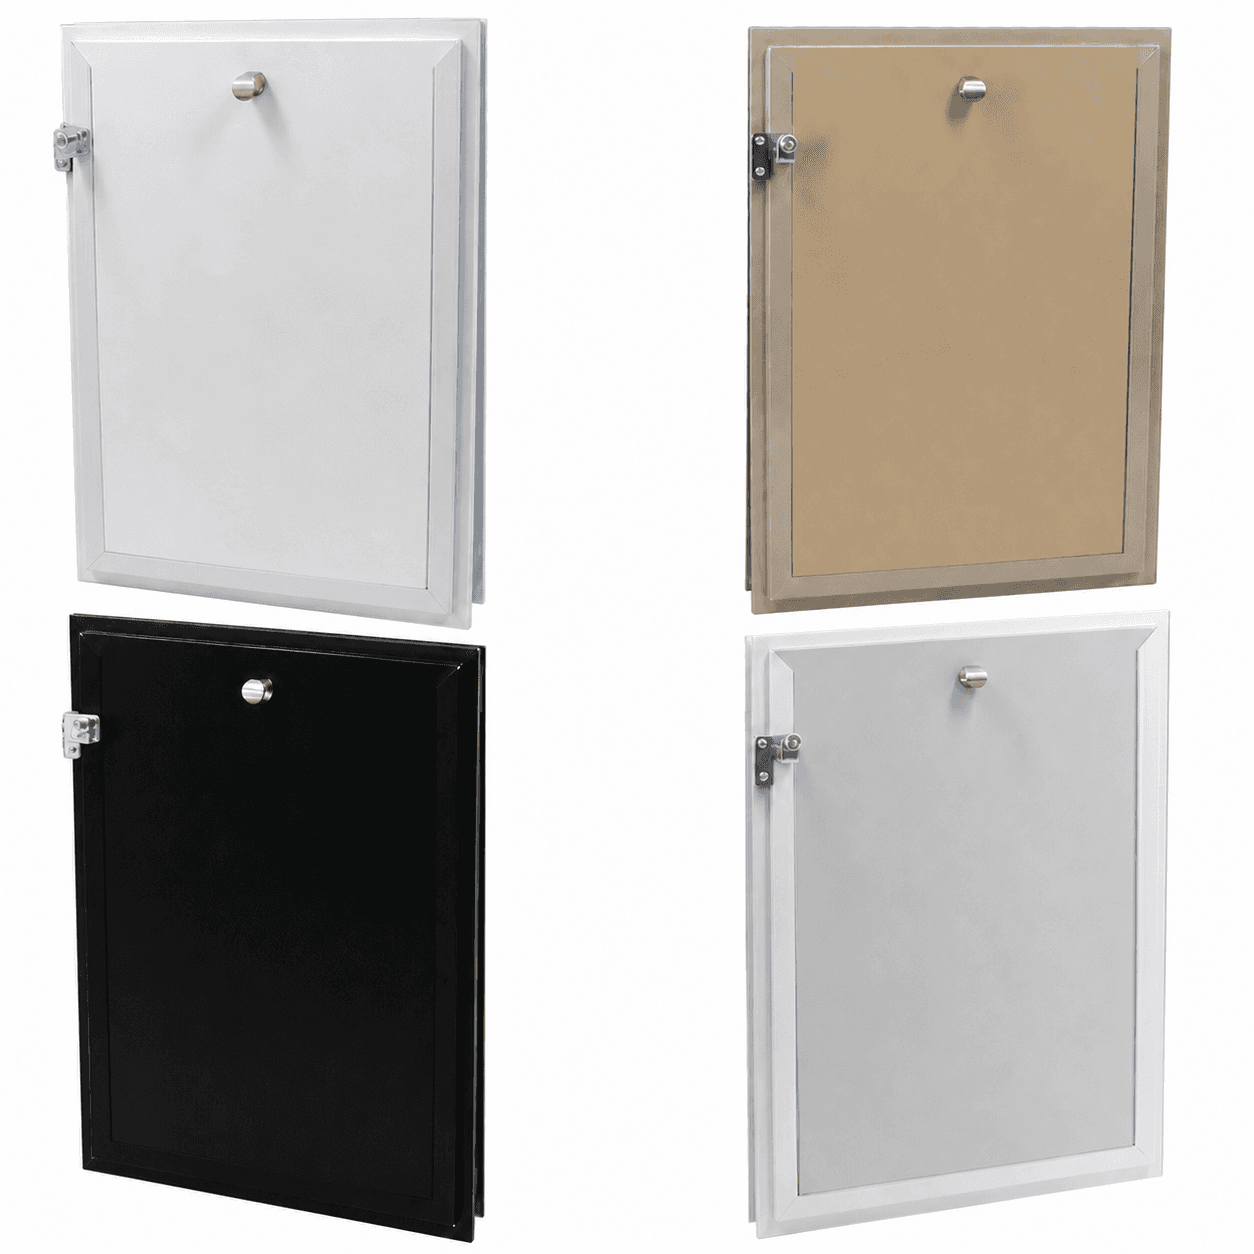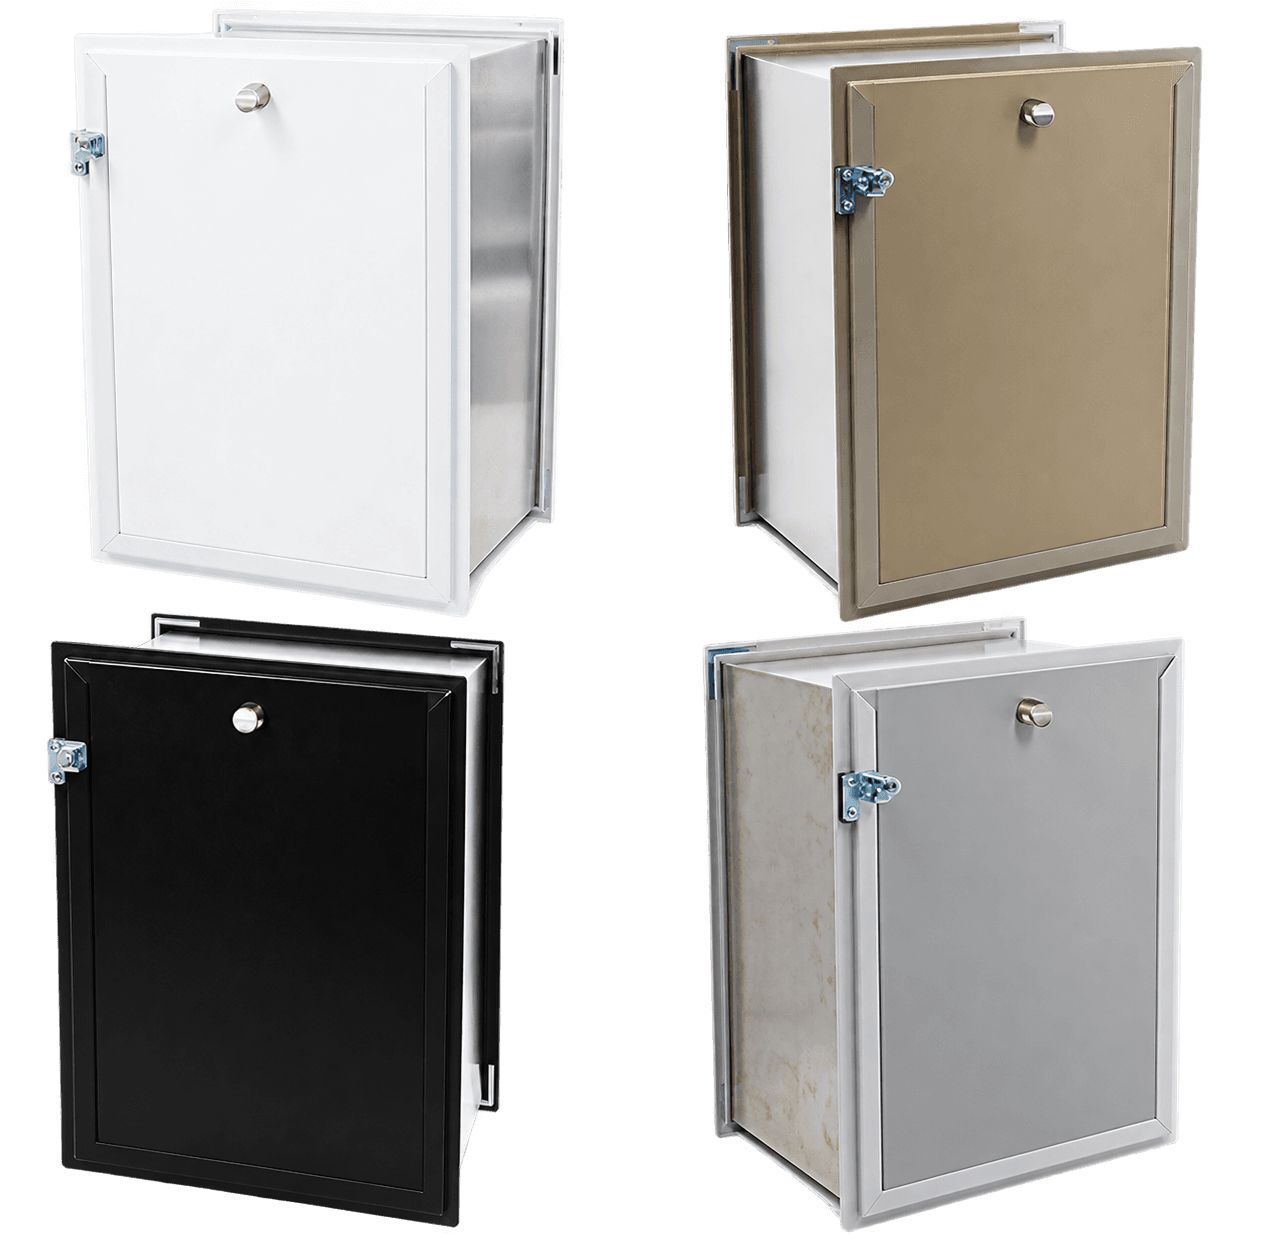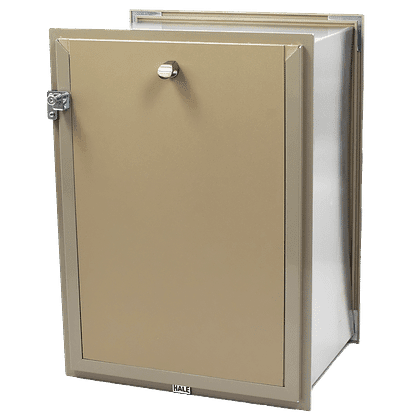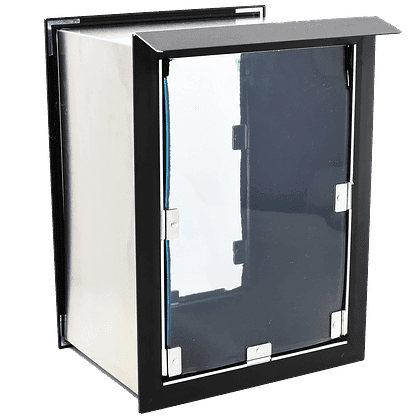
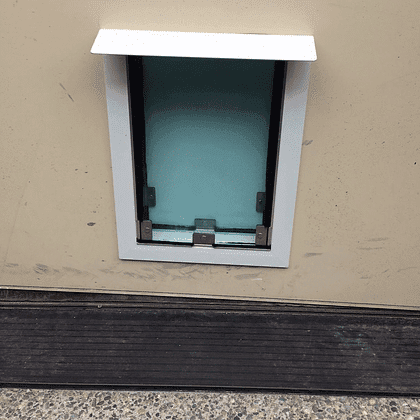
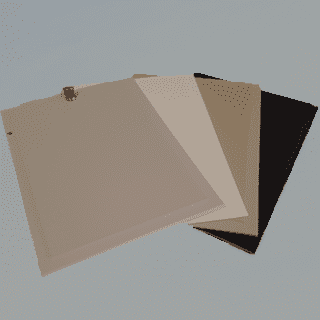
Exterior-ready configurations

Weatherproof Dog Doors

Weather resistance comes from the whole installation: the right model, sound flashing, sealed perimeter, aligned magnets and serviceable flaps.

6 matching products

Configure the right fit

Choose the installation model first, then verify pet size, rough opening, frame dimensions, finish and flap package.

Pet Door RainCaps3 photos
Made to orderFrom $22.00

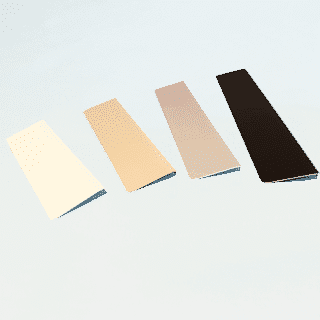
Pet Door RainCaps

The raincap is part of our exclusive water containment and diversion system. premium was the first pet door company to offer this feature on its pet doors. It acts as an awning to divert water that may be running down…

Choose your size
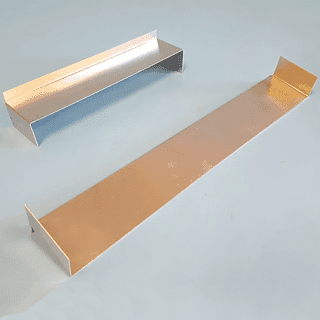
Water-Prevention Flashing
Made to orderFrom $6.00

Water-Prevention Flashing

The flashing attachment for wall models is a part of our exclusive water containment and diversion system. It is intended to be installed underneath the tunnel on a wall installation to shunt any moisture that might…

Choose your size
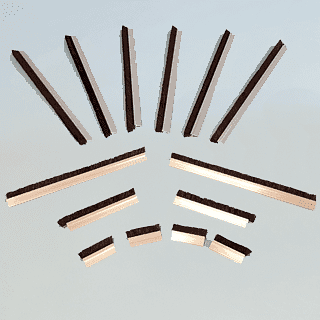
Weather Stripping for Pet Doors
Made to orderFrom $8.00

Weather Stripping for Pet Doors

Black nylon weather stripping in metal holders is always used to seal around the flaps of premium pet doors. It has also been used in the past to seal the edges of our panel models where they meet the edge of the door…

Choose your size
Buyer's guide

Choosing weatherproof dog doors

Select double flaps for greater air control and inspect the installation location for wind-driven rain. Flashing and a RainCap can add protection where exposure is high.
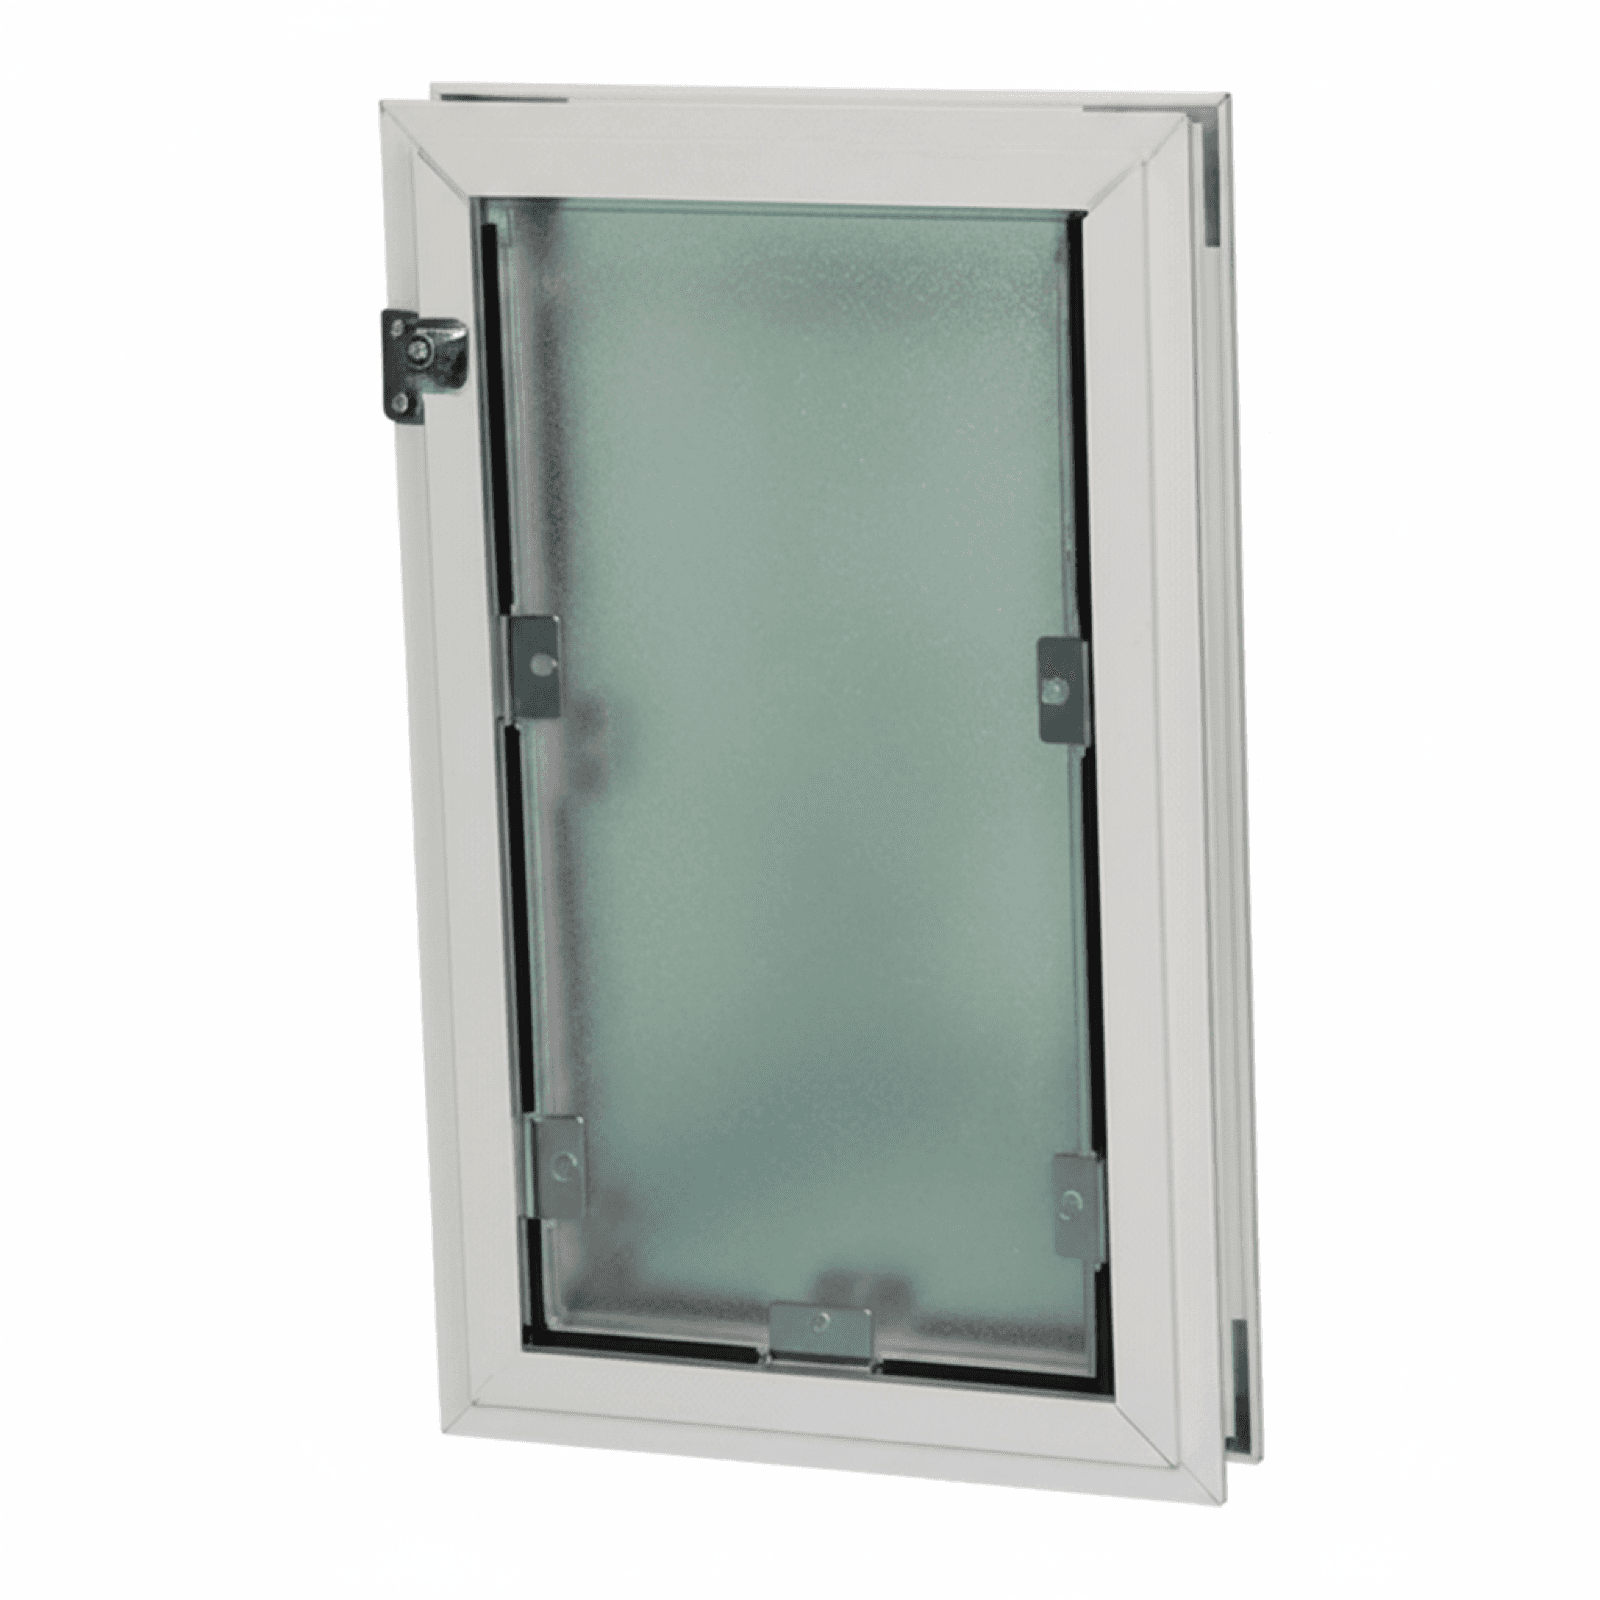
No wall or door opening is maintenance-free. Inspect seals, flap edges, magnets and exterior caulk periodically and replace worn service parts promptly.

Buying guidance

How to choose weatherproof dog doors

Treat weather resistance as a system that includes exposure, flashing, perimeter seal, flap count, magnets, weather strip and a fitted cover.

Weatherproof Dog Doors should be compared as a complete assembly rather than a single feature. Flap count, clear-opening area, magnet return, weather strip, cover fit, perimeter sealing and exposure all contribute to real behavior. A double flap adds a second flexible barrier; it does not compensate for an oversized passage, a frame installed out of square or gaps around the opening. Choose the installation surface first, then build the performance package around the climate, wind, rain and the pet’s ability to use it reliably.

Buying guidance

Fit the pet, then fit the frame

Avoid an oversized opening and keep the frame square so flexible flaps can return consistently. Check that the exterior frame and accessories fit the available wall or door area.
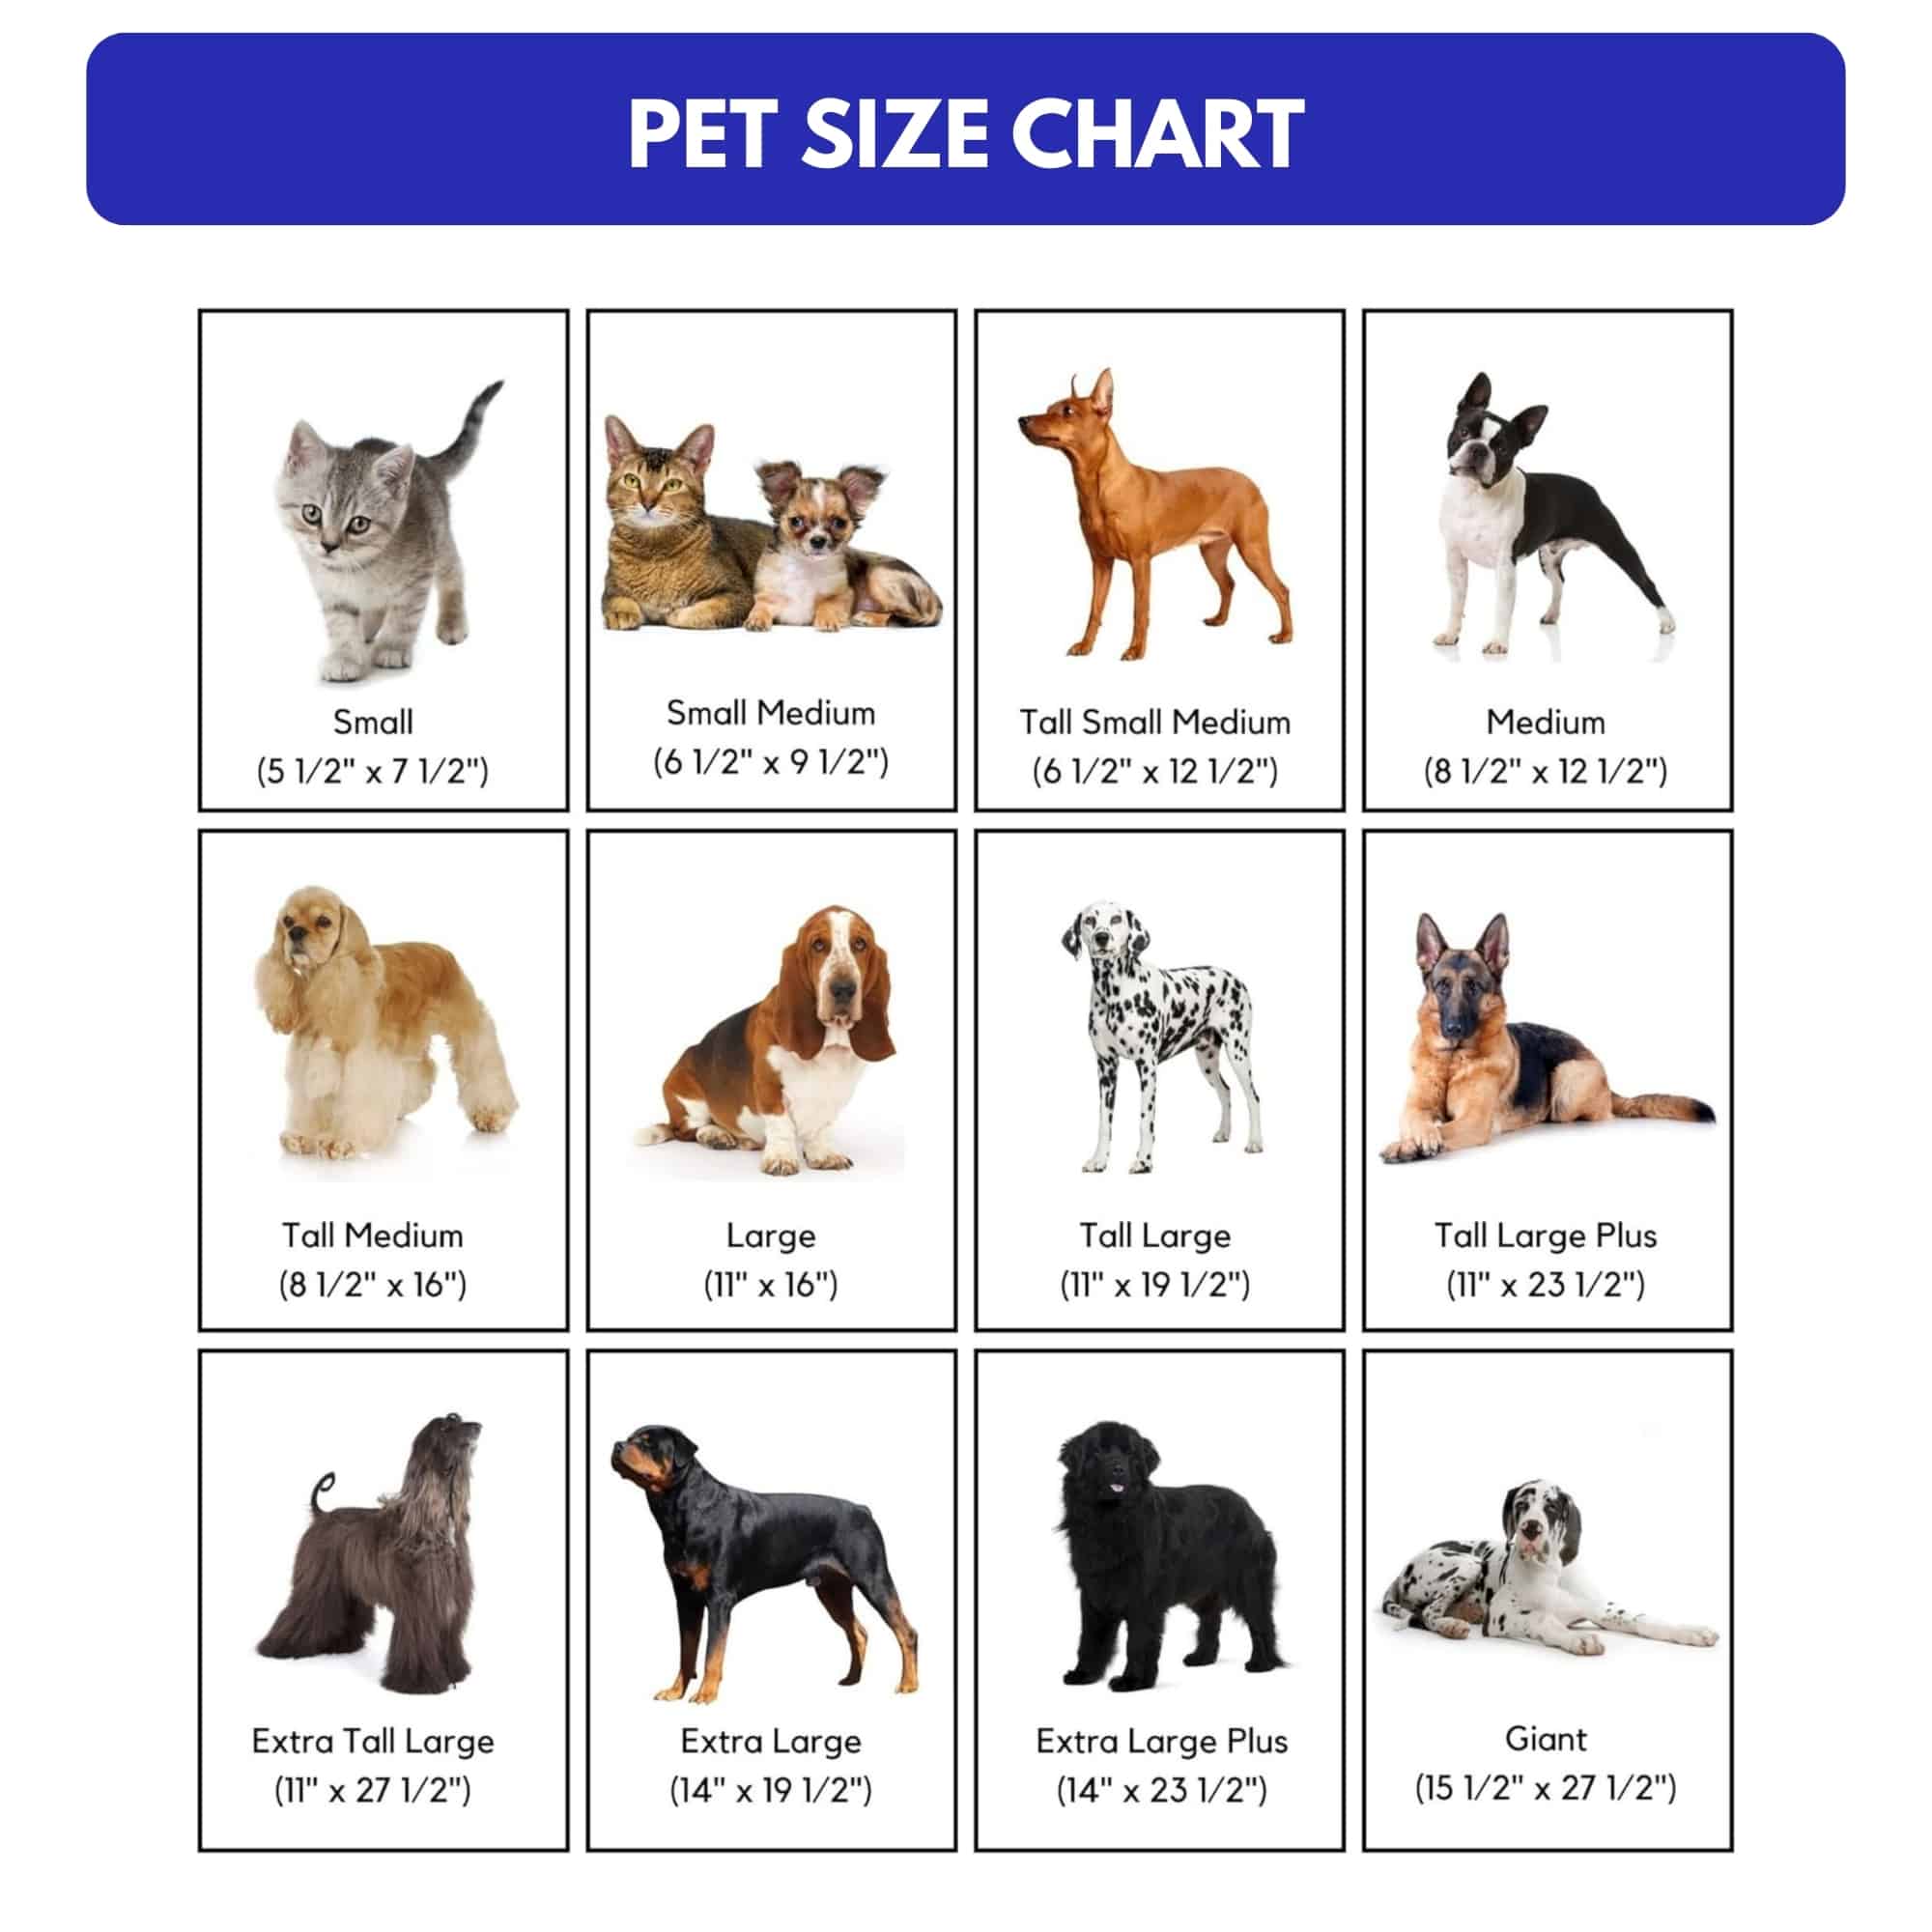
Use the smallest clear opening that still permits relaxed passage. That limits unnecessary opening area without sacrificing comfort. Mount the frame so the pet can step through and push the selected flap package in one natural motion. Very small, elderly or hesitant pets may find added flap resistance difficult at first. Confirm behavior during supervised training and reconsider flap count or mounting height if the animal consistently backs away, crawls or strikes the lower edge.

Dog Doors Depot carries 11 standard flap sizes from Small Medium through Giant, including tall intermediate sizes that separate height from width. Use the individual animal rather than the label as the decision-maker. After the clear opening is selected, compare the exact product variant because model families can use different frame, tunnel and cutout relationships. If every standard choice creates a meaningful compromise, use the custom-size workflow and keep the submitted dimensional basis attached to the order.

Buying guidance

Plan the installation before ordering

Assess roof overhang, prevailing wind, splashback and drainage. Exposed wall openings may benefit from model-compatible flashing or rain protection installed as part of the water-management plan.
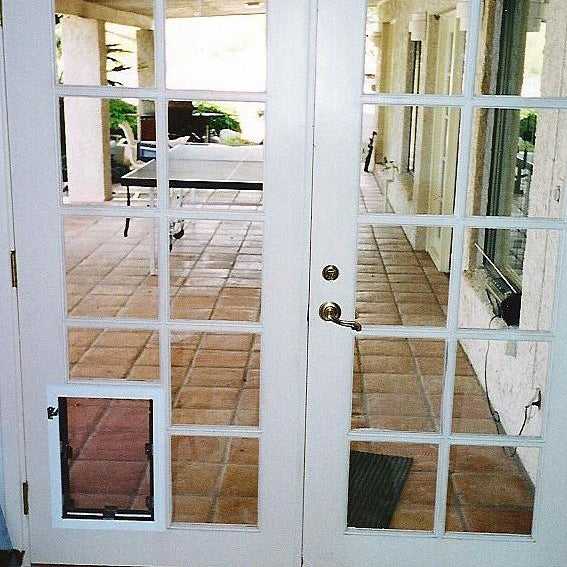
Performance is often lost at the connection to the building. Keep the frame square, seal the perimeter, finish wall tunnels and protect exposed openings from bulk water. Do not cover intended drainage paths with sealant. Align magnets and strikes after fasteners are tightened, then cycle both flaps repeatedly from each direction. A fitted cover should load and seat without binding. These checks belong in the installation scope rather than being postponed until a draft or leak is noticed.

Buying guidance

Weather, service and long-term use

Inspect caulk, tunnel surfaces, flap edges, magnets and weather strip periodically. Service parts should be replaced before wear creates a persistent gap.
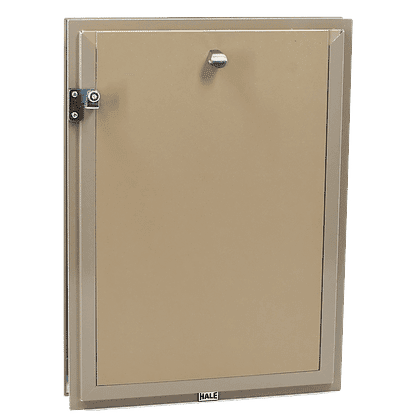
Flexible components change with use and exposure. Clean flap edges and magnets, remove hair or grit from contact points, inspect weather strip and replace panels that curl, crack or no longer return to position. Review exterior caulk and flashing as part of normal building maintenance. Close the fitted cover when pet access is not needed or during severe conditions. No pet opening is maintenance-free, but a serviceable system allows worn components to be corrected without replacing the entire frame.

Buying guidance

Mistakes to avoid

Do not rely on a rain accessory to correct a poorly located or poorly flashed opening, and do not block drainage paths with sealant.
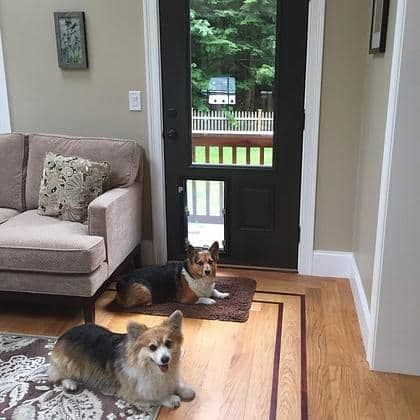
A strong preflight is deliberately repetitive: measure again, check the dimensional label, compare both faces of the opening and read the exact manual. Confirm that the host door, wall, screen, glass or kennel panel remains safe and functional after the cutout. Record uncertainty instead of converting it into a guess. If structure, utilities, ratings, glass type or water management are unclear, pause the product decision and have the appropriate installer or trade verify the condition. That short review is less expensive than correcting an incompatible made-to-order frame.

Buying guidance

From a shortlist to an order-ready configuration

Move from shortlist to order only after four checks agree. The pet fits the clear opening; the building can accept the rough opening and full frame; the selected model matches the surface and thickness; and the flap, finish, cover and accessory choices match the intended use. Save the product page and model instructions with a labeled measurement sheet. For multiple openings, give each location its own ID and configuration. Review every line before submitting because made-to-order dimensions and options should not be inferred from another opening or corrected after fabrication begins.
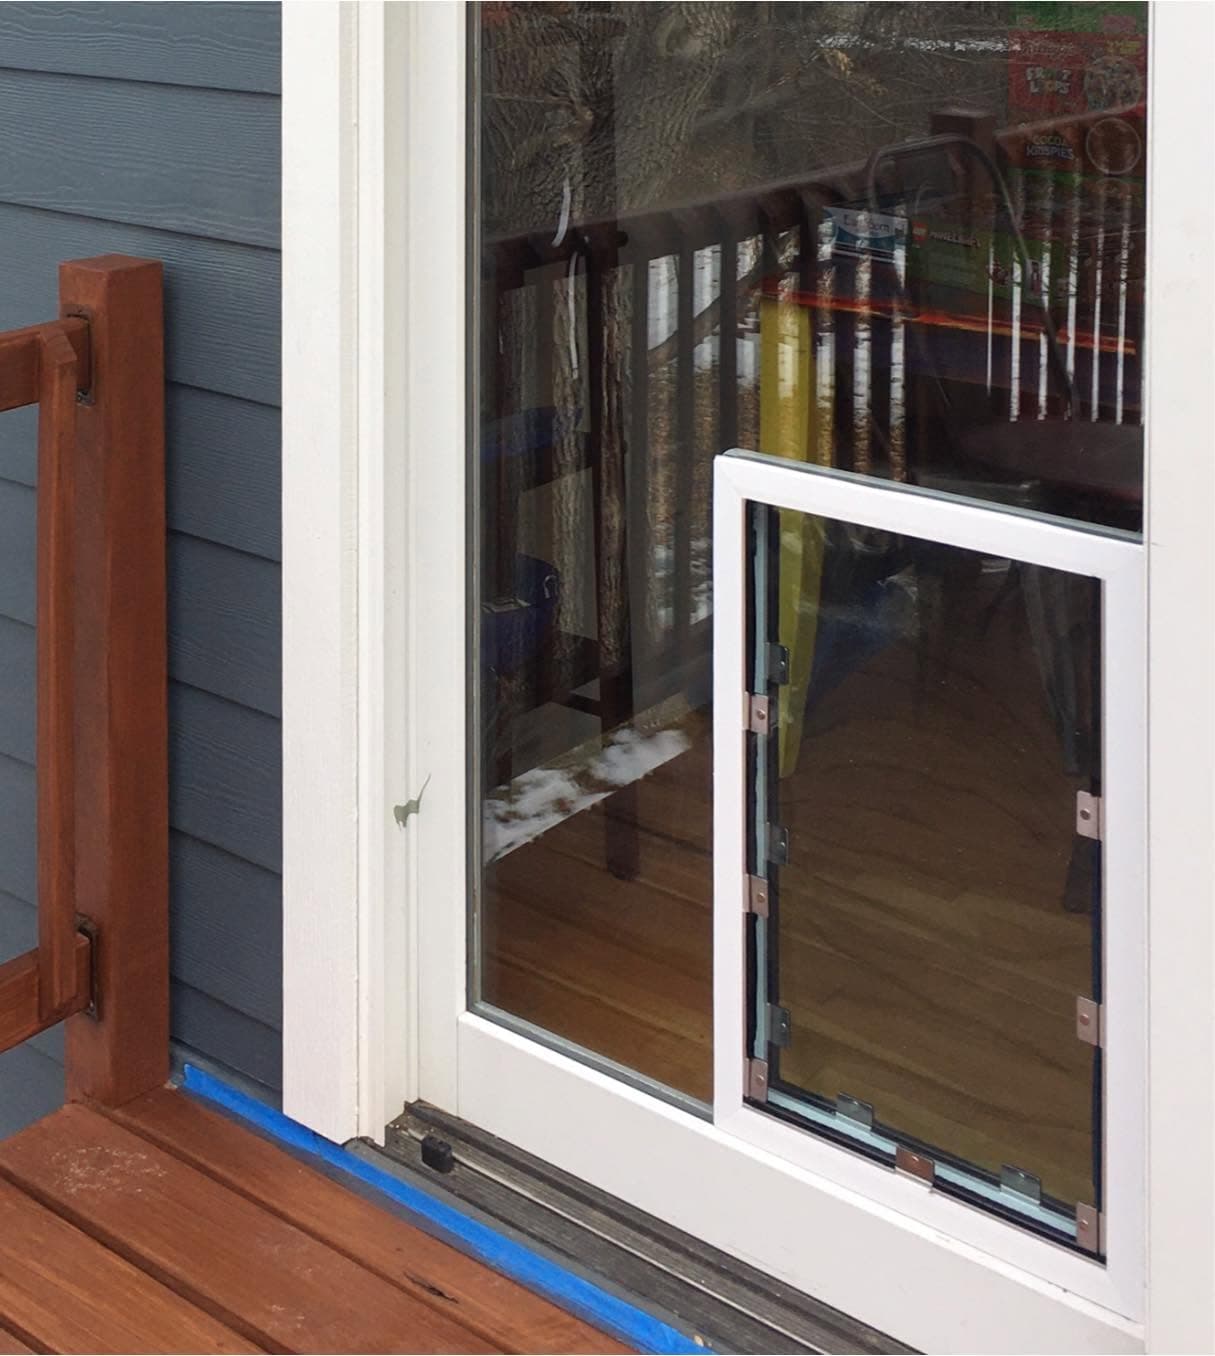
Read the finished configuration back as a complete sentence before approving it: model family, named size or custom dimensions, measurement basis, frame finish, flap count, installation surface, finished thickness and mounting location. Then compare that sentence with the cart, worksheet and installer scope. This catches a correct measurement attached to the wrong model or a correct product attached to the wrong opening. When two pets share the door, confirm the widest body, tallest shoulder and lowest comfortable step-over still work together. Photograph the taped frame outline and keep that image with the order so the installer can verify placement before cutting.

Buying guidance

Save a service record for the installed door

Record the original flap count, magnet and weather-strip arrangement, cover type, exposure and perimeter-seal details. Take a photo of how the flaps sit when new. During maintenance, compare current closure with that baseline and note replacement dates. Performance complaints are easier to diagnose when the original configuration and weather conditions are known. The record also keeps a future service order focused on the worn component instead of turning every draft, rattle or hard-to-close flap into a full-frame replacement.

Before submitting a made-to-order request, make sure the saved measurements tell one clear story: which pet was measured, what each dimension represents, where the door will be installed, and which options were selected. If the project requires a contractor or glass professional, keep that person’s verified construction dimensions beside the pet measurements so neither set is mistaken for the other. A complete record makes the order easier to confirm now and makes future flap, cover, lock or weather-strip service much easier.

Order-ready checklist

Five checks before a made-to-order purchase

Keep the measurement sheet, exact product page and installation manual together through ordering and installation.

  • Choose the smallest comfortable opening
  • Match flap count to pet and exposure
  • Plan perimeter and water sealing
  • Verify magnet and cover alignment
  • Schedule flap and seal inspections
Decision summary

Compare the project from four angles

Primary decision

Treat weather resistance as a system that includes exposure, flashing, perimeter seal, flap count, magnets, weather strip and a fitted cover.

Fit check

Avoid an oversized opening and keep the frame square so flexible flaps can return consistently. Check that the exterior frame and accessories fit the available wall or door area.

Installation check

Assess roof overhang, prevailing wind, splashback and drainage. Exposed wall openings may benefit from model-compatible flashing or rain protection installed as part of the water-management plan.

Ownership check

Inspect caulk, tunnel surfaces, flap edges, magnets and weather strip periodically. Service parts should be replaced before wear creates a persistent gap.

Continue comparing

Related dog-door collections and guides

Common questions about weatherproof dog doors

What should I compare first when shopping weatherproof dog doors?+

Treat weather resistance as a system that includes exposure, flashing, perimeter seal, flap count, magnets, weather strip and a fitted cover. Weatherproof Dog Doors should be compared as a complete assembly rather than a single feature. Flap count, clear-opening area, magnet return, weather strip, cover fit, perimeter sealing and exposure all contribute to real behavior. A double flap adds a second flexible barrier; it does not compensate for an oversized passage, a frame installed out of square or gaps around the opening. Choose the installation surface first, then build the performance package around the climate, wind, rain and the pet’s ability to use it reliably.

How do I know whether weatherproof dog doors will fit?+

Avoid an oversized opening and keep the frame square so flexible flaps can return consistently. Check that the exterior frame and accessories fit the available wall or door area. Check the clear flap opening for the pet, the rough opening for the cut and the tip-to-tip frame for the available mounting area.

What should an installer verify for weatherproof dog doors?+

Assess roof overhang, prevailing wind, splashback and drainage. Exposed wall openings may benefit from model-compatible flashing or rain protection installed as part of the water-management plan. The exact product instructions and selected SKU should be available before any permanent opening is made.

How should I maintain weatherproof dog doors?+

Inspect caulk, tunnel surfaces, flap edges, magnets and weather strip periodically. Service parts should be replaced before wear creates a persistent gap. Record the model and size, keep moving surfaces clean and replace only verified compatible service parts.

How do I choose the right pet door size?+

Measure from the floor to the top of your pet’s shoulders and measure the widest point of the body. The flap should generally sit about 1–2 inches above the shoulders, with a comfortable step-over height. Use the actual pet measurements rather than breed averages.

Are these pet doors made to order?+

Yes. Frame color, flap count, size and installation type are selected for your opening. Review the measurements and selected configuration carefully before submitting an order.

Can I replace the flaps later?+

Yes. Replacement flaps, flap kits, magnets, weather stripping, locks and covers are available. Match the replacement part to the original pet-door size and model.