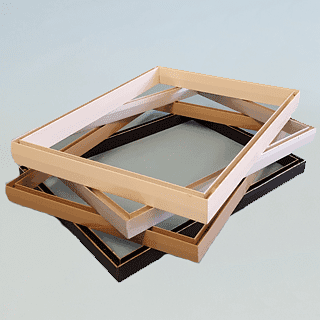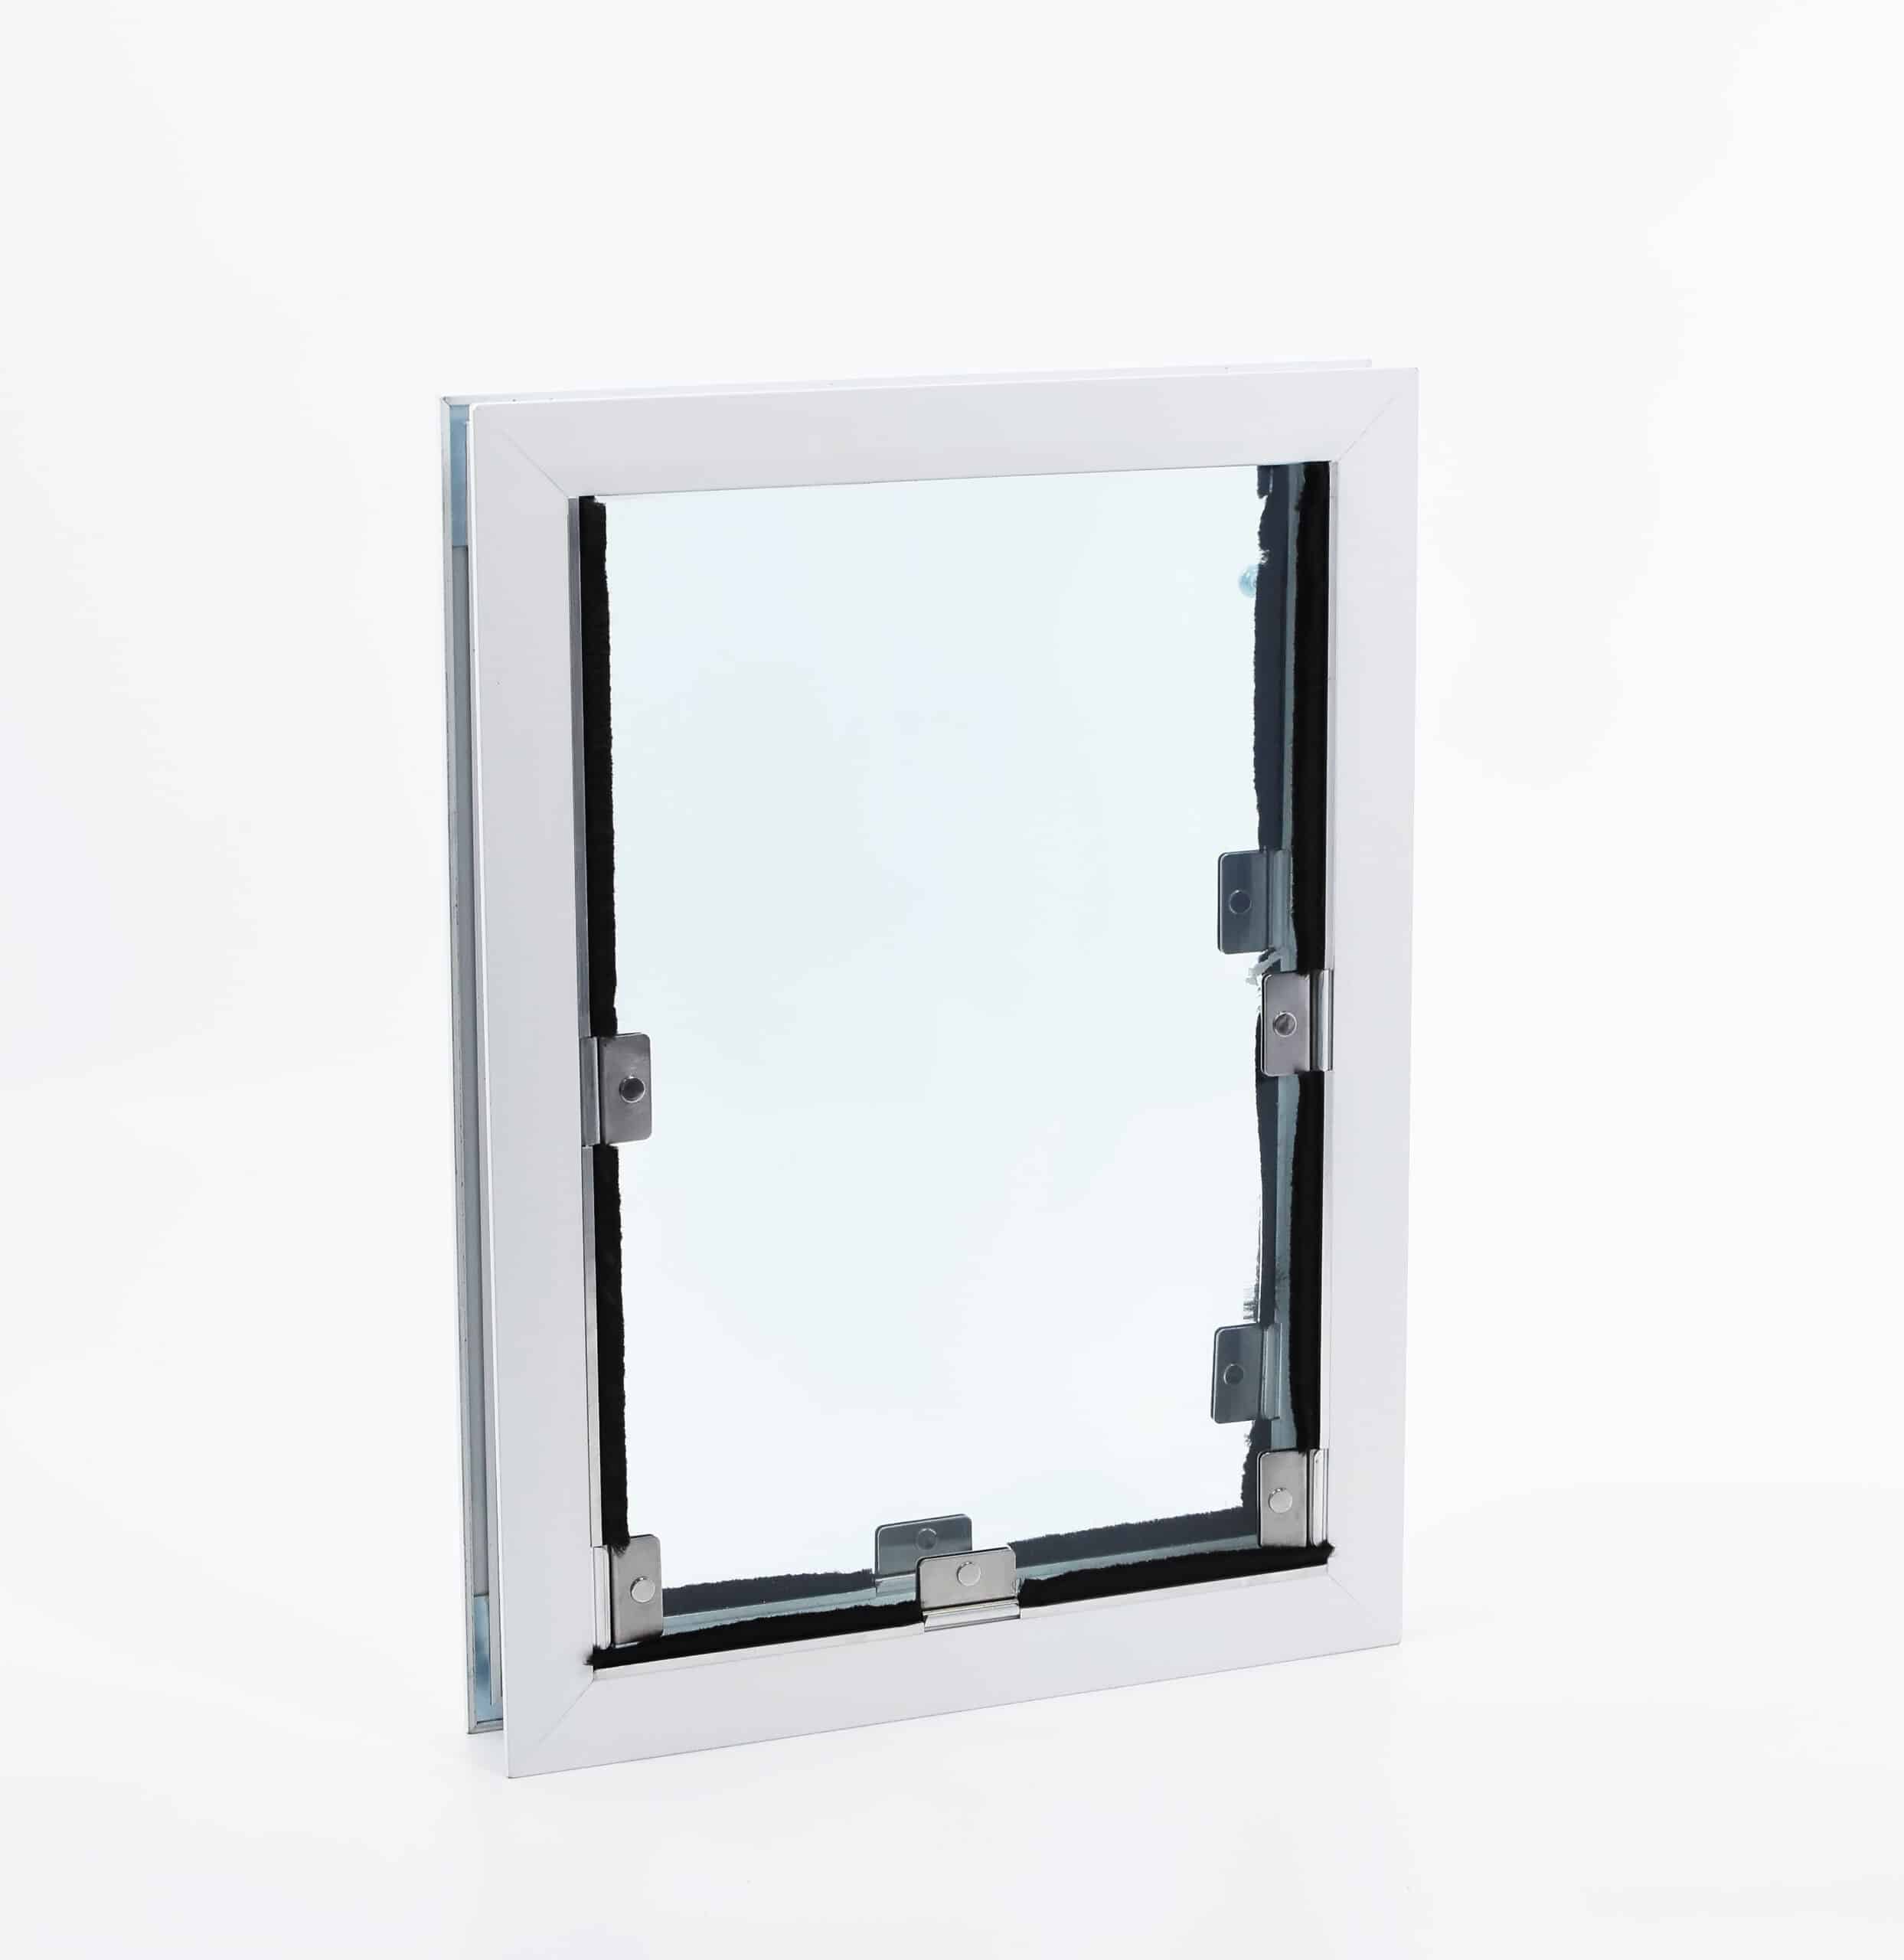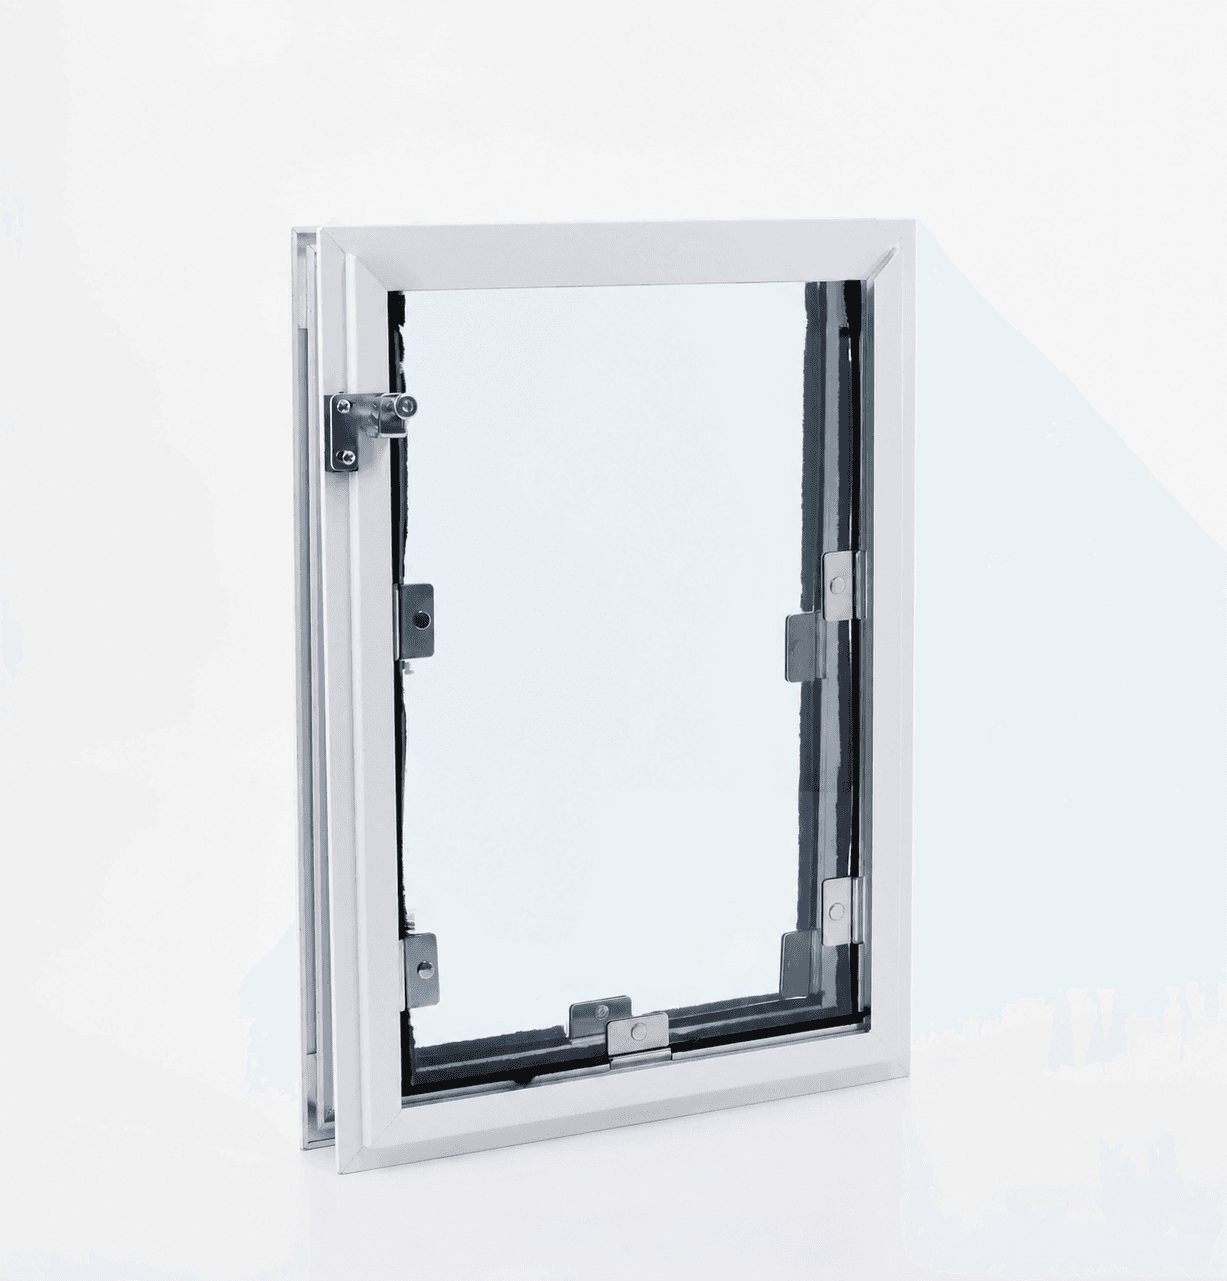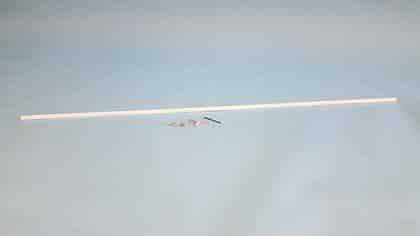
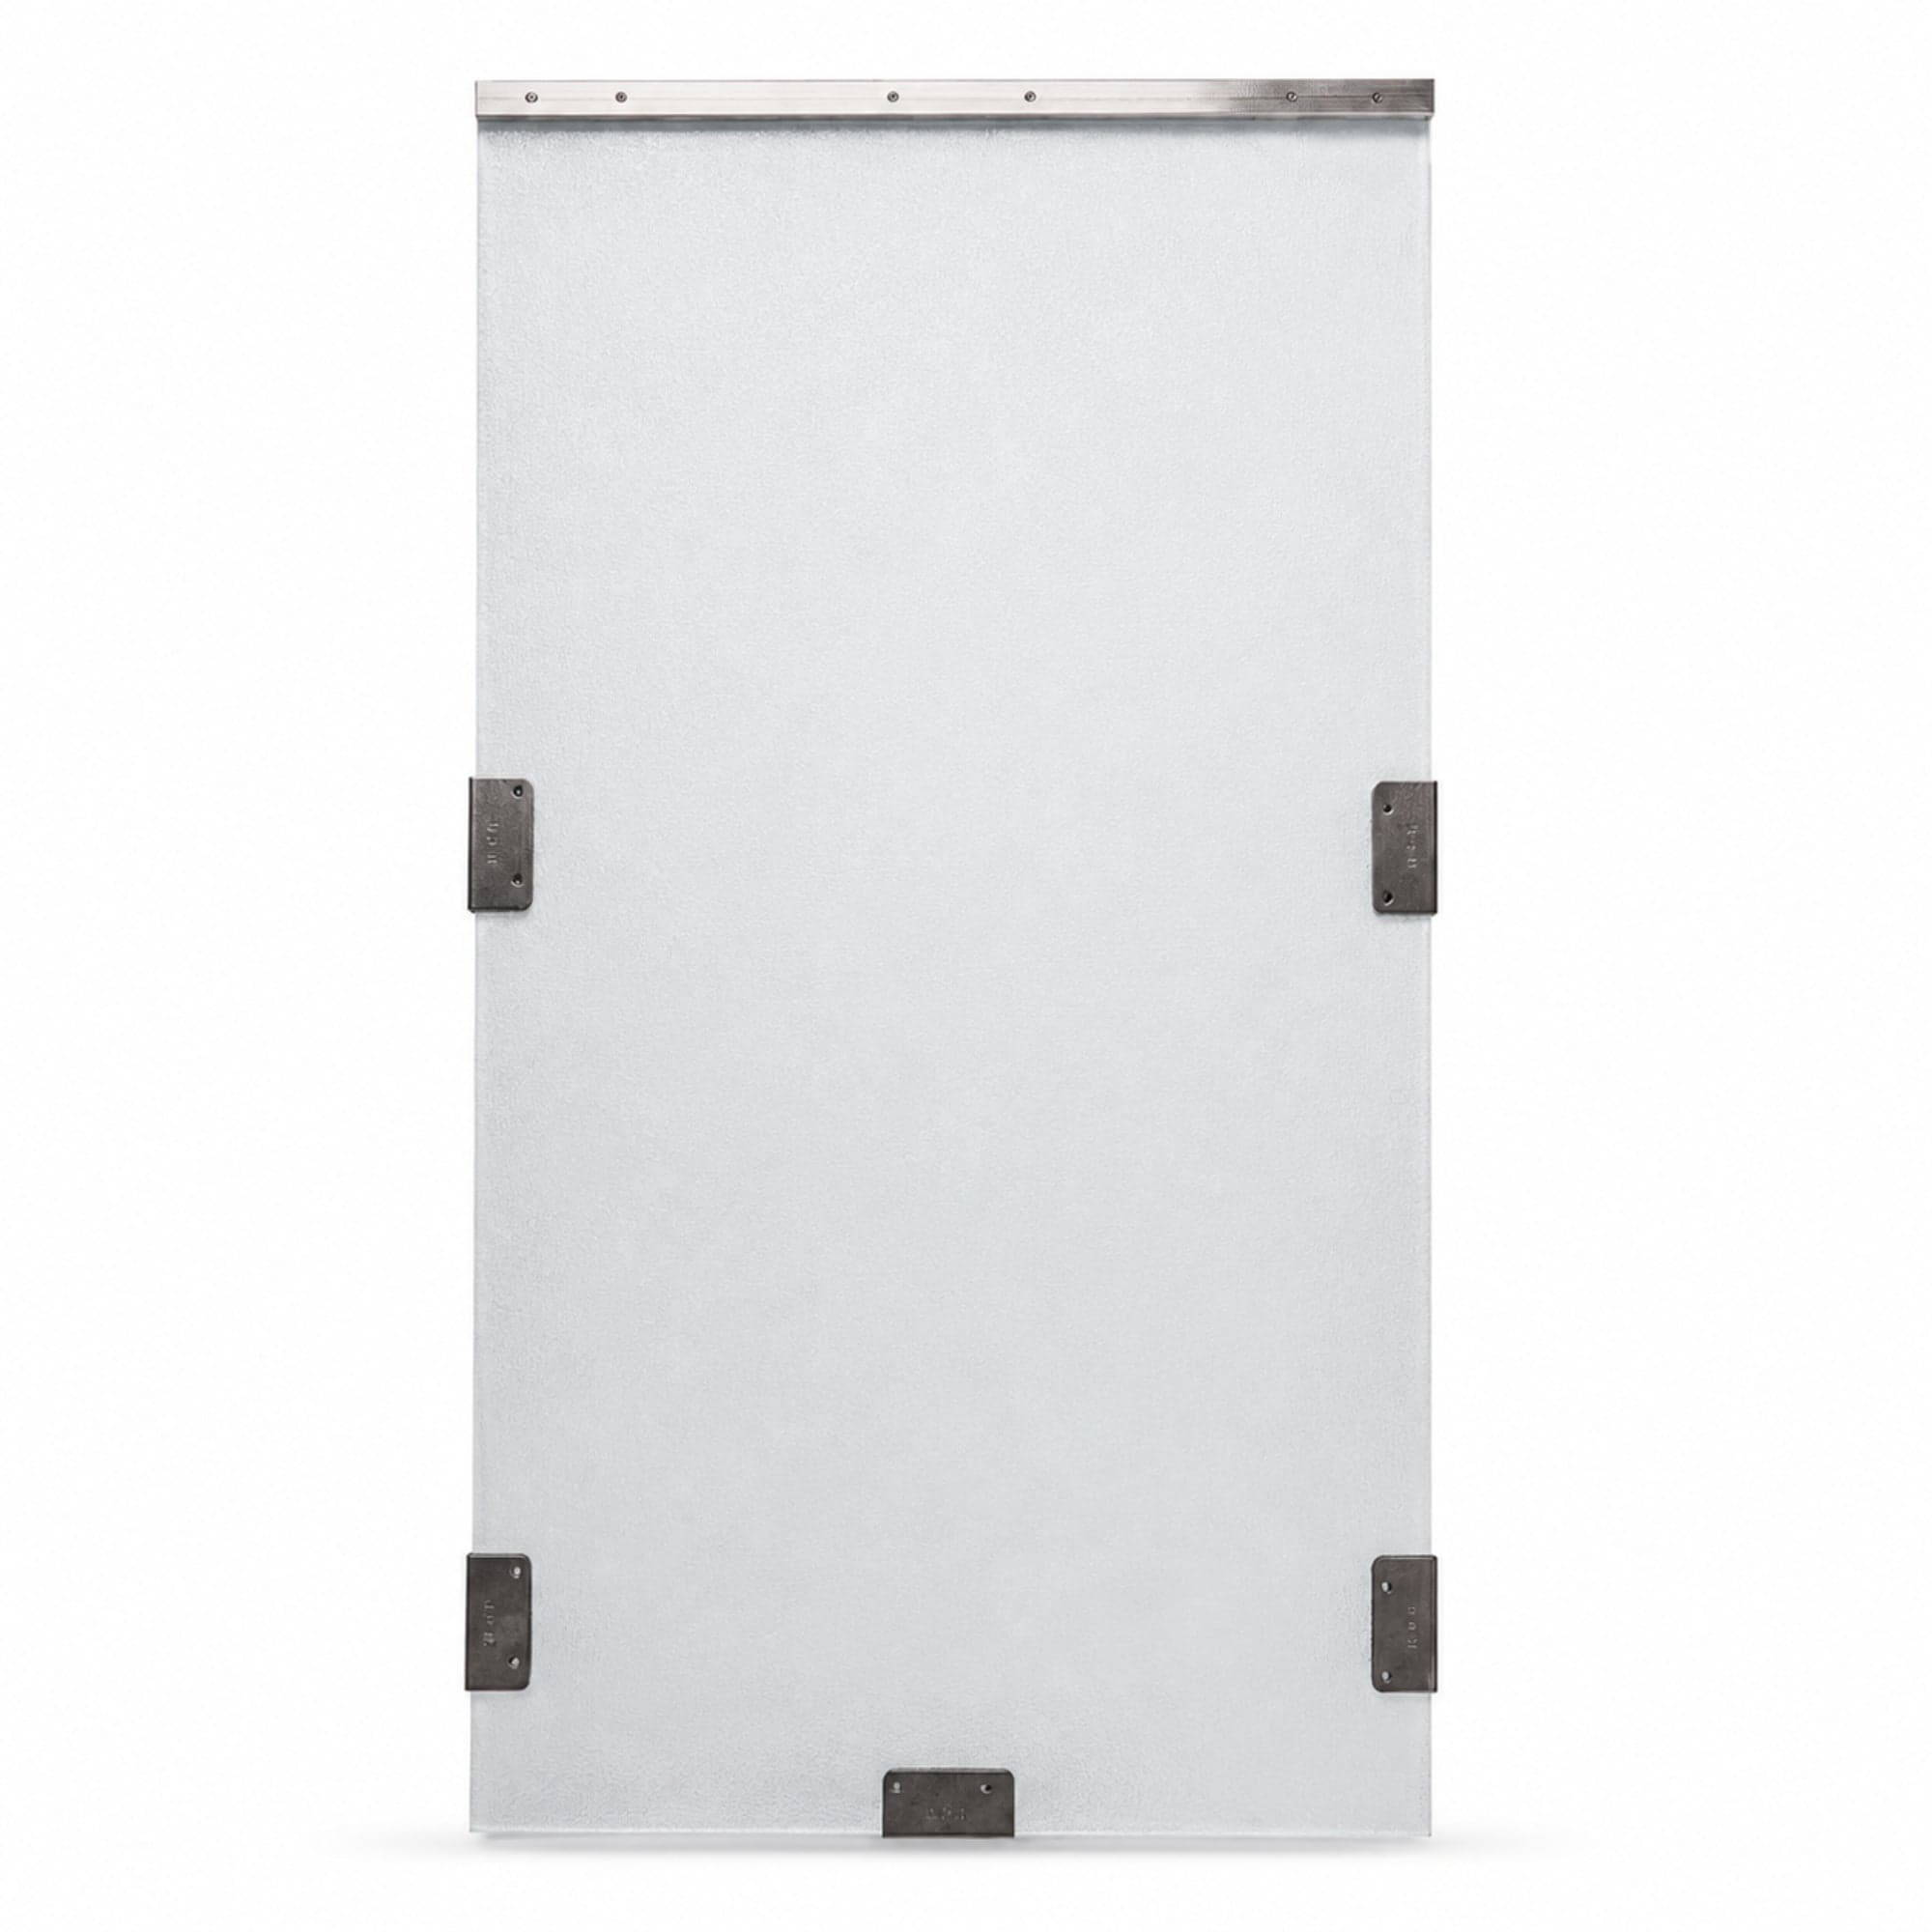
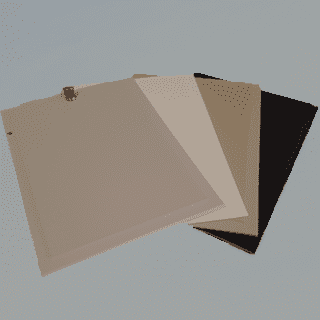
Standard Door Size Compensation Strips
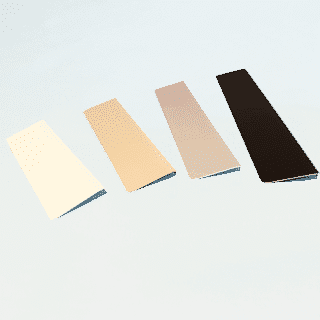
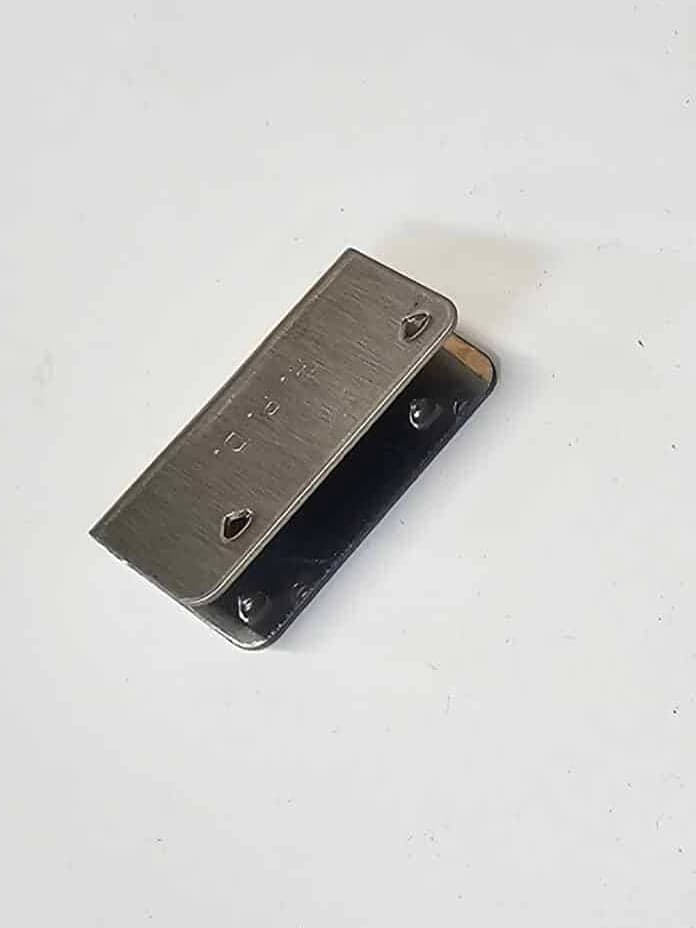
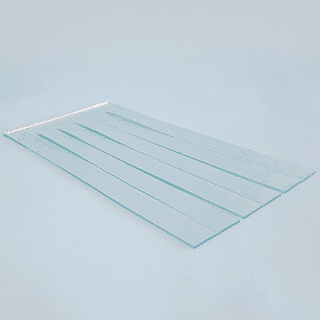
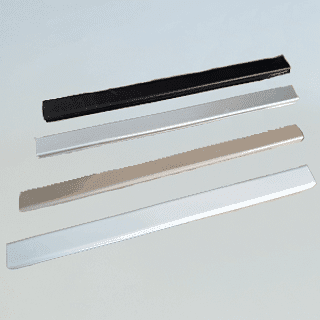
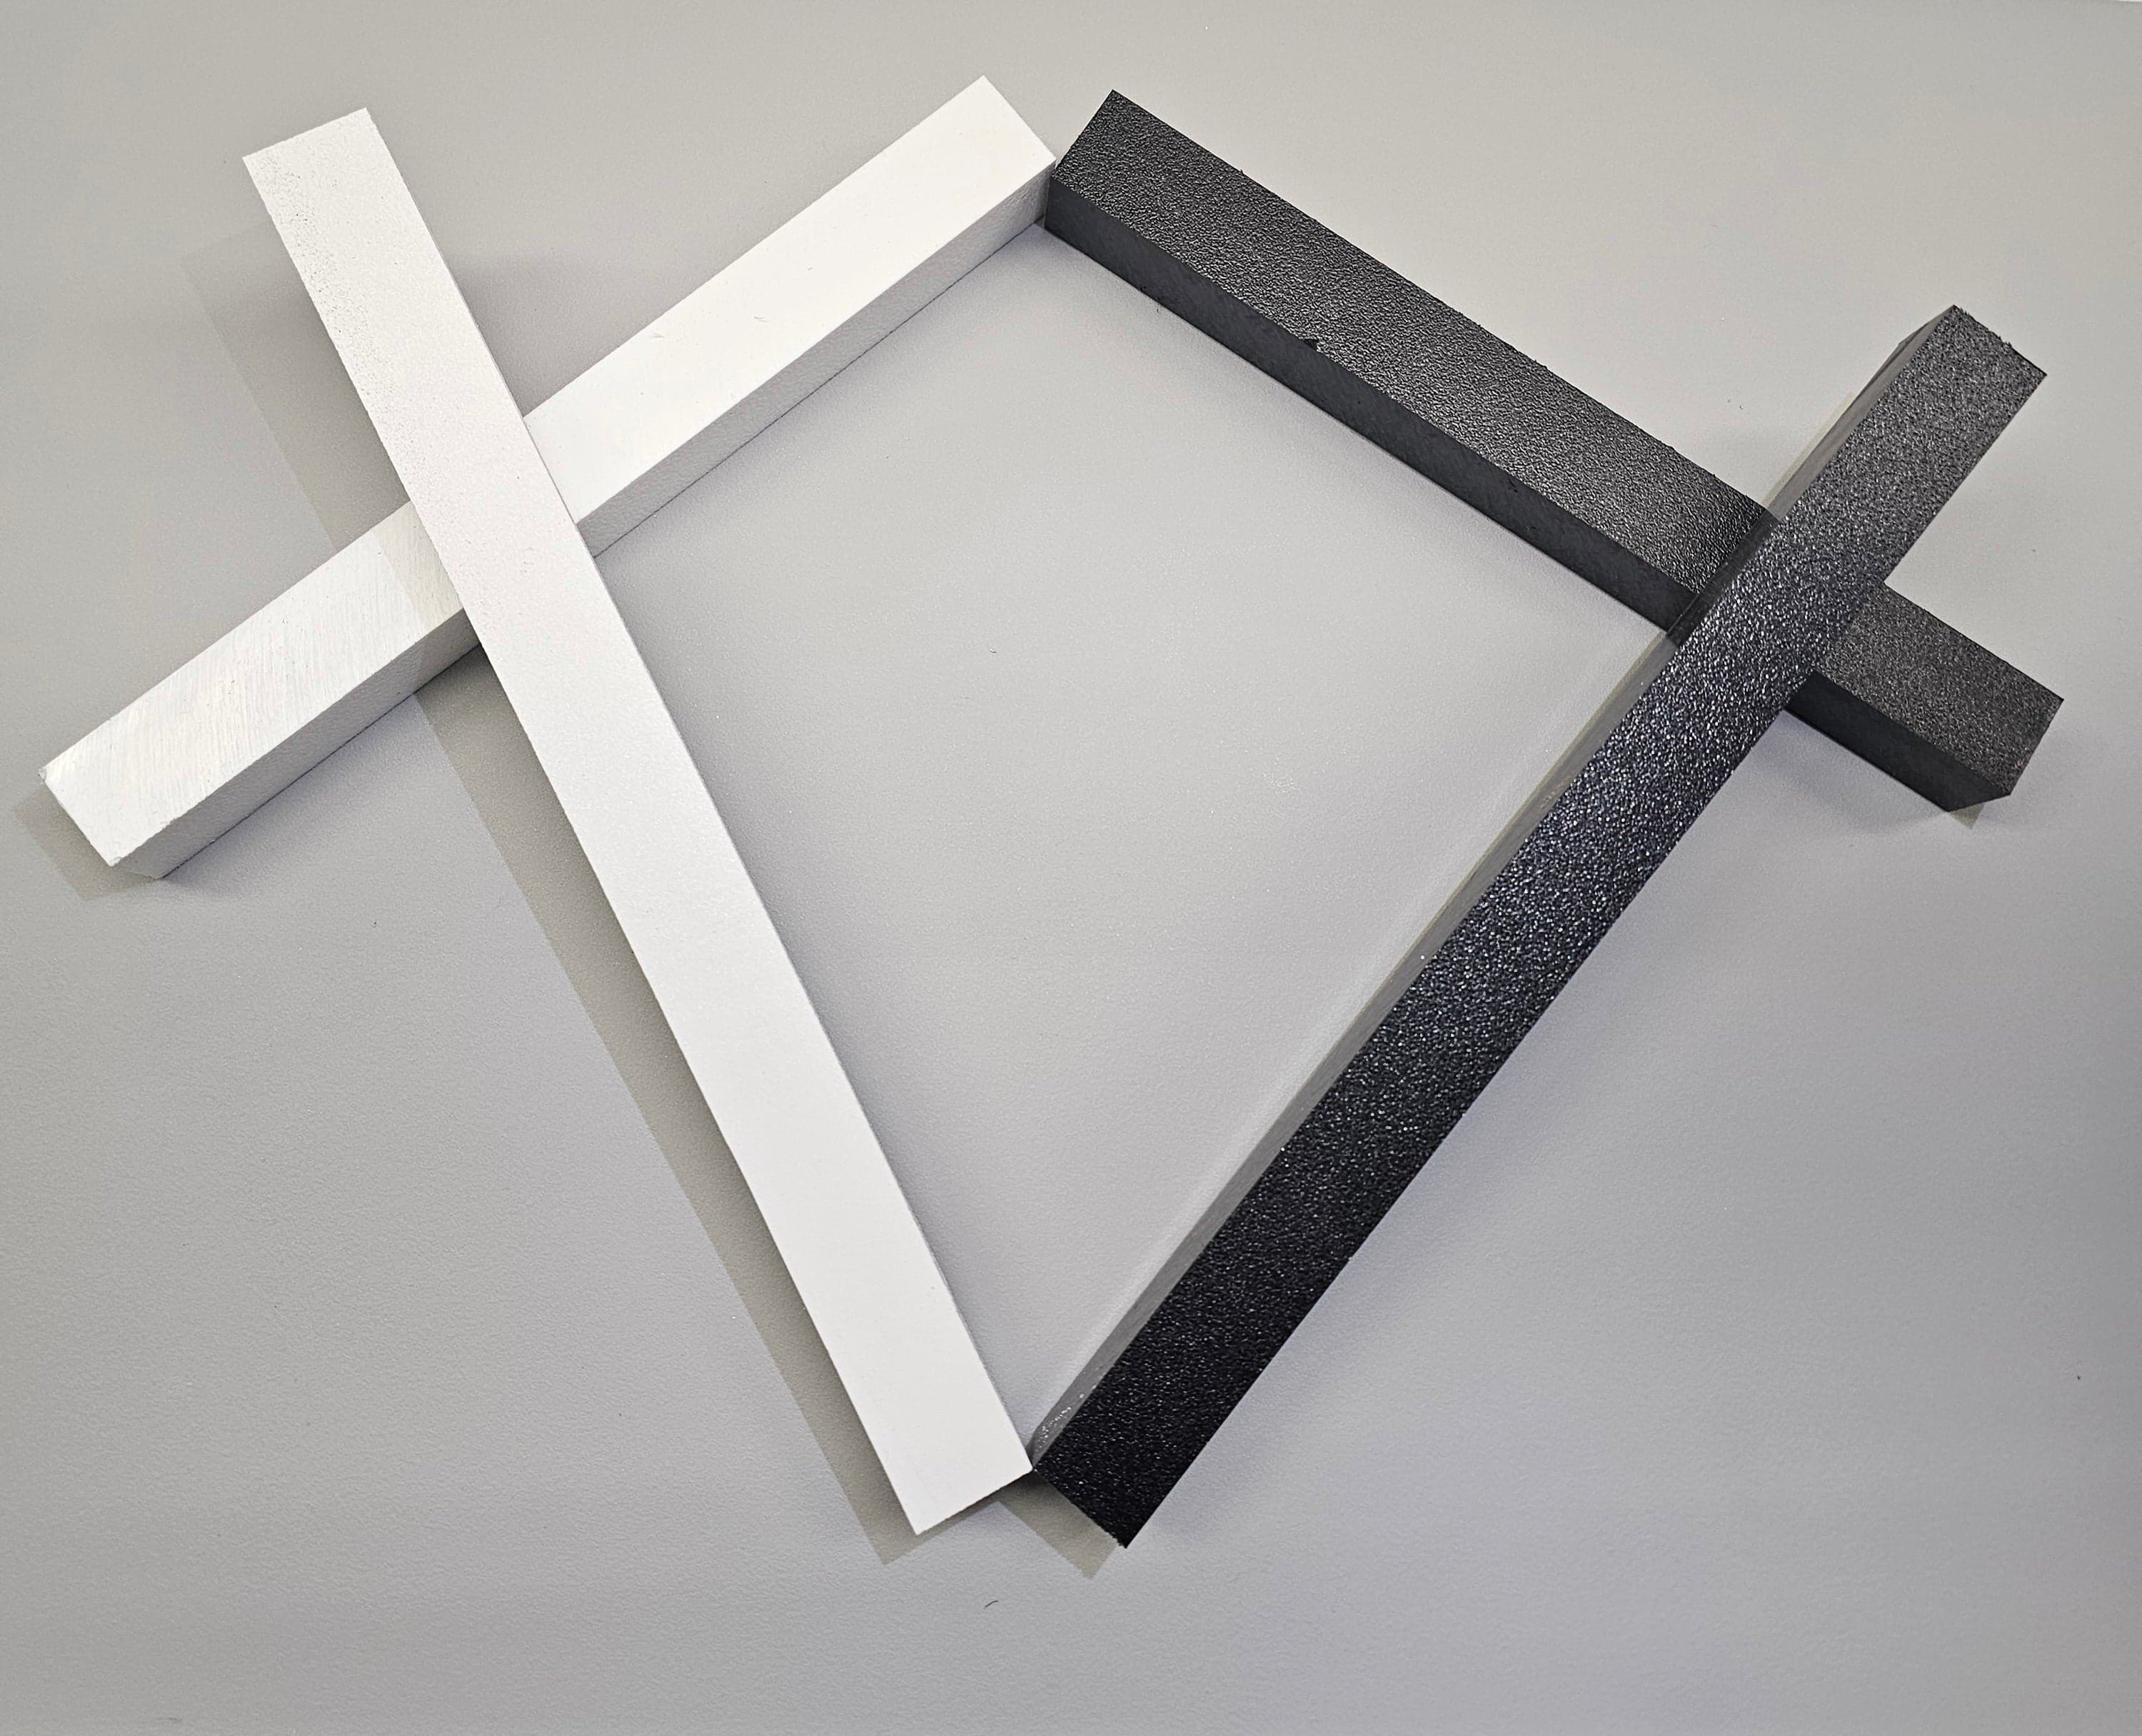
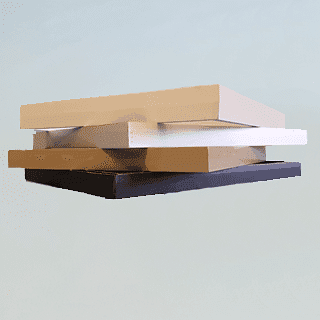
Compensation Strips help cover the space that is missing when installing our pet doors. Our color options are White or Black. Please add in the notes the thickness you…
Choose your size →Service the parts that wear or change without replacing the entire pet-door assembly.
Choose the installation model first, then verify pet size, rough opening, frame dimensions, finish and flap package.

Compensation Strips help cover the space that is missing when installing our pet doors. Our color options are White or Black. Please add in the notes the thickness you…
Choose your size →
By default, all flaps are our new textured/frosted ones. If you would like the classic clear flaps, please add it in the notes. If you order an exterior frame only, you will receive the frame used for our door, wall and…
Choose your size →
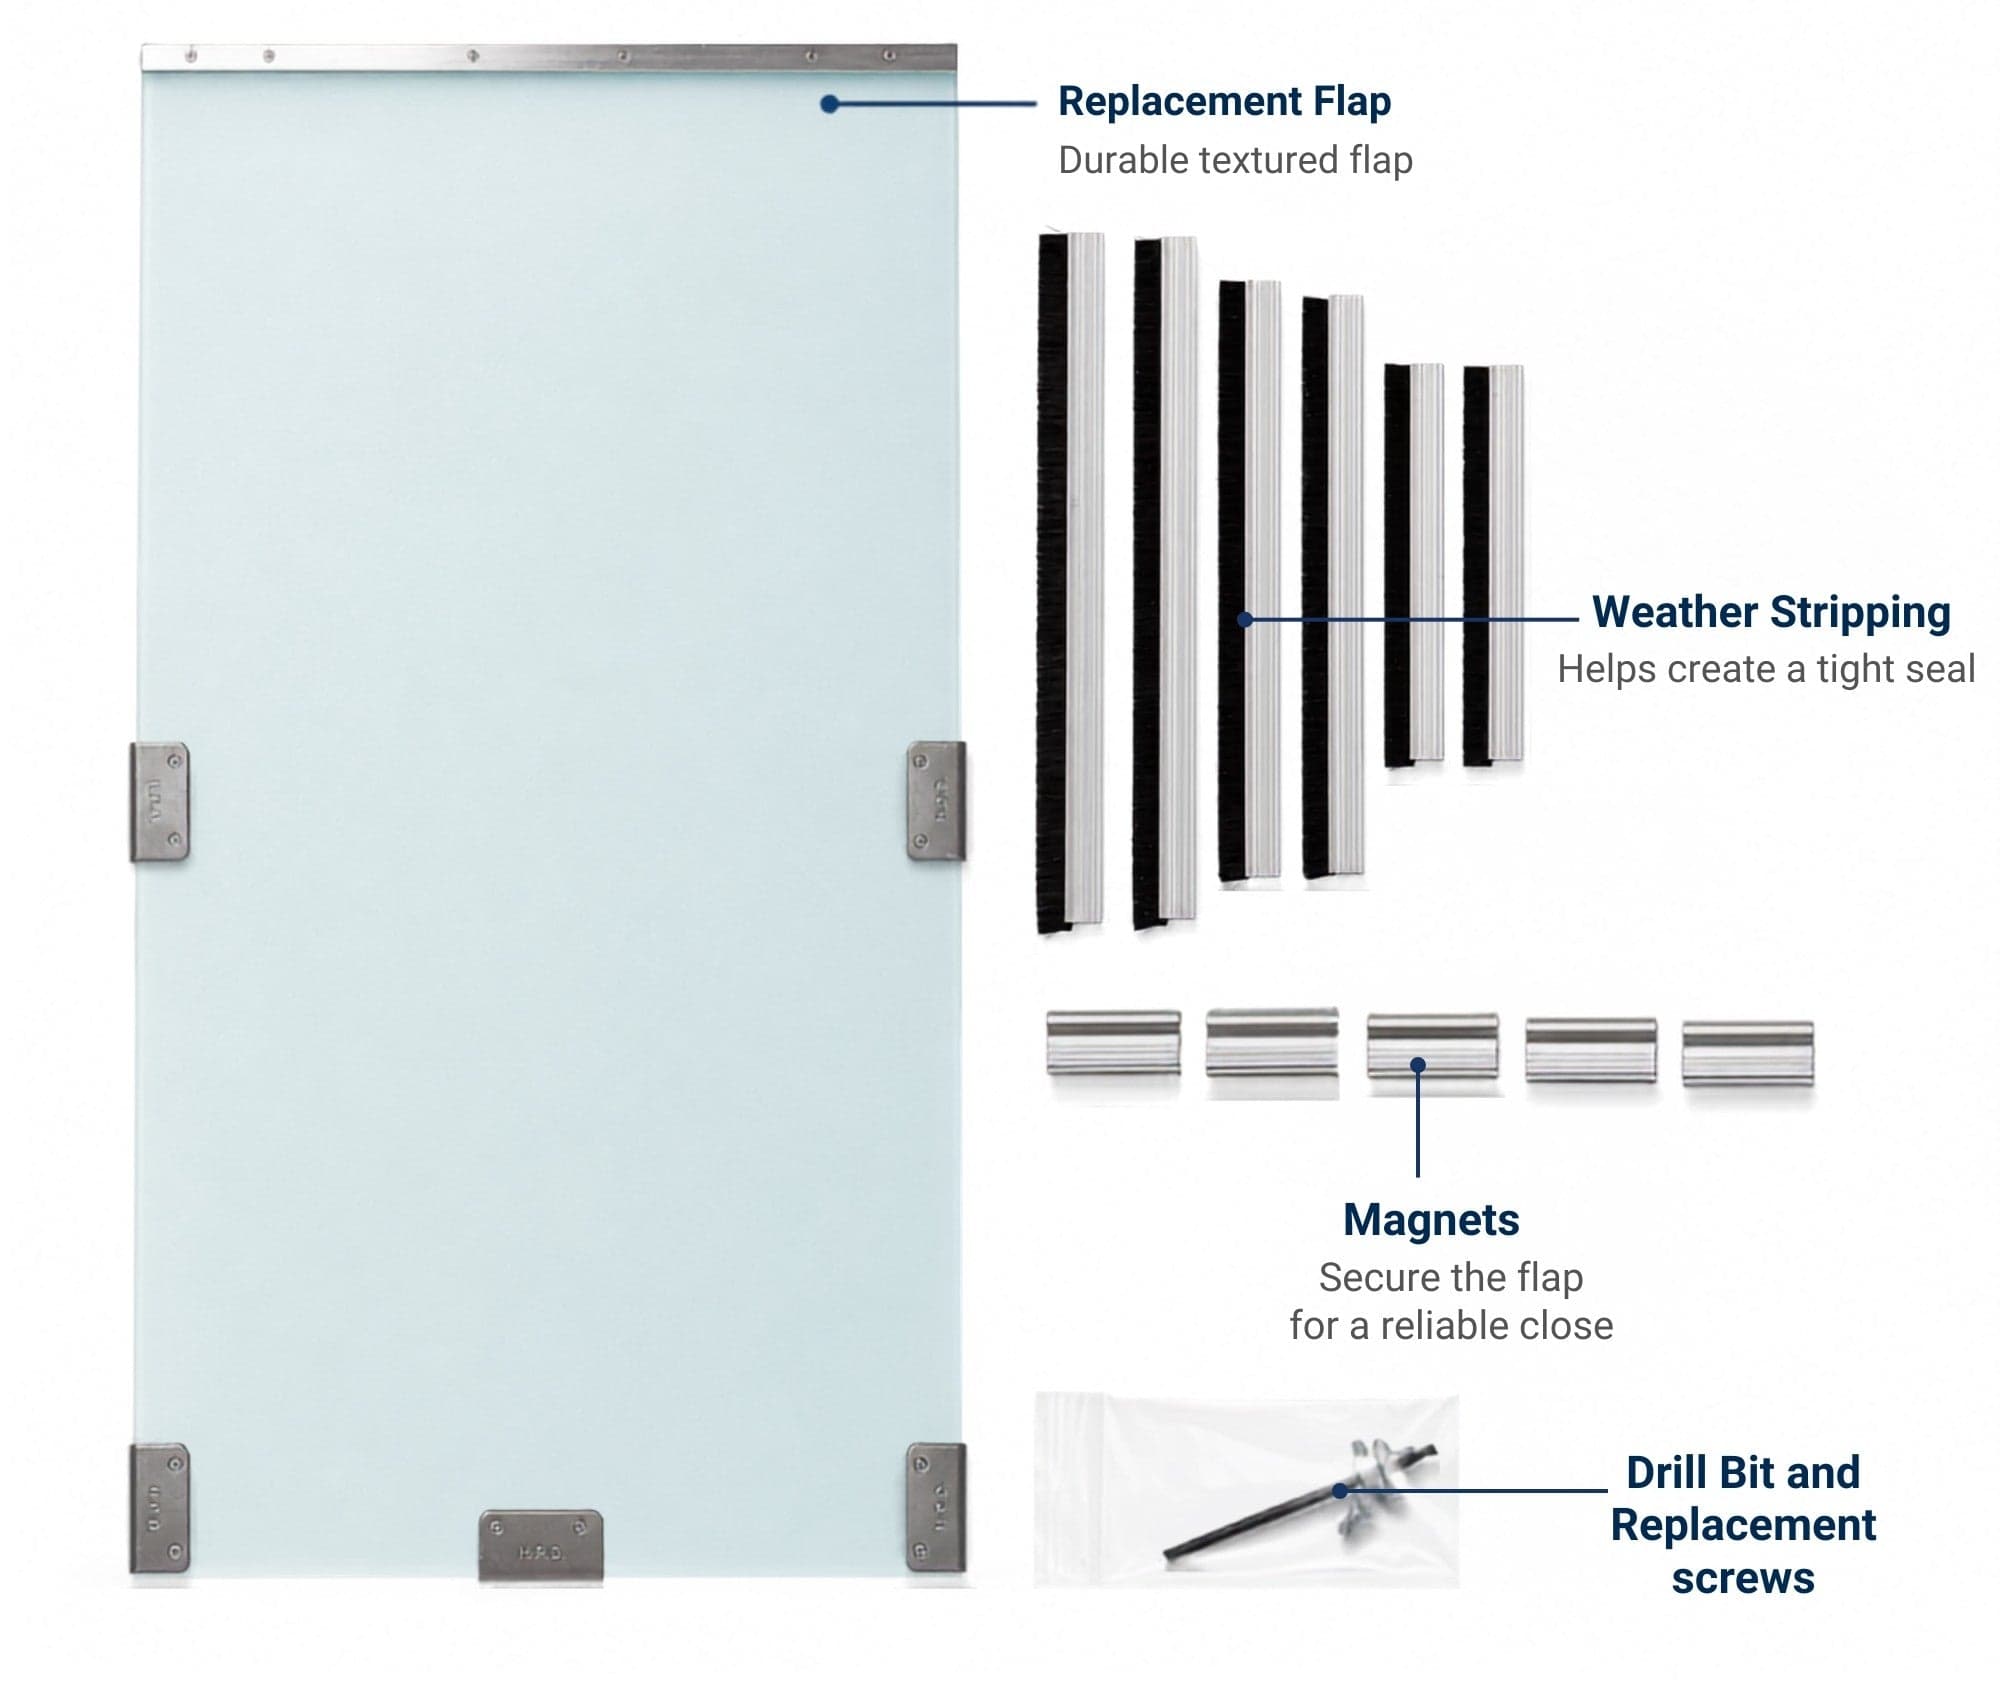
If you order an interior frame only, you will receive the frame used for our door, wall and double pane in glass models. It will contain the door frame in the color of your choice as well as the cover, flap, weather…
Choose your size →
Genuine replacement or installation component matched to compatible pet-door sizes and configurations.
Choose your size →
Genuine replacement or installation component matched to compatible pet-door sizes and configurations.
Choose your size →
Please pick the appropriate size replacement cover for your pet door. NOTE: Did you purchase your pet door prior to 2005? If so, we will need to make the cover narrower to fit the older metal track we used to use in our…
Choose your size →
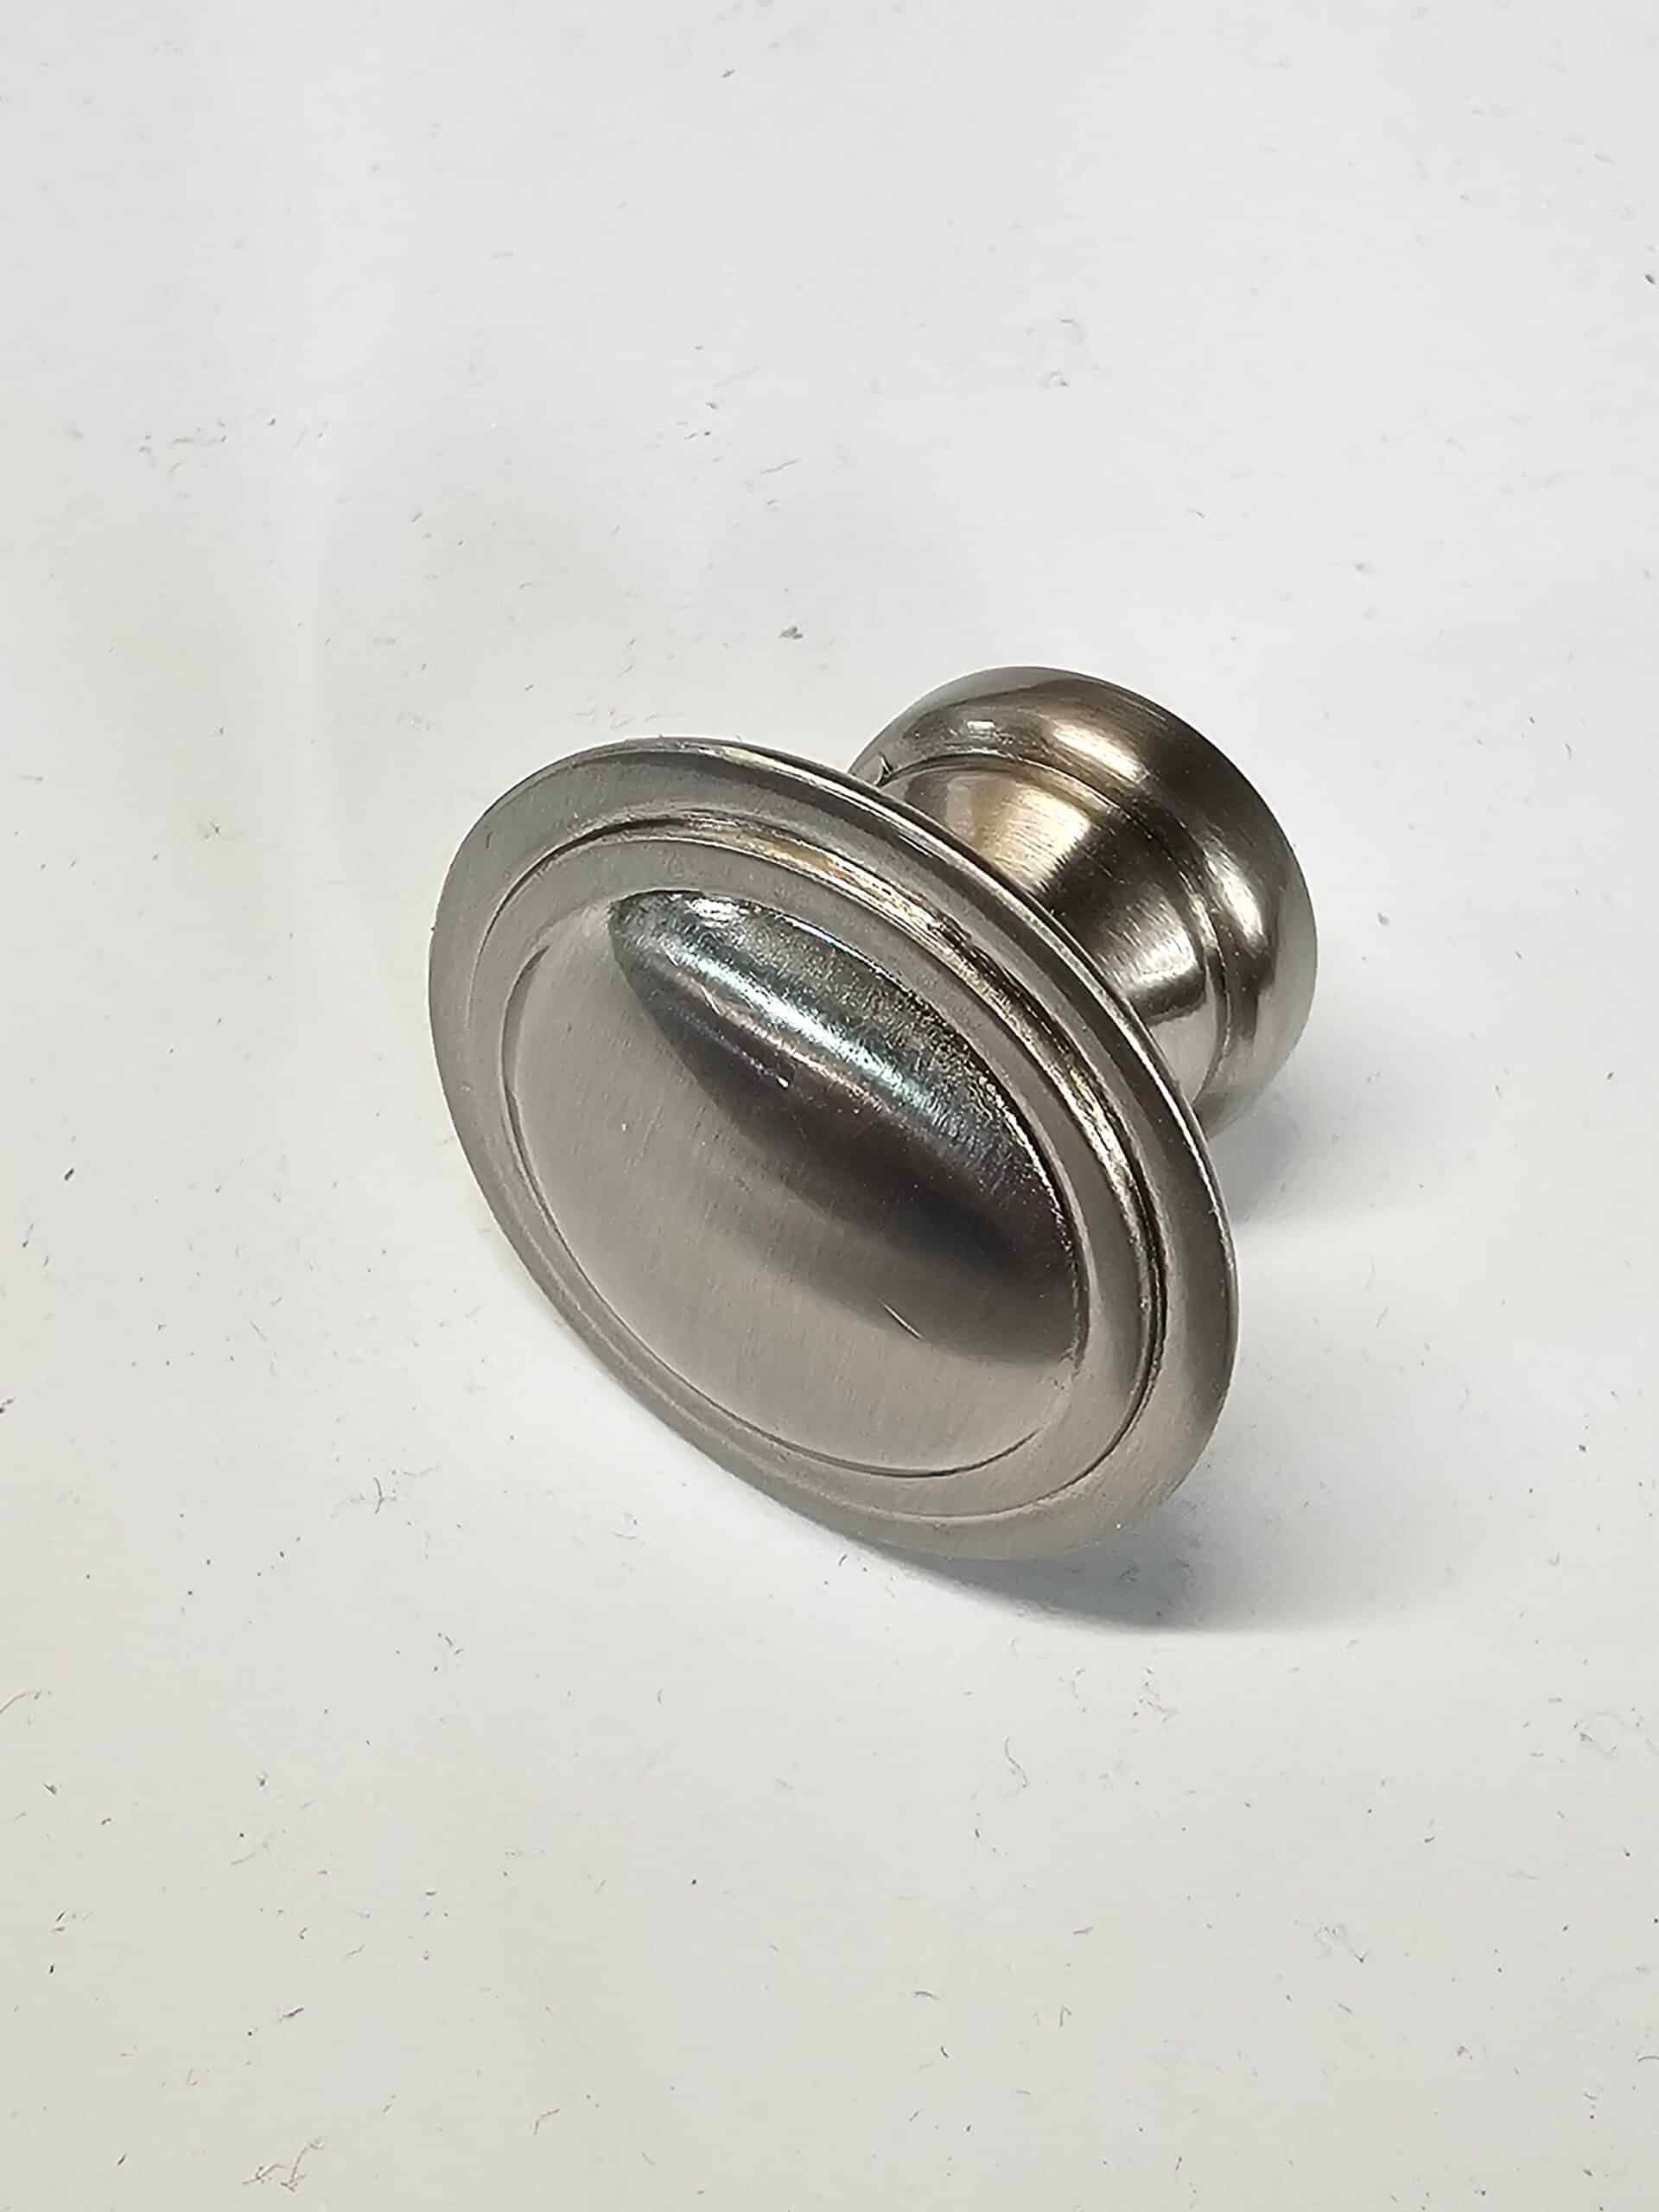
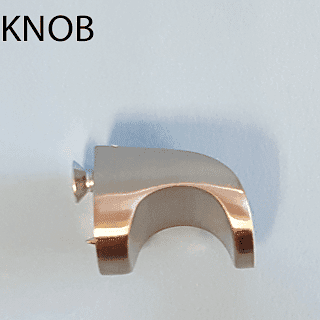
2 photosKnobs can be added to any premium pet door Security Cover. Our original covers came with finger holes but a knob can be added above or below if you so…
Choose your size →
Genuine replacement or installation component matched to compatible pet-door sizes and configurations.
Choose your size →
Genuine replacement or installation component matched to compatible pet-door sizes and configurations.
Choose your size →
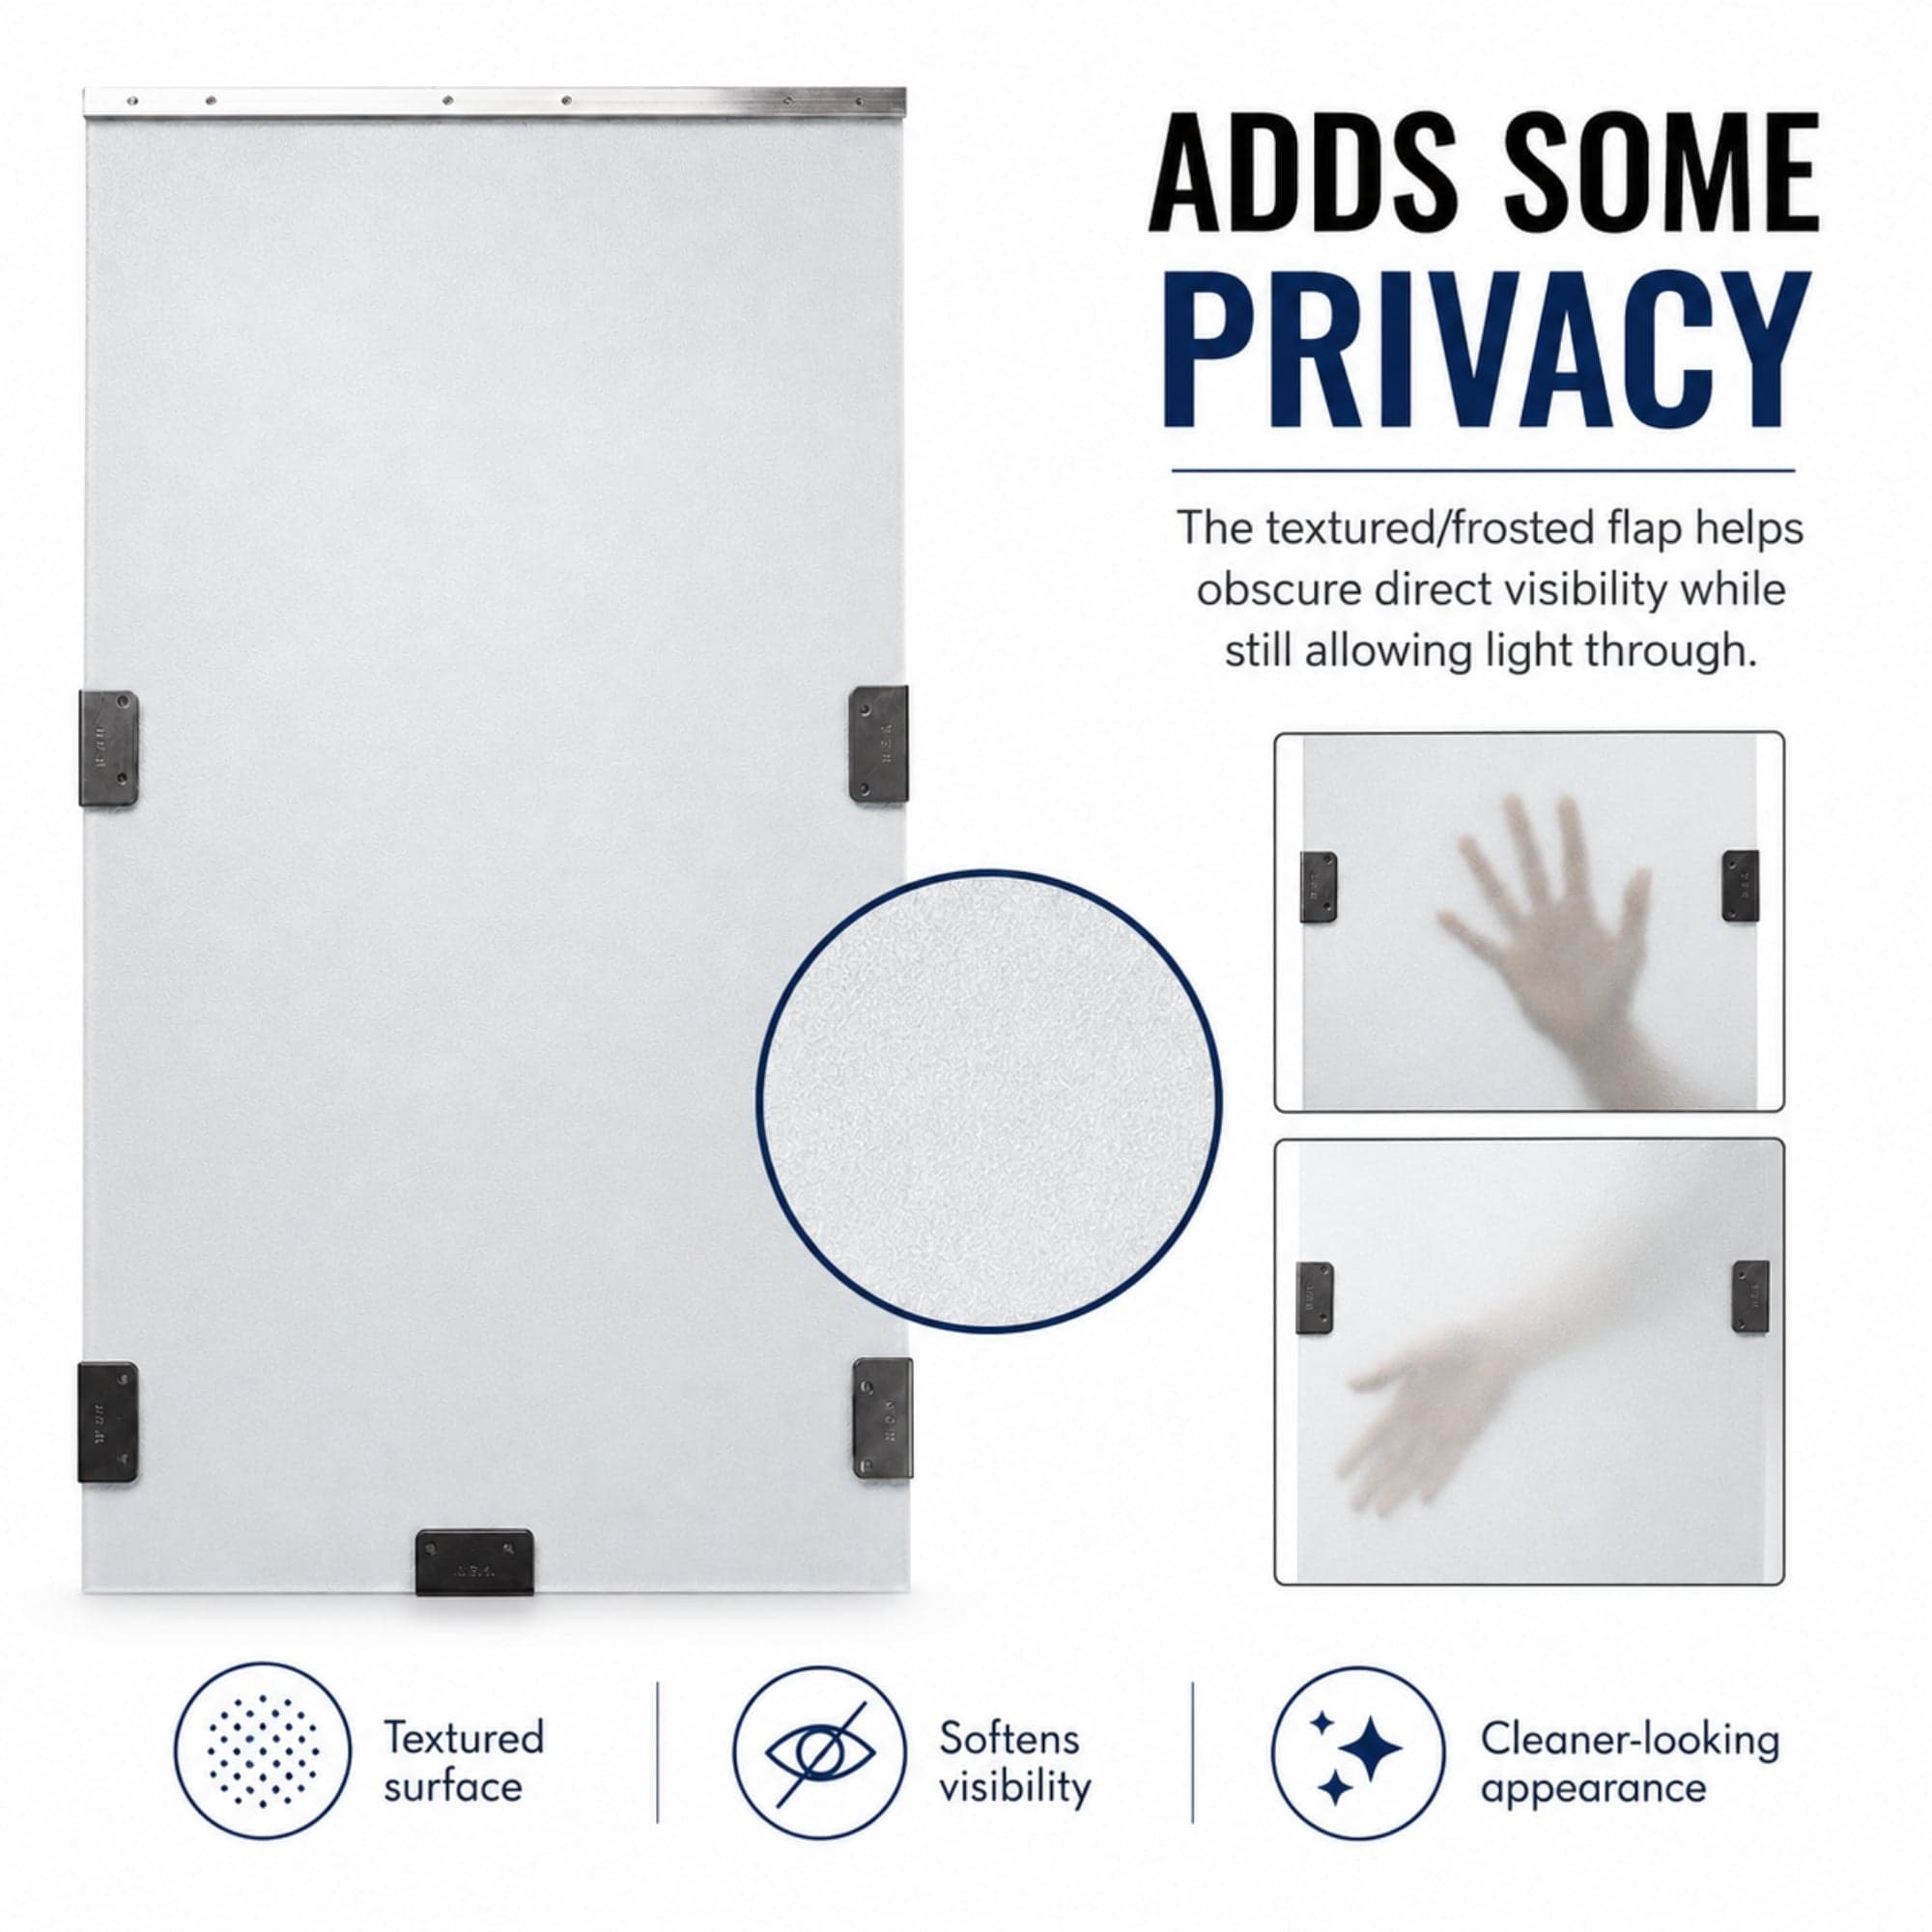
2 photosBy default, all flaps are our new textured/frosted ones. Designed for durability, easier to maintain, and give some privacy to the owners. If you would like the classic clear flaps, please add it in the notes. The…
Choose your size →
2 photosBy default, all flaps are our new textured/frosted ones. Designed for durability, easier to maintain, and give some privacy to the owners. If you would like the classic clear flaps, please add it in the notes. These are…
Choose your size →
Replacement strikes to attach to the vinyl flap to line up with the magnets in the frame. (Sold…
Choose your size →
A training flap is available if your pet needs assistance in getting used to using the pet door. A training flap is made of a similar material to our regular flap but has no strikes and has been vertically slashed…
Choose your size →
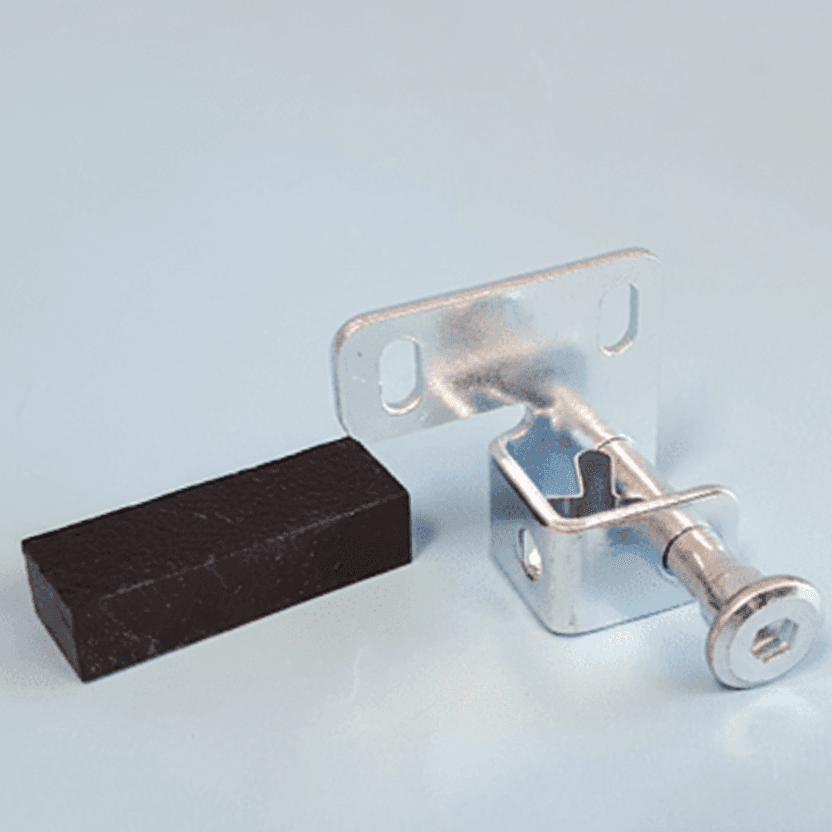
2 photosOur standard door models can only squeeze together down to 1 3/8″. For thinner doors, we recommend adding a buildout. Buildouts are used to fill in the gap that would be left between our door model and a thin door or to…
Choose your size →
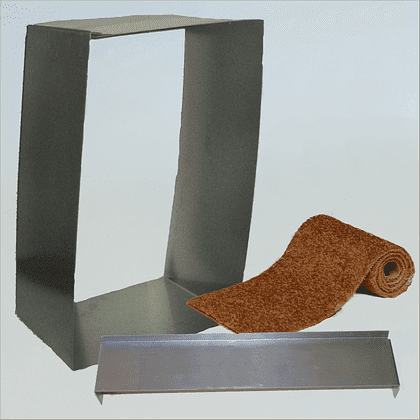
Tunnel kit to convert an existing door model pet door into a wall model pet door. Kit contains 10″ tunnel, flashing, and carpet. If you wish to add a raincap, it is sold separately…
Choose your size →
3 photosThe raincap is part of our exclusive water containment and diversion system. premium was the first pet door company to offer this feature on its pet doors. It acts as an awning to divert water that may be running down…
Choose your size →
3 photosA purpose-built pet door for screen enclosures, screen doors and screened porches, sized to fit the pet instead of a generic small/medium/large label.
Choose your size →
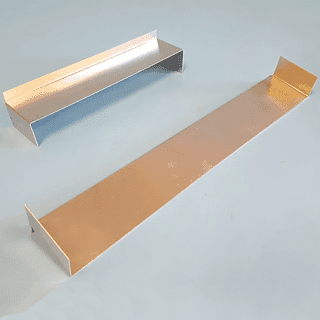
The flashing attachment for wall models is a part of our exclusive water containment and diversion system. It is intended to be installed underneath the tunnel on a wall installation to shunt any moisture that might…
Choose your size →
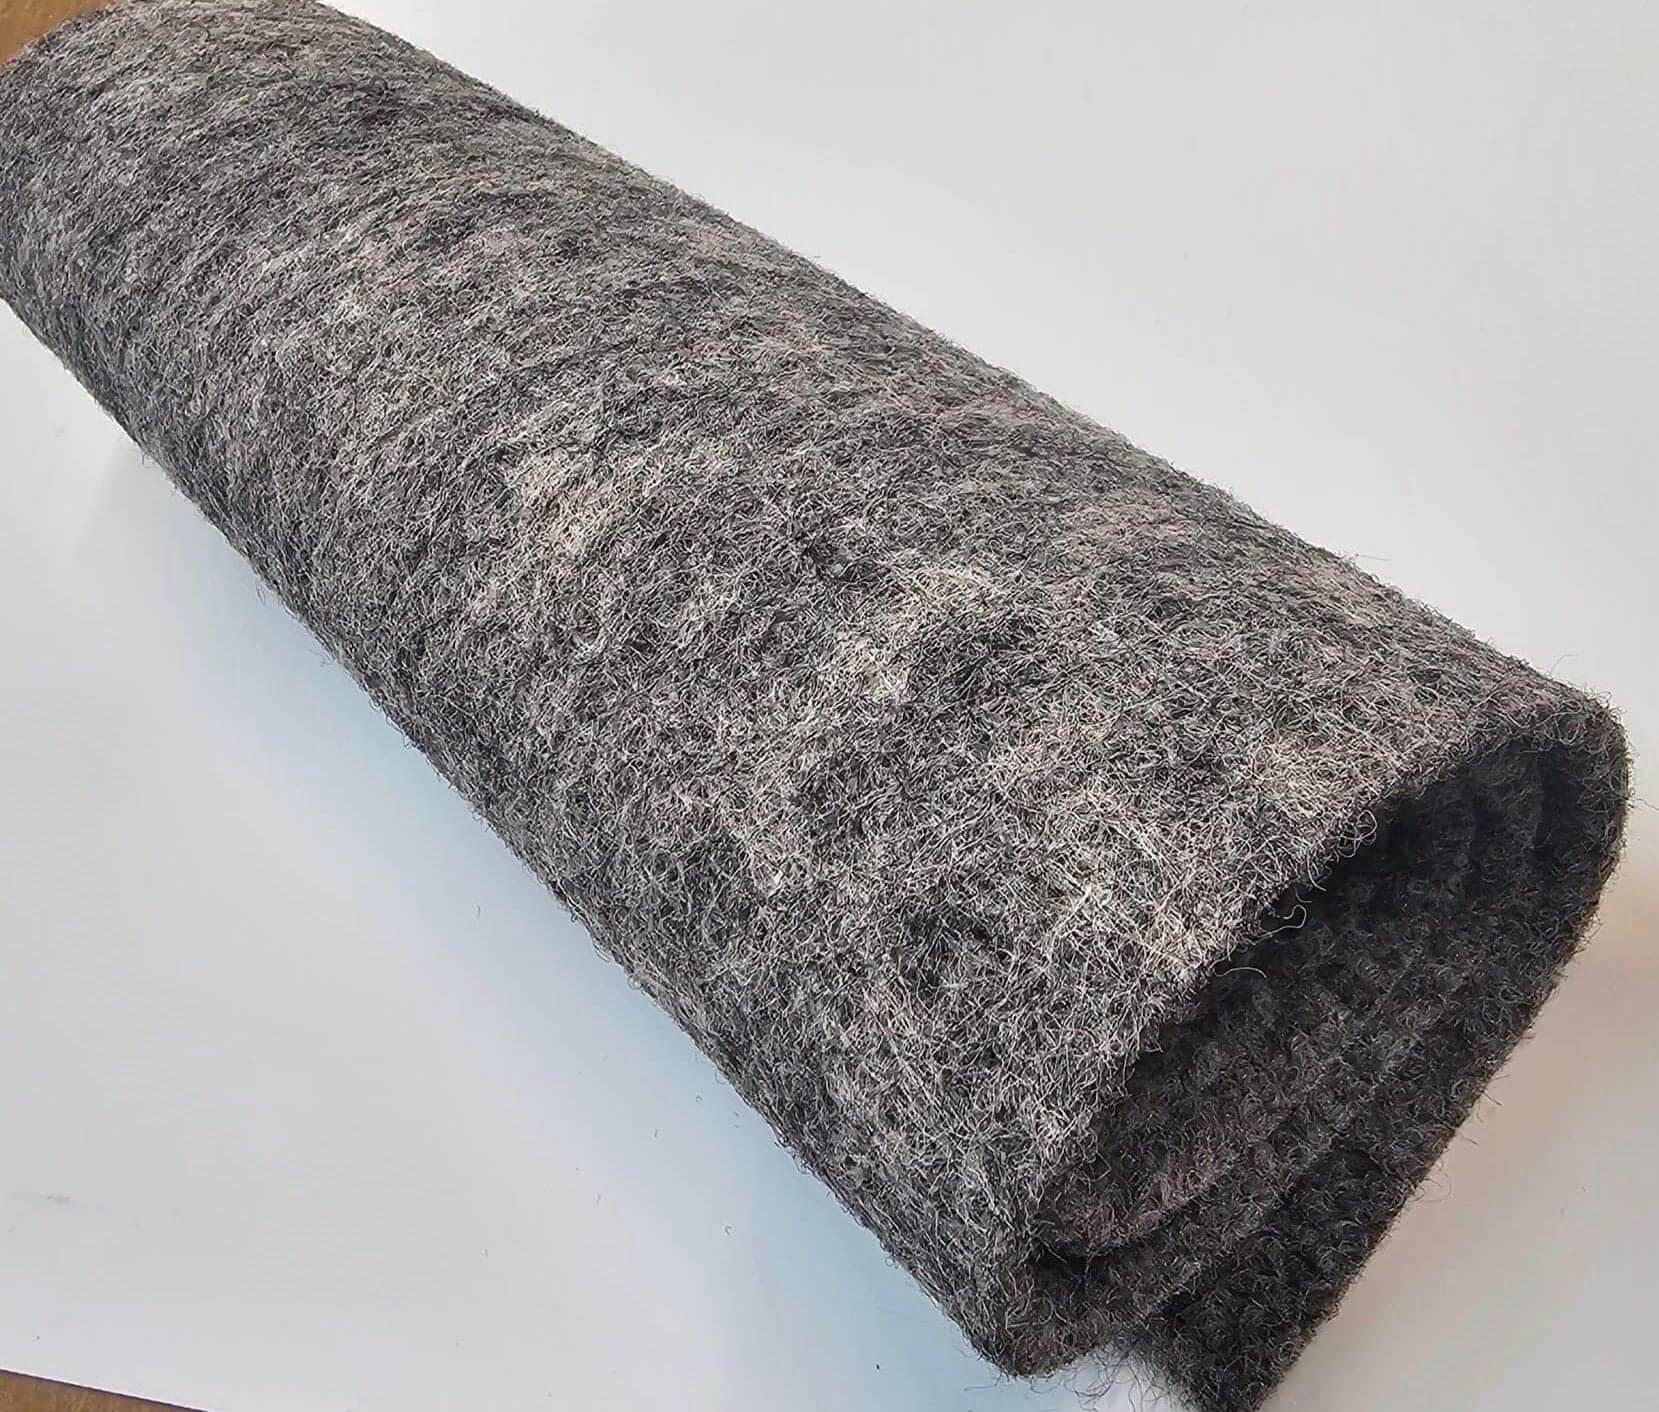
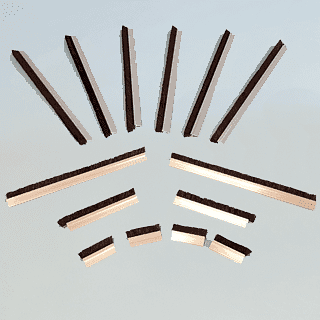
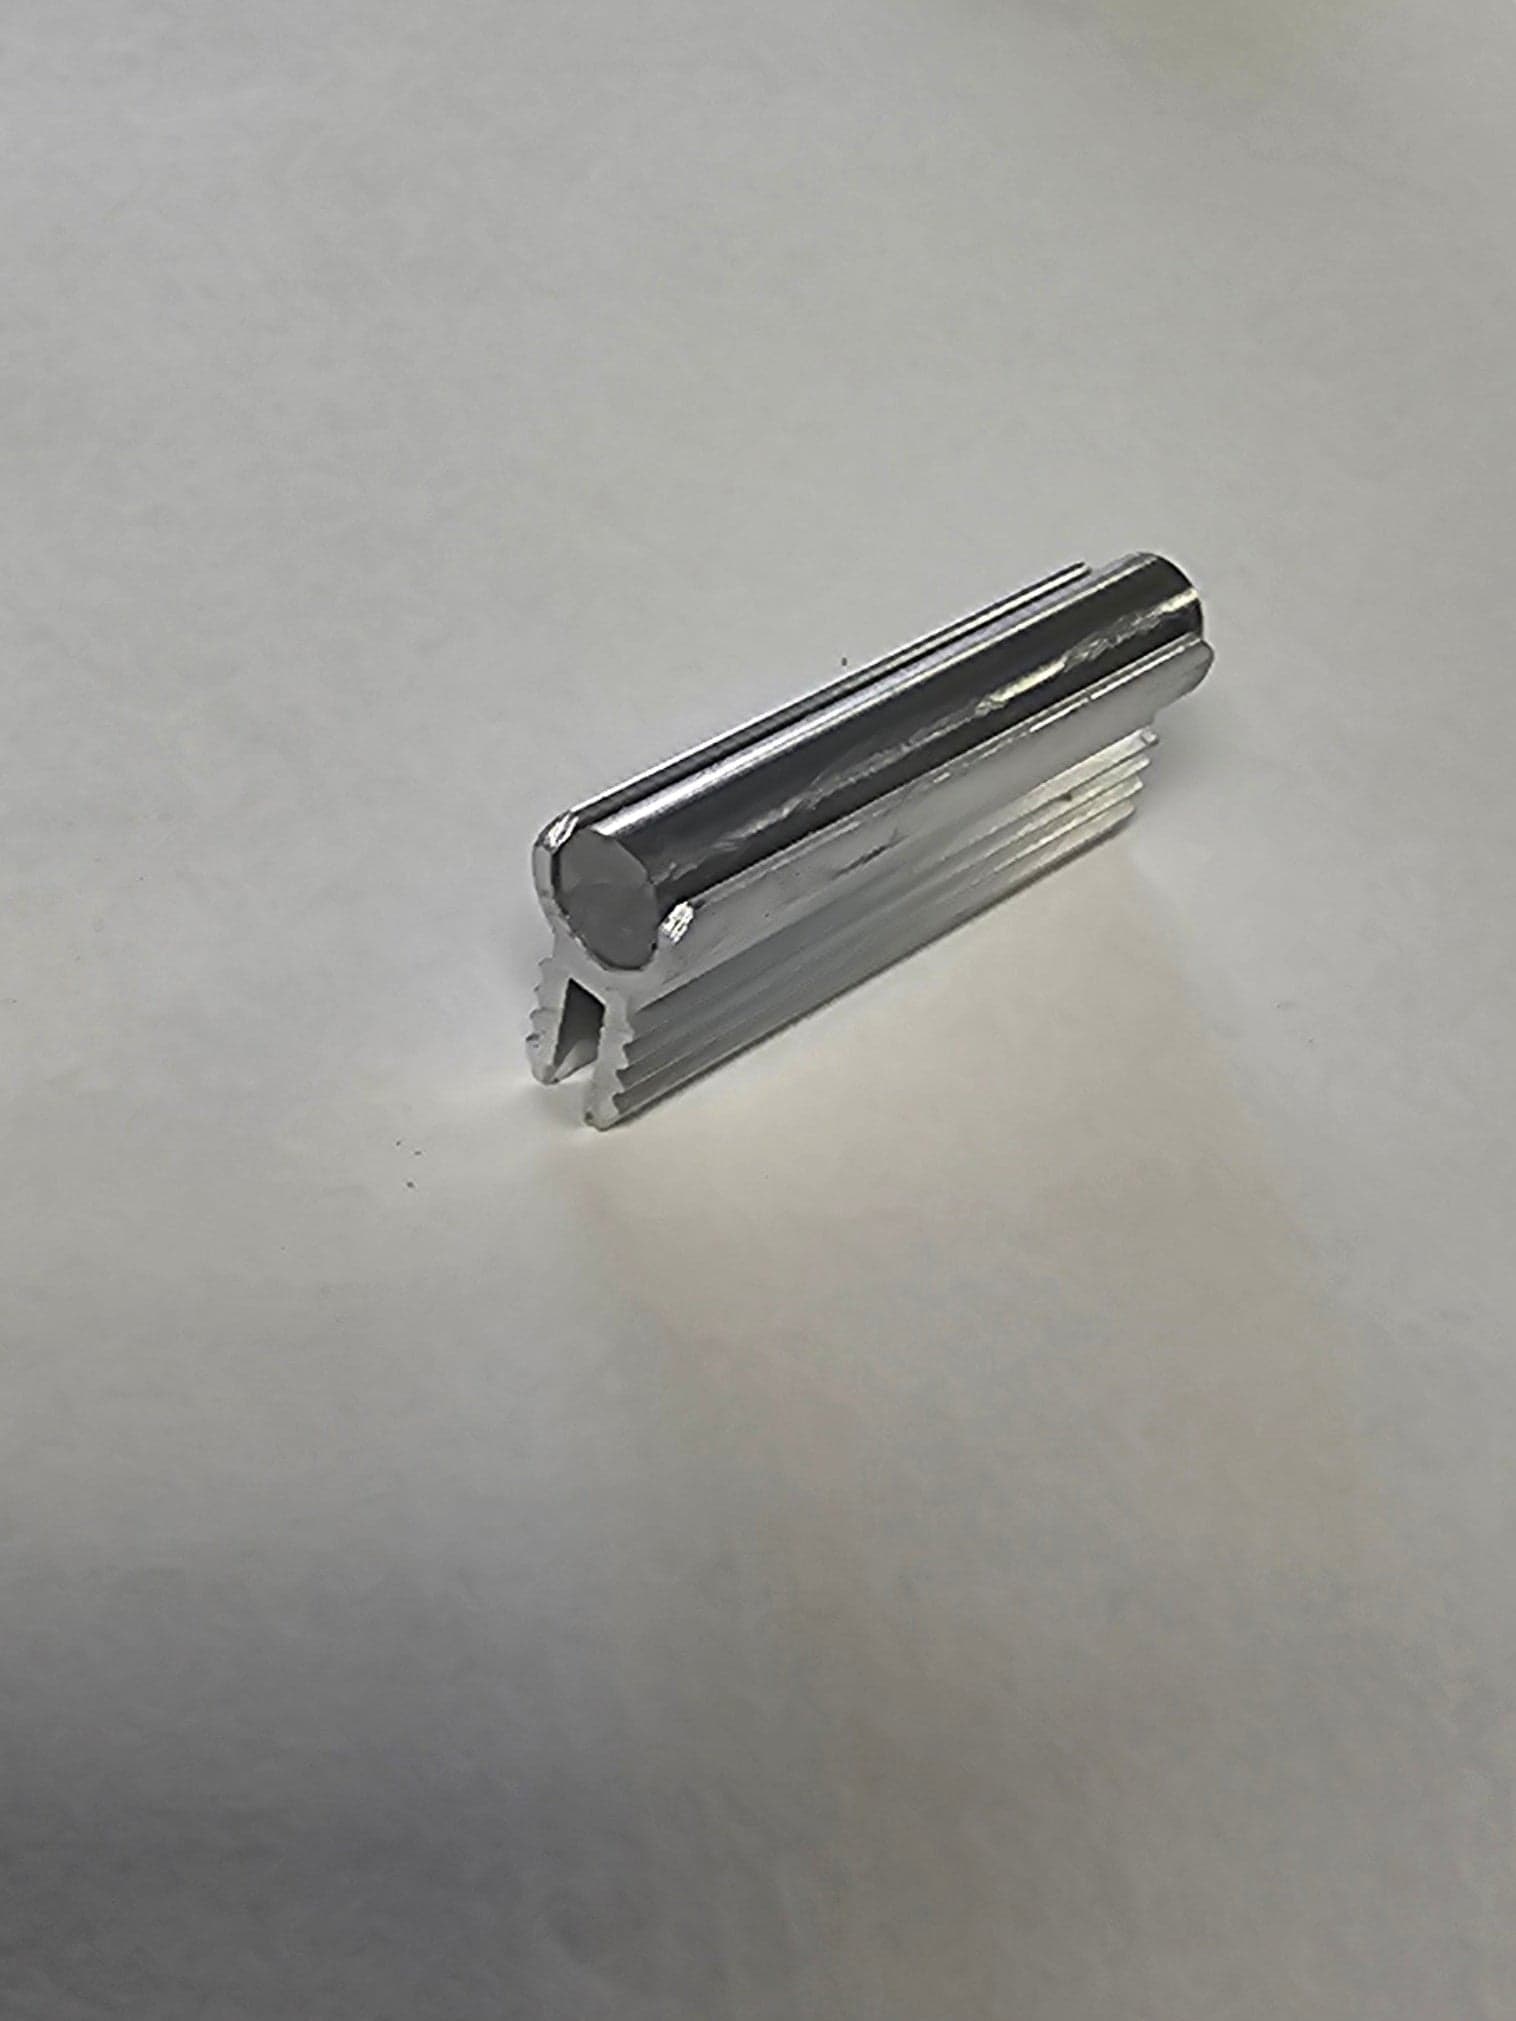
Black nylon weather stripping in metal holders is always used to seal around the flaps of premium pet doors. It has also been used in the past to seal the edges of our panel models where they meet the edge of the door…
Choose your size →Use the original model, size and SKU when matching components. Similar-looking parts are not automatically interchangeable across sizes.
This collection includes regular maintenance parts as well as installation accessories such as tunnel kits, buildouts, compensation strips, stabilizers, flashing and rain protection.
Start with the original model, size, frame orientation and symptom, then choose the exact wear part or installation accessory that addresses it.
The safest way to order Dog Door Parts is to identify the installed door before choosing the component. Record model, named size, approximate purchase date, frame orientation, number of flaps and any SKU or order documentation. Photograph the part in place and the surrounding hardware. A replacement described by a familiar word—flap, magnet, cover, strike or weather strip—can still vary by size and application. Match the system first, then decide whether one component or a fuller kit is the sensible repair.
Flaps, covers, magnets, strikes, weather strip, locks, tunnels and buildouts are dimension- and model-sensitive. Use SKU and size evidence whenever possible.
Use manufacturer dimensions and the original frame identity whenever available. Old flexible parts can stretch, curl or be trimmed, making a casual measurement unreliable. Covers depend on frame size and load direction; magnets and strikes depend on their mating hardware; wall tunnels and buildouts depend on construction depth. If identification remains uncertain, compare multiple dimensions and photos before ordering instead of drilling, cutting or modifying a new part to imitate the worn one.
Dog Doors Depot carries 11 standard flap sizes from Small Medium through Giant, including tall intermediate sizes that separate height from width. Use the individual animal rather than the label as the decision-maker. After the clear opening is selected, compare the exact product variant because model families can use different frame, tunnel and cutout relationships. If every standard choice creates a meaningful compromise, use the custom-size workflow and keep the submitted dimensional basis attached to the order.
Read the component instructions before removing old hardware. Photograph the original orientation and keep fasteners or pilot-hole locations organized.
Read the component instructions and document the original orientation before disassembly. Work on a clean surface, organize fasteners and distinguish existing screw holes from rivets or manufacturing marks. After installation, cycle the flap or cover repeatedly and confirm magnets, strikes, tracks and locks meet correctly. A replacement should move freely without being forced. If it binds, inspect alignment and compatibility rather than immediately enlarging holes or removing material.
Replacing the right service part can restore closing, sealing or access control without discarding the main frame. Inspect connected components so one worn part does not hide another.
A repair visit is an opportunity to inspect the connected system. A new flap may still leak if weather strip is missing or the frame is out of square. A cover may not lock if a track is damaged. A magnet cannot close a badly curled panel. Clean the frame, correct debris and note the date and part number used. Keeping that small service record turns the next repair into a direct reorder instead of another identification project.
Do not combine visually similar parts from different frame sizes and do not treat installation accessories as universal repair pieces.
A strong preflight is deliberately repetitive: measure again, check the dimensional label, compare both faces of the opening and read the exact manual. Confirm that the host door, wall, screen, glass or kennel panel remains safe and functional after the cutout. Record uncertainty instead of converting it into a guess. If structure, utilities, ratings, glass type or water management are unclear, pause the product decision and have the appropriate installer or trade verify the condition. That short review is less expensive than correcting an incompatible made-to-order frame.
Move from shortlist to order only after four checks agree. The pet fits the clear opening; the building can accept the rough opening and full frame; the selected model matches the surface and thickness; and the flap, finish, cover and accessory choices match the intended use. Save the product page and model instructions with a labeled measurement sheet. For multiple openings, give each location its own ID and configuration. Review every line before submitting because made-to-order dimensions and options should not be inferred from another opening or corrected after fabrication begins.
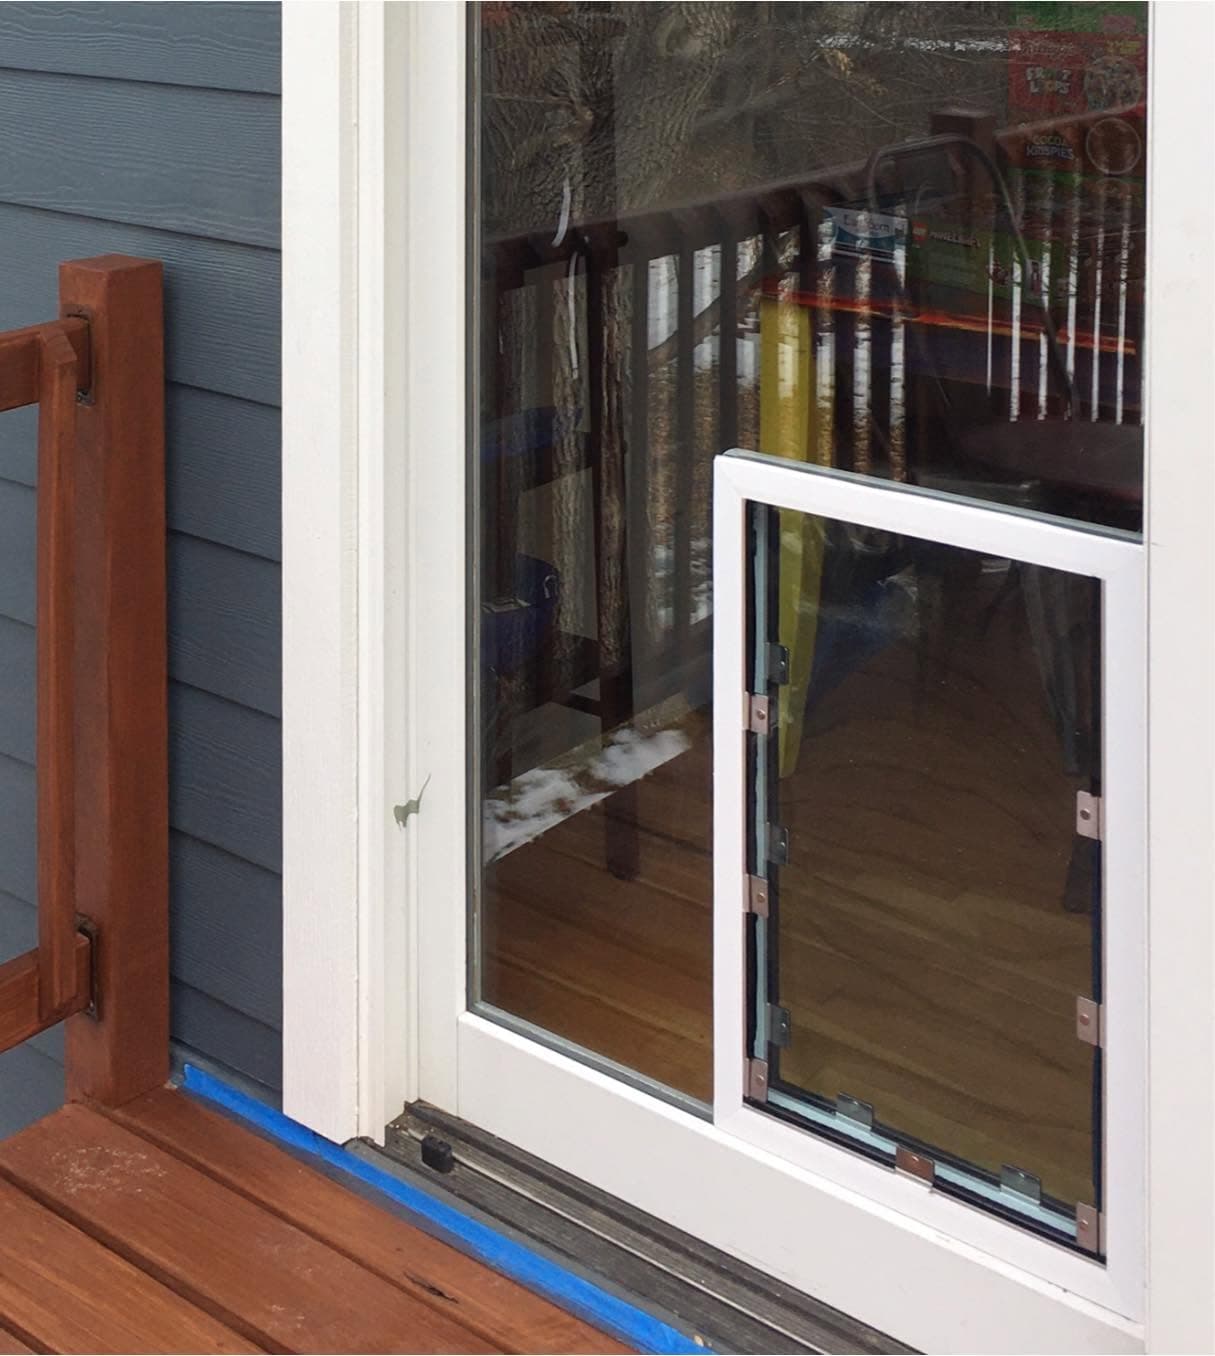
Read the finished configuration back as a complete sentence before approving it: model family, named size or custom dimensions, measurement basis, frame finish, flap count, installation surface, finished thickness and mounting location. Then compare that sentence with the cart, worksheet and installer scope. This catches a correct measurement attached to the wrong model or a correct product attached to the wrong opening. When two pets share the door, confirm the widest body, tallest shoulder and lowest comfortable step-over still work together. Photograph the taped frame outline and keep that image with the order so the installer can verify placement before cutting.
Attach the new part number, order date and installation photo to the original model and size record. Note whether connected items—magnets, strikes, weather strip, tracks or fasteners—were replaced or simply cleaned and adjusted. This prevents the next person from measuring the replacement as though it were the original specification. It also reveals repeat-wear patterns that may point to alignment, pet traffic or exposure rather than a defect in each successive service component.
Before submitting a made-to-order request, make sure the saved measurements tell one clear story: which pet was measured, what each dimension represents, where the door will be installed, and which options were selected. If the project requires a contractor or glass professional, keep that person’s verified construction dimensions beside the pet measurements so neither set is mistaken for the other. A complete record makes the order easier to confirm now and makes future flap, cover, lock or weather-strip service much easier.
Keep the measurement sheet, exact product page and installation manual together through ordering and installation.
Start with the original model, size, frame orientation and symptom, then choose the exact wear part or installation accessory that addresses it.
Flaps, covers, magnets, strikes, weather strip, locks, tunnels and buildouts are dimension- and model-sensitive. Use SKU and size evidence whenever possible.
Read the component instructions before removing old hardware. Photograph the original orientation and keep fasteners or pilot-hole locations organized.
Replacing the right service part can restore closing, sealing or access control without discarding the main frame. Inspect connected components so one worn part does not hide another.
Start with the original model, size, frame orientation and symptom, then choose the exact wear part or installation accessory that addresses it. The safest way to order Dog Door Parts is to identify the installed door before choosing the component. Record model, named size, approximate purchase date, frame orientation, number of flaps and any SKU or order documentation. Photograph the part in place and the surrounding hardware. A replacement described by a familiar word—flap, magnet, cover, strike or weather strip—can still vary by size and application. Match the system first, then decide whether one component or a fuller kit is the sensible repair.
Flaps, covers, magnets, strikes, weather strip, locks, tunnels and buildouts are dimension- and model-sensitive. Use SKU and size evidence whenever possible. Check the clear flap opening for the pet, the rough opening for the cut and the tip-to-tip frame for the available mounting area.
Read the component instructions before removing old hardware. Photograph the original orientation and keep fasteners or pilot-hole locations organized. The exact product instructions and selected SKU should be available before any permanent opening is made.
Replacing the right service part can restore closing, sealing or access control without discarding the main frame. Inspect connected components so one worn part does not hide another. Record the model and size, keep moving surfaces clean and replace only verified compatible service parts.
Measure from the floor to the top of your pet’s shoulders and measure the widest point of the body. The flap should generally sit about 1–2 inches above the shoulders, with a comfortable step-over height. Use the actual pet measurements rather than breed averages.
Yes. Frame color, flap count, size and installation type are selected for your opening. Review the measurements and selected configuration carefully before submitting an order.
Yes. Replacement flaps, flap kits, magnets, weather stripping, locks and covers are available. Match the replacement part to the original pet-door size and model.