Solid-door installation

Dog Doors for Metal and Steel Doors

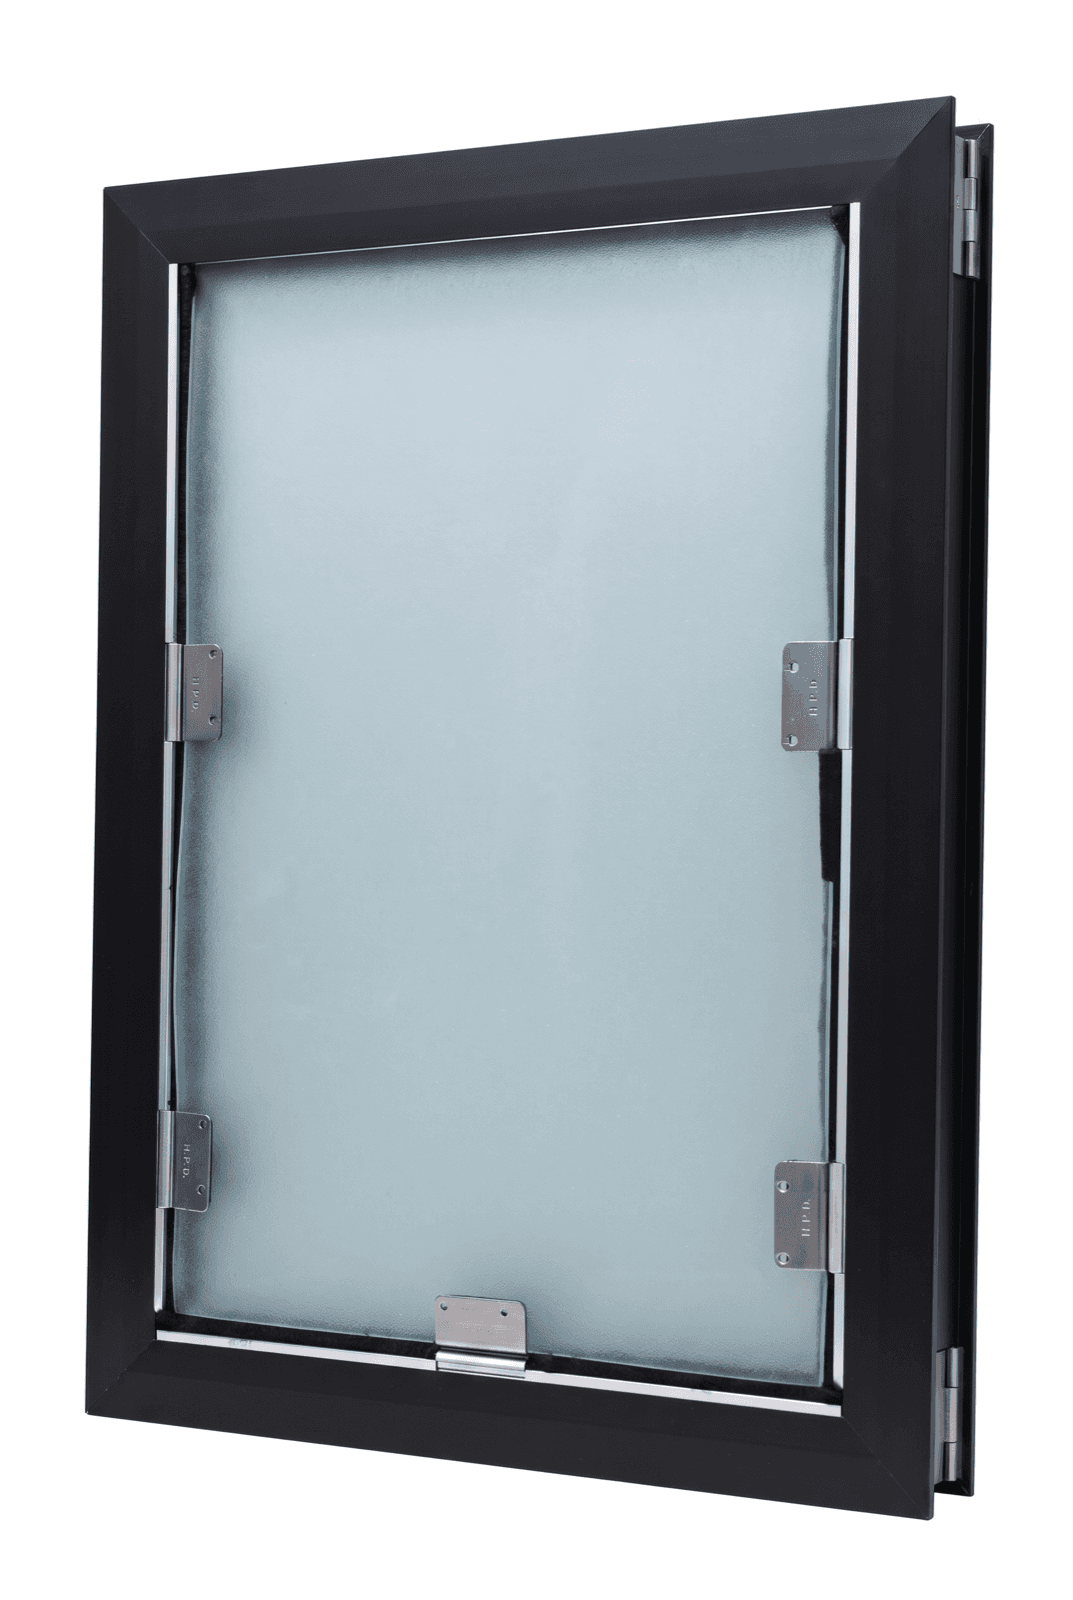
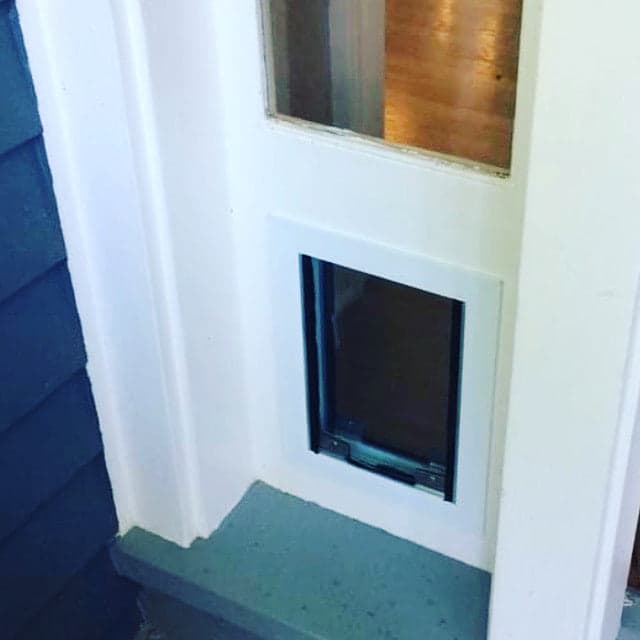
A pet door can be installed in many compatible metal or steel doors when the lower panel has enough clear structure and no conflicting hardware.

3 matching products

Configure the right fit

Choose the installation model first, then verify pet size, rough opening, frame dimensions, finish and flap package.

Buyer's guide

Choosing dog doors for metal and steel doors

Metal skins require the correct cutting tools and careful handling of sharp edges. Insulated doors may contain foam, internal channels or reinforcement that must be assessed before cutting.
Verify the rough opening on both faces, keep the cutout level, and seal the exposed construction according to the door and pet-door instructions. Fire-rated assemblies require separate professional review.

Buying guidance

How to choose dog doors for metal and steel doors

Verify that the metal or steel door is compatible, non-rated and clear of internal reinforcement, glass and hardware at the proposed opening.

The defining question for Dog Doors for Metal and Steel Doors is what the frame will pass through and what must remain functional around it. A flap opening is only the pet passage; the installed frame occupies more room and may interact with structural members, door rails, glass edges, screen frames, locks, trim and weather seals. Compare the product’s rough opening and outer dimensions with a drawing or taped outline on both faces of the proposed location. If the outline crosses hardware, uneven panels or required edge clearances, change the location or model before ordering.

Buying guidance

Fit the pet, then fit the frame

Trace the full frame and rough opening on both skins. Insulated cores and narrow lower panels can limit the available position even when the flap fits the pet.
Separate animal fit from construction fit. First choose a clear opening that lets the pet pass with modest clearance at the shoulders and sides. Next translate that choice into the exact rough opening and tip-to-tip frame for the selected model. Finally confirm mounting height and step-over. This sequence matters because two frames with the same flap size can have different exterior requirements, and the easiest location for a contractor may not be the easiest height for the animal.

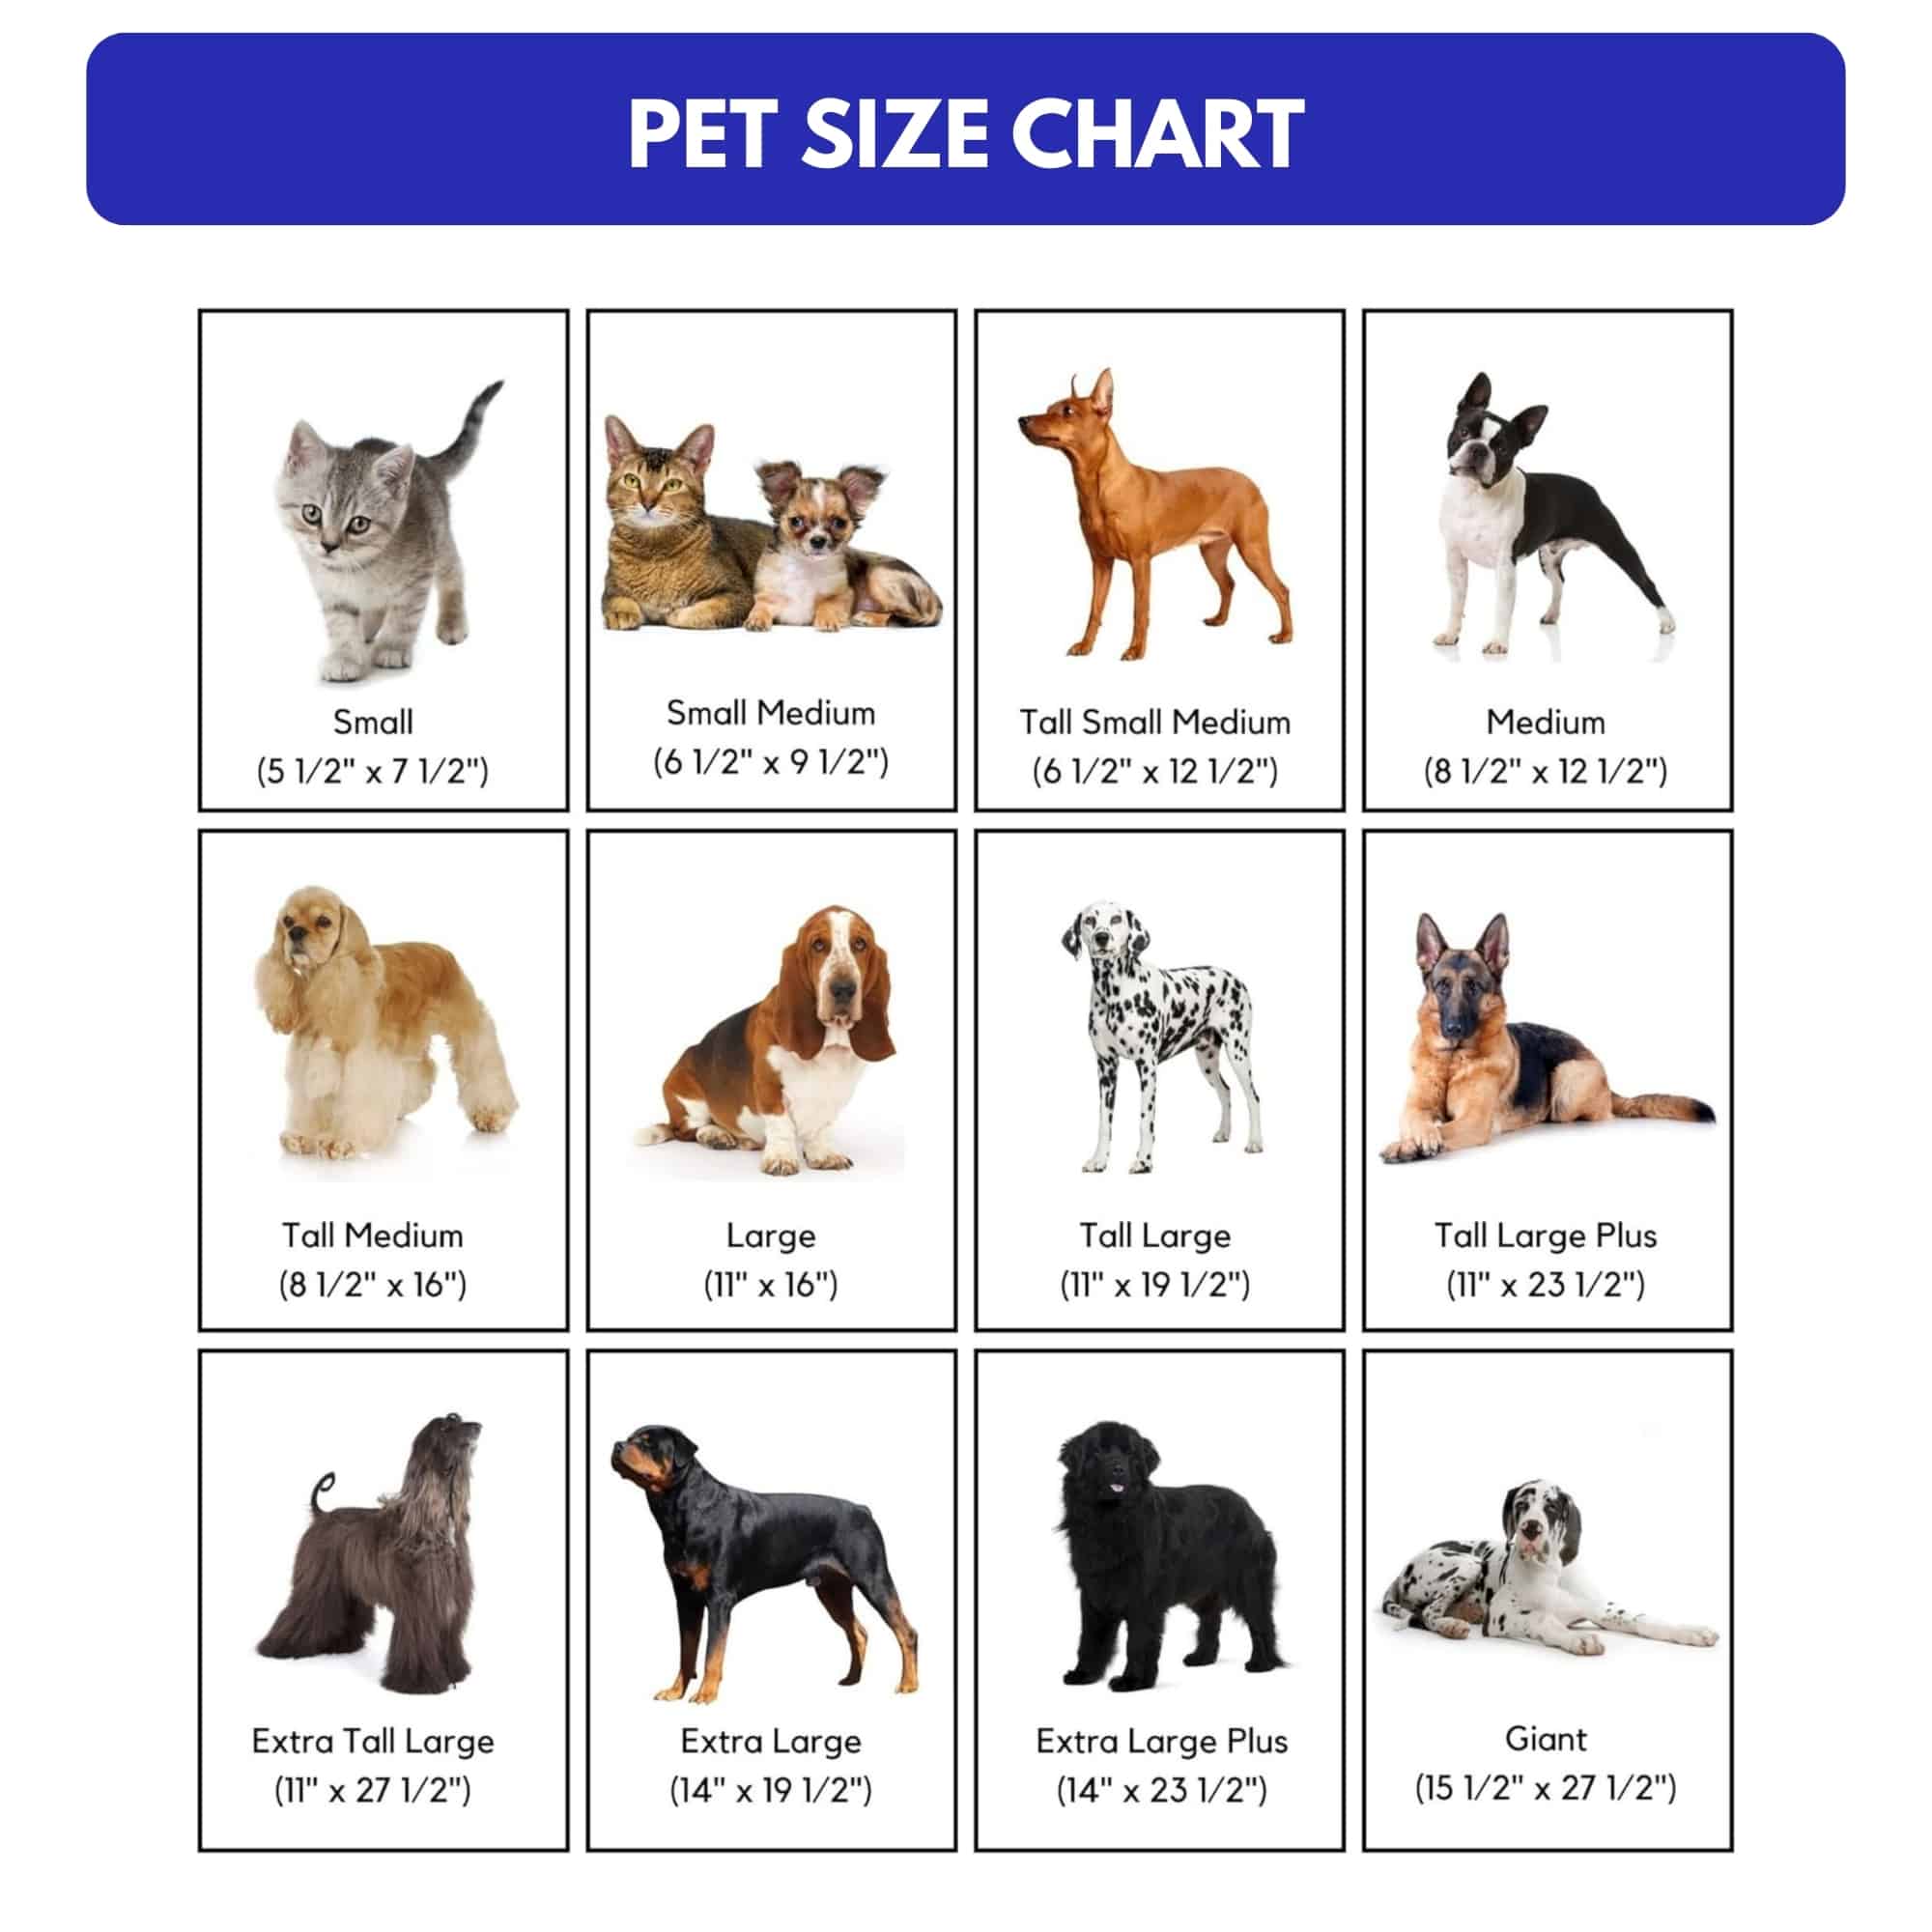
Dog Doors Depot carries 11 standard flap sizes from Small Medium through Giant, including tall intermediate sizes that separate height from width. Use the individual animal rather than the label as the decision-maker. After the clear opening is selected, compare the exact product variant because model families can use different frame, tunnel and cutout relationships. If every standard choice creates a meaningful compromise, use the custom-size workflow and keep the submitted dimensional basis attached to the order.

Buying guidance

Plan the installation before ordering

Use tools suitable for metal, control sharp edges and filings, protect the finish and seal exposed core material according to the door and pet-door instructions.
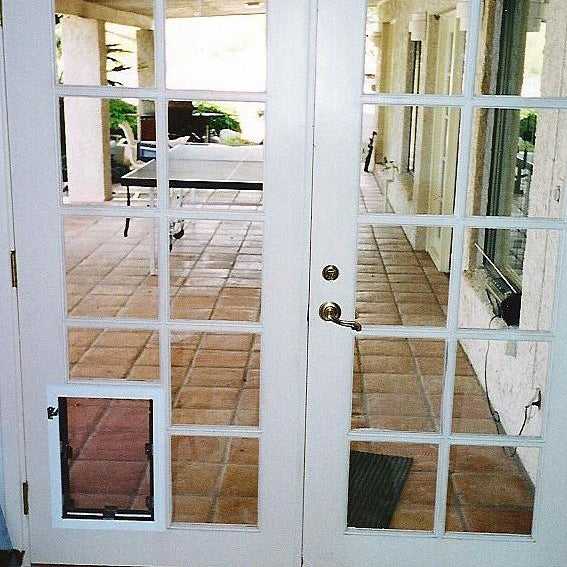
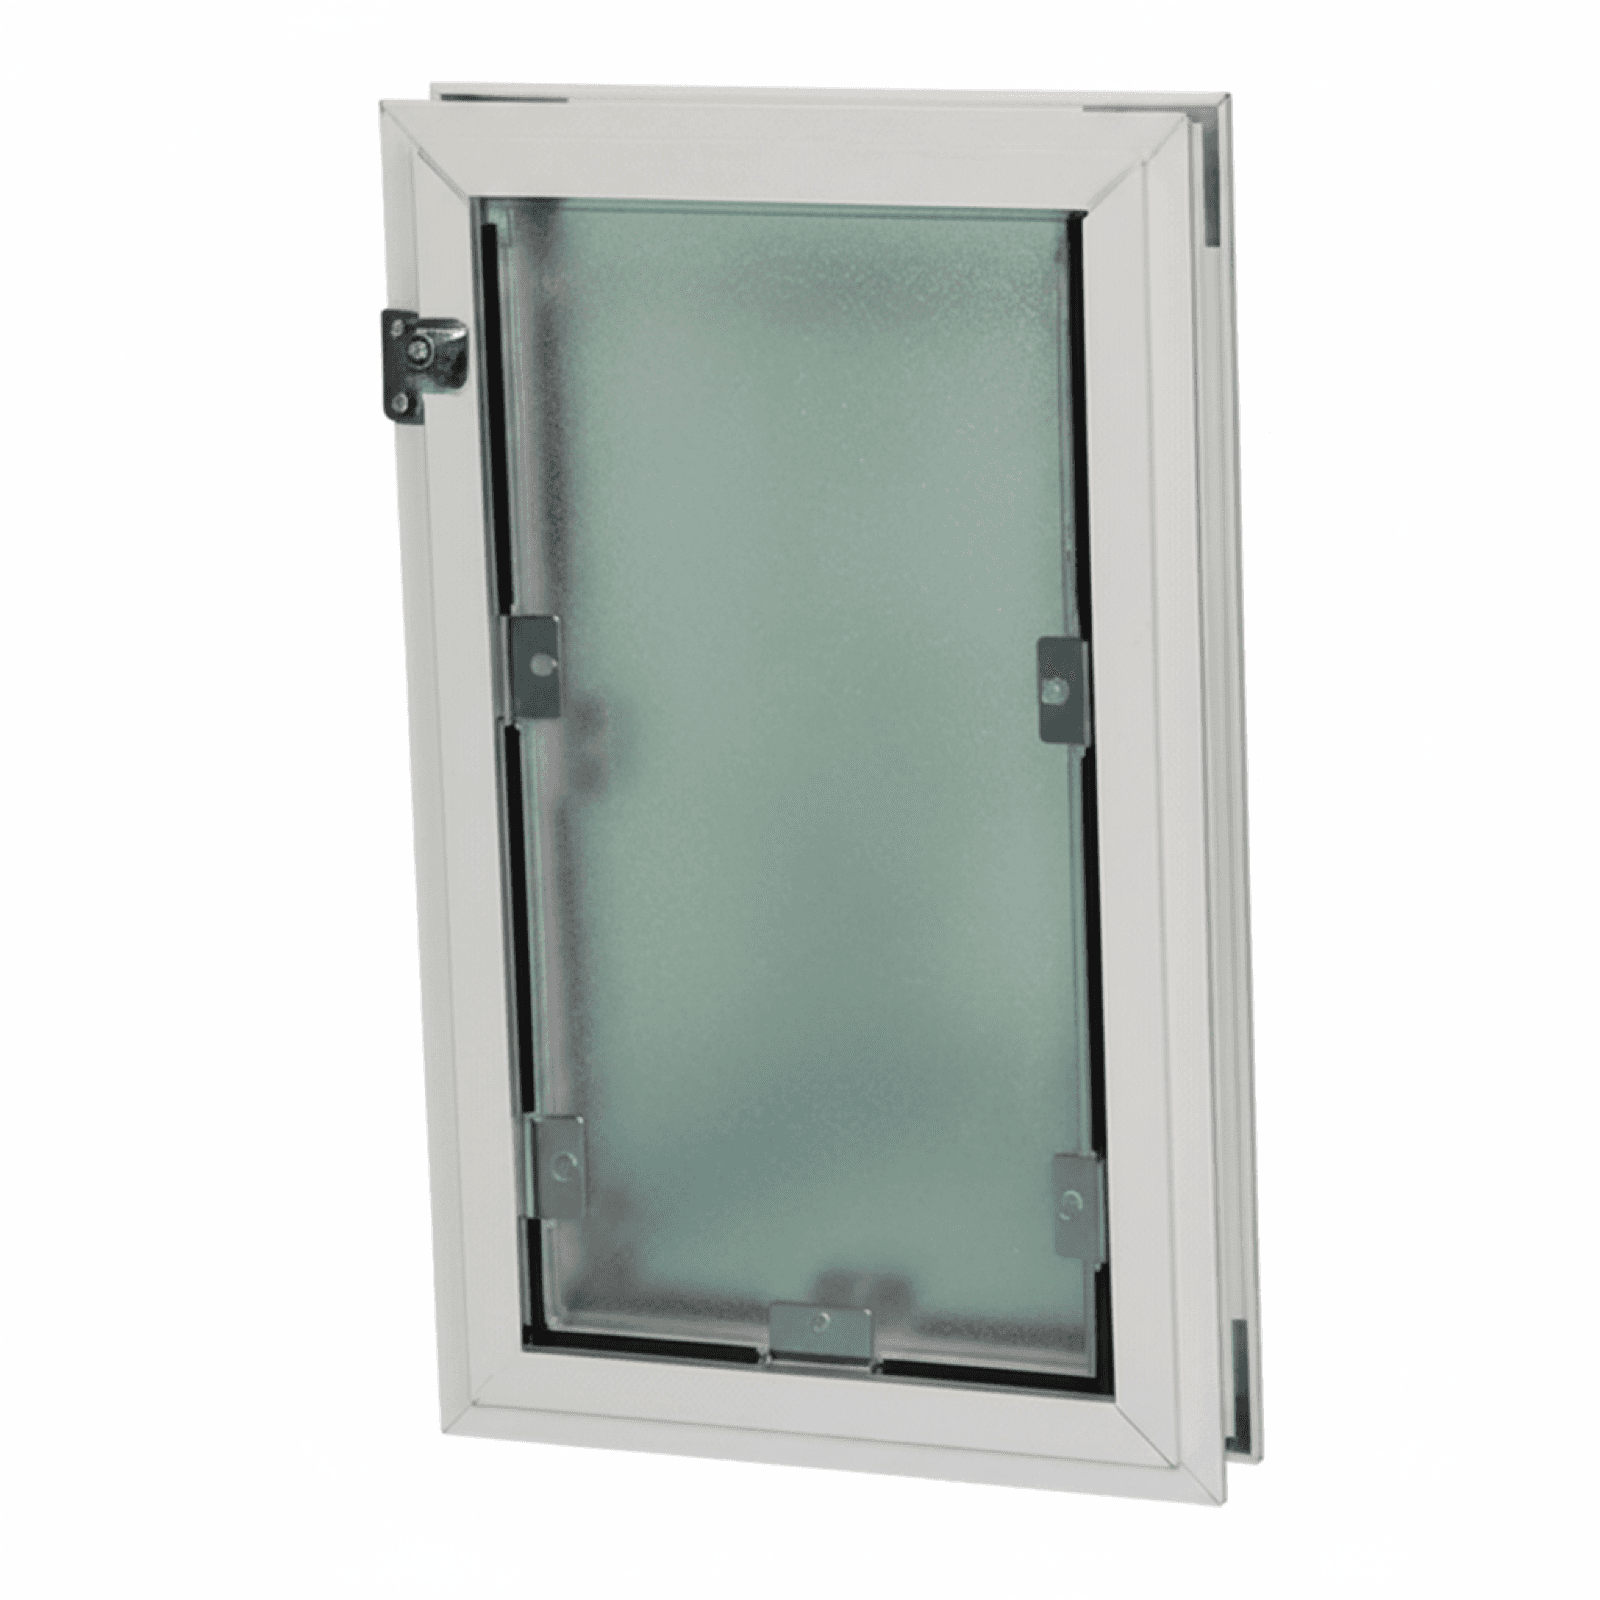
Read the model-specific manual before layout, not after the opening is cut. Verify tools, fasteners, sealants, tunnel pieces, frame orientation and any professional trade requirements. Check for utilities and structural conditions in walls; internal reinforcement and ratings in doors; support and mesh condition in screens; and fabrication requirements in glass. Protect finished surfaces and control dust or metal filings. After fastening, test that the original door, screen or panel still operates and that both pet-door flaps move without rubbing.

Buying guidance

Weather, service and long-term use

Maintain perimeter seals and confirm the frame stays square after fasteners compress both skins. Exterior exposure still determines flap and cover choices.
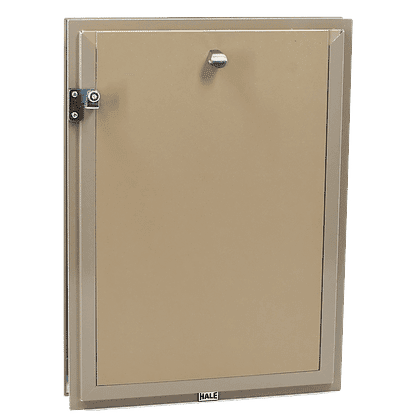
Surface choice changes maintenance. Exterior walls and doors need periodic perimeter and water-management inspection. Screens need mesh tension and frame support checks. Glass installations should be watched for seal or panel issues by the appropriate trade. Every configuration benefits from clean magnets, flexible flaps, unobstructed cover tracks and a recorded model and size. When a flap no longer lies flat or a magnet misses its strike, correct the component or alignment before the gap becomes the normal operating condition.

Buying guidance

Mistakes to avoid

Do not cut a fire-rated assembly without written approval and do not assume a steel skin reveals everything inside the door.
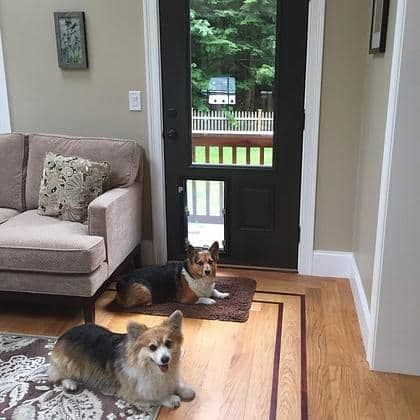
A strong preflight is deliberately repetitive: measure again, check the dimensional label, compare both faces of the opening and read the exact manual. Confirm that the host door, wall, screen, glass or kennel panel remains safe and functional after the cutout. Record uncertainty instead of converting it into a guess. If structure, utilities, ratings, glass type or water management are unclear, pause the product decision and have the appropriate installer or trade verify the condition. That short review is less expensive than correcting an incompatible made-to-order frame.

Buying guidance

From a shortlist to an order-ready configuration

Move from shortlist to order only after four checks agree. The pet fits the clear opening; the building can accept the rough opening and full frame; the selected model matches the surface and thickness; and the flap, finish, cover and accessory choices match the intended use. Save the product page and model instructions with a labeled measurement sheet. For multiple openings, give each location its own ID and configuration. Review every line before submitting because made-to-order dimensions and options should not be inferred from another opening or corrected after fabrication begins.
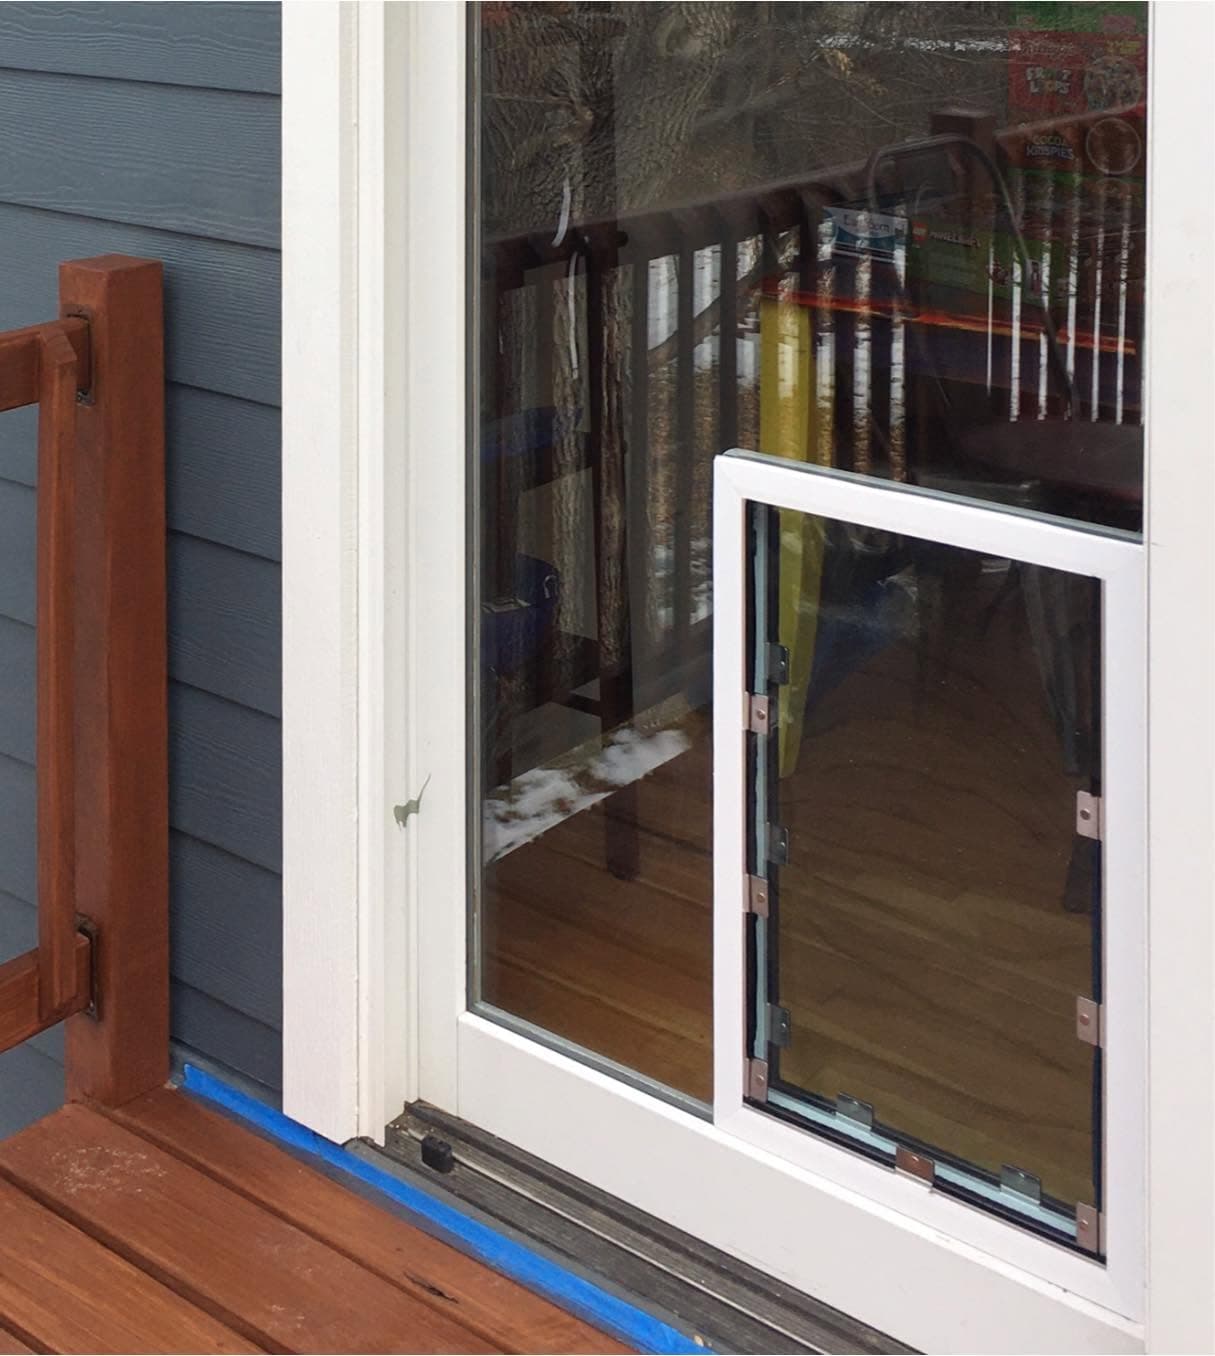
Read the finished configuration back as a complete sentence before approving it: model family, named size or custom dimensions, measurement basis, frame finish, flap count, installation surface, finished thickness and mounting location. Then compare that sentence with the cart, worksheet and installer scope. This catches a correct measurement attached to the wrong model or a correct product attached to the wrong opening. When two pets share the door, confirm the widest body, tallest shoulder and lowest comfortable step-over still work together. Photograph the taped frame outline and keep that image with the order so the installer can verify placement before cutting.

Buying guidance

Save a service record for the installed door

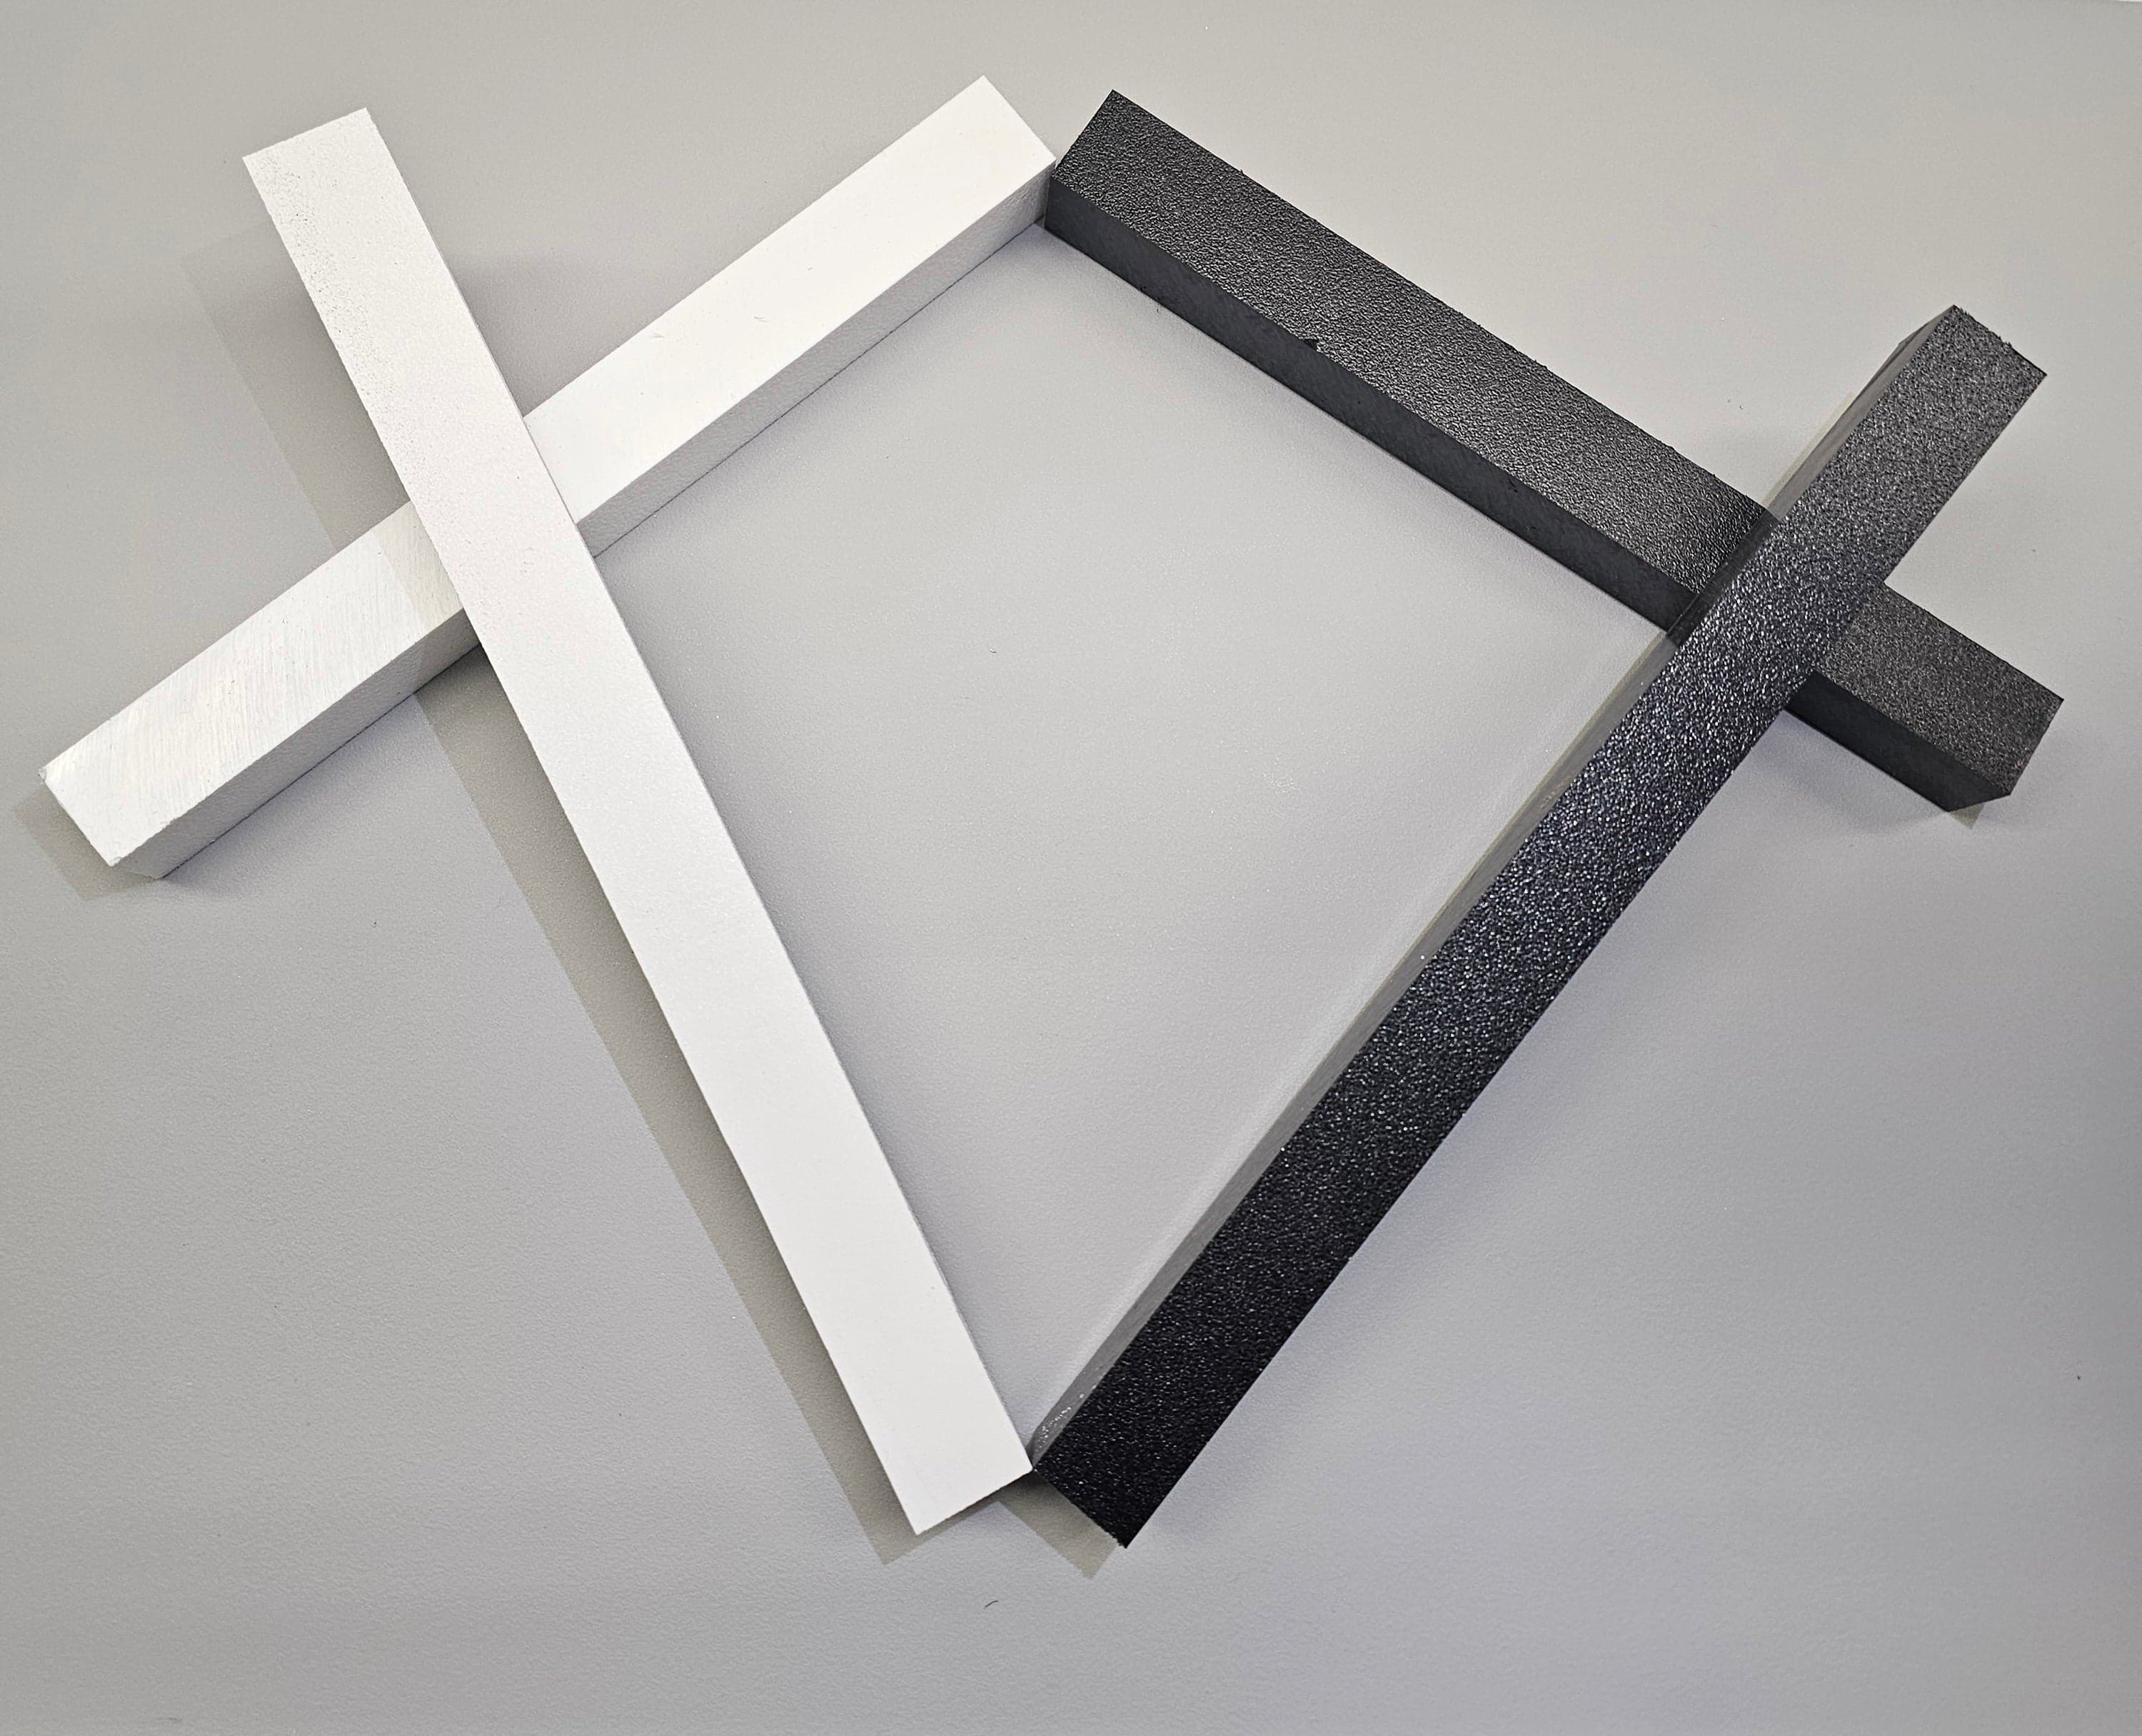
Document the material and finished thickness the frame passes through, plus any tunnel pieces, flashing, compensation strips, stabilizers or fabricated glass information used in the installation. Photograph both faces and note the sealants and finish work completed. Surface details are easy to forget once the frame is in place, yet they matter when a leak, alignment issue or future renovation is investigated. A clear record helps the next repair preserve the original water, structural and operating assumptions.

Before submitting a made-to-order request, make sure the saved measurements tell one clear story: which pet was measured, what each dimension represents, where the door will be installed, and which options were selected. If the project requires a contractor or glass professional, keep that person’s verified construction dimensions beside the pet measurements so neither set is mistaken for the other. A complete record makes the order easier to confirm now and makes future flap, cover, lock or weather-strip service much easier.

Order-ready checklist

Five checks before a made-to-order purchase

Keep the measurement sheet, exact product page and installation manual together through ordering and installation.

  • Photograph both sides of the location
  • Identify material and complete thickness
  • Map the rough opening and full frame
  • Check structure, utilities and hardware
  • Review the model installation manual
Decision summary

Compare the project from four angles

Primary decision

Verify that the metal or steel door is compatible, non-rated and clear of internal reinforcement, glass and hardware at the proposed opening.

Fit check

Trace the full frame and rough opening on both skins. Insulated cores and narrow lower panels can limit the available position even when the flap fits the pet.

Installation check

Use tools suitable for metal, control sharp edges and filings, protect the finish and seal exposed core material according to the door and pet-door instructions.

Ownership check

Maintain perimeter seals and confirm the frame stays square after fasteners compress both skins. Exterior exposure still determines flap and cover choices.

Continue comparing

Related dog-door collections and guides

Common questions about dog doors for metal and steel doors

What should I compare first when shopping dog doors for metal and steel doors?+

Verify that the metal or steel door is compatible, non-rated and clear of internal reinforcement, glass and hardware at the proposed opening. The defining question for Dog Doors for Metal and Steel Doors is what the frame will pass through and what must remain functional around it. A flap opening is only the pet passage; the installed frame occupies more room and may interact with structural members, door rails, glass edges, screen frames, locks, trim and weather seals. Compare the product’s rough opening and outer dimensions with a drawing or taped outline on both faces of the proposed location. If the outline crosses hardware, uneven panels or required edge clearances, change the location or model before ordering.

How do I know whether dog doors for metal and steel doors will fit?+

Trace the full frame and rough opening on both skins. Insulated cores and narrow lower panels can limit the available position even when the flap fits the pet. Check the clear flap opening for the pet, the rough opening for the cut and the tip-to-tip frame for the available mounting area.

What should an installer verify for dog doors for metal and steel doors?+

Use tools suitable for metal, control sharp edges and filings, protect the finish and seal exposed core material according to the door and pet-door instructions. The exact product instructions and selected SKU should be available before any permanent opening is made.

How should I maintain dog doors for metal and steel doors?+

Maintain perimeter seals and confirm the frame stays square after fasteners compress both skins. Exterior exposure still determines flap and cover choices. Record the model and size, keep moving surfaces clean and replace only verified compatible service parts.

How do I choose the right pet door size?+

Measure from the floor to the top of your pet’s shoulders and measure the widest point of the body. The flap should generally sit about 1–2 inches above the shoulders, with a comfortable step-over height. Use the actual pet measurements rather than breed averages.

Are these pet doors made to order?+

Yes. Frame color, flap count, size and installation type are selected for your opening. Review the measurements and selected configuration carefully before submitting an order.

Can I replace the flaps later?+

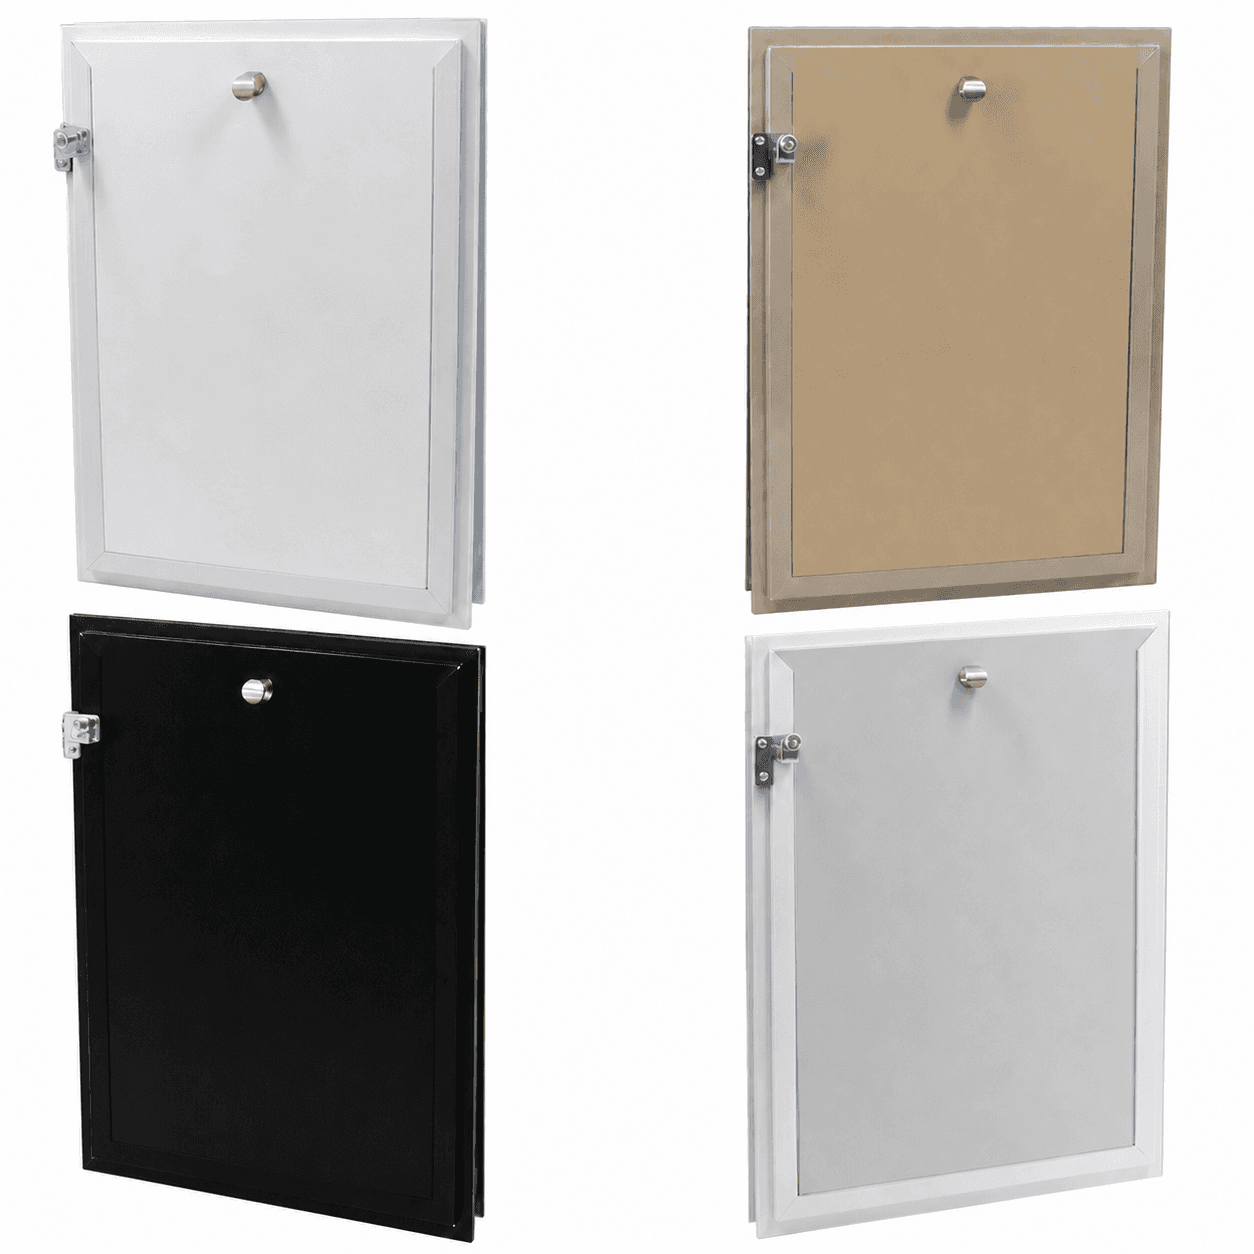
Yes. Replacement flaps, flap kits, magnets, weather stripping, locks and covers are available. Match the replacement part to the original pet-door size and model.